Ordering New iPhones

For the crazy folks who order iPhones for Day 1 arrival, this most recent ordering process was a bit of a mess. Typically, you can pre-enter your order details in the Apple Store app and then submit it order time. This time, that system failed for 15-20 minutes for many folks, pushing back many people’s ordered by a couple of weeks. This might have been compounded by supply constraints.

So if you’re ordering at that crunch time at 8am when sales start every year, you should try to order thought the Apple Store app, but also through the Apple website. If you have an iPad, try that too at the same time.

For people who were delayed in ordering or forgot this year, you can try to get the iPhones in the Apple store. This is a site that will show you what nearby stores have availability:

https://iphonechecker.herokuapp.com/q/22201/i15ProMax/unlocked

And of course, for all the normal people, you can just wait untill November, when iPhones should just be available.

Don’t Buy a New Computer Now

There’s a saying that the best time to buy a computer is when you need one. WIth new technology always arriving, most jumps in technology are incremental. So just buy whenever.  Today, in August 2020, I suggest waiting a bit longer if you can.

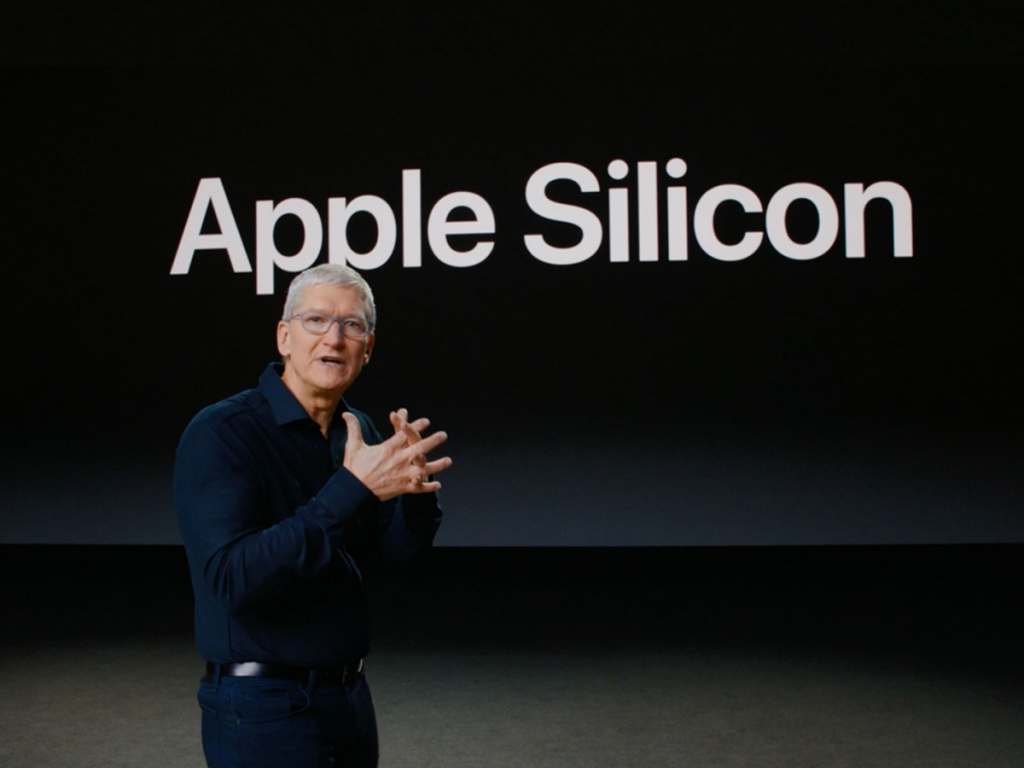
Apple is leading the way to end of Intel-based computers with their announcement that they will start using “Apple Silicon” in their computers. This will be a huge jump for Apple’s computers and it portends similar changes that are surely coming to the PC.

Apple CEO Tim Cook Announcing Apple Silicon (aka ARM) for Macs

42 years ago in 1978, Intel came out with the 8086 chip and the x86 architecture. Intel, along with Advanced Micro Devices (AMD) later, made practically every computer’s central processing unit (CPU). (There were many exceptions such as Motorola 68000 chips and PowerPC CPUs, but these never achieved the scale or had the long run of Intel’s CPUs.)

ARM CPUs use a different RISC-based architecture than Intel’s CPUs, and became most ubiquitous in Apple’s iPhones and iPads, as well as most Android phones. Apple will start selling Macs this year with ARM CPUs, which Apple refers to as “Apple Silicon,” justifiably since Apple puts a great deal of effort into designing and optimizing the CPUs for their devices.

ARM is already becoming popular in servers. Therefore, we only await Microsoft Windows’ move to ARM for a full transition away from the Intel era. (Microsoft Windows does have an ARM version, but it is not 64-bit and was never made to be able to run the x86 applications.)

What does an ARM CPU mean for consumers? Due to efficiencies of the ARM CPU, we will see computers that are faster, smaller, and cheaper, while also having better battery life. This is partially because Intel has hit technical snags which have kept their CPUs stagnant the last few years. While AMD has made great improvements with their Zen chips on the same x86 architecture, ARM chips are clearly the power per watt leaders of the future.

So certainly buy a new computer if you need one now. But a big jump in computing is on the way.

Upgrading to macOS Catalina

Before you upgrade to macOS Catalina, which just came out, check to see if your apps will work. Old 32-bit apps don’t work in Catalina. So run Go64 to see what apps are still 32-bit.

It’s also a good idea to have backups. In addition to Time Machine backups, I like to have SuperDuper backups. That means I’m going to wait until SuperDuper software working in Catalina.

iPhone 11 day

It’s Christmas Day for iPhone fans.

Should you upgrade? To me and for most people, it depends on the camera. If getting the best quality pictures matters a lot to you, then yes. Otherwise, you could be on a 6S from 2015 and still get the latest iOS 13 features.

Apple Store Clarendon in Arlington, VA

Upgrade iMac to Fusion SSD for Speed

TechDC iMac 27” 2017  HDD to SSD (should work if there’s no fusion too)

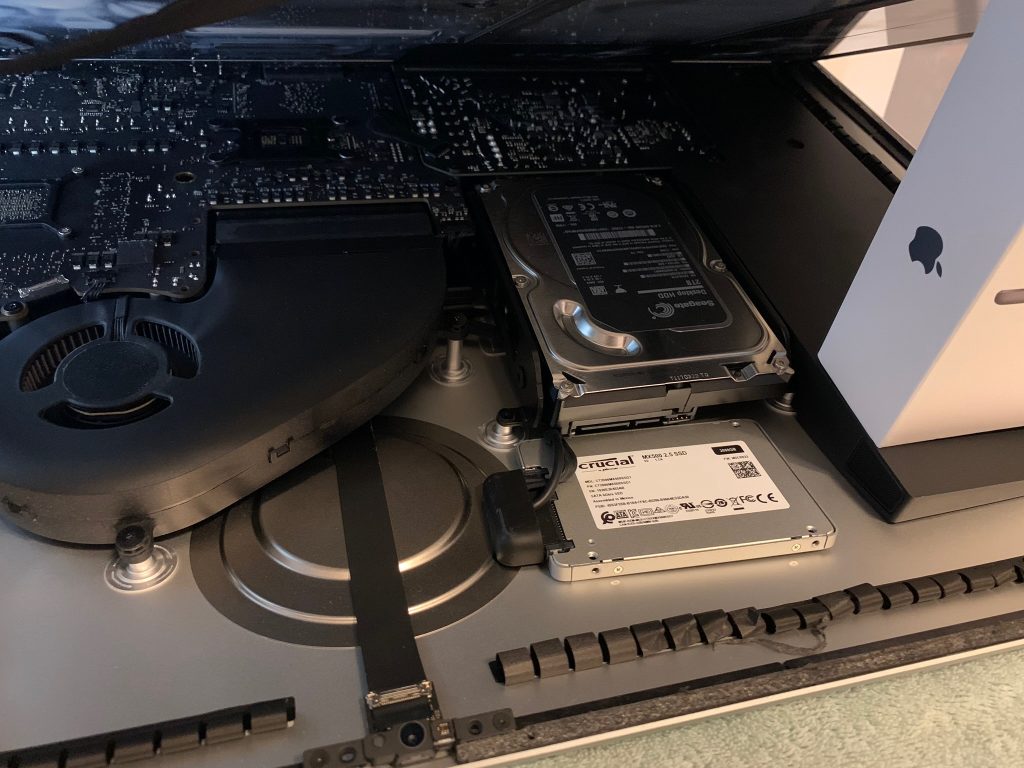
I recently upgraded a 2017 iMac with a Fusion drive (SSD plus hard drive) to an SSD only Fusion drive by replacing the hard drive (HDD) with an SSD. While the idea of a fusion SSD may sound weird, it works great. The SSD in iMacs (especially 2017 and beyond) are much faster than a standard SSD, so you still get the fusion benefit of combining a faster and slower drive. And replacing a HDD with SSD is a huge speed improvement that can make a computer feel much more responsive.

Parts List

Crucial 2TB SSD ($207) – this is a hair faster than the Samsung.  

Or

Samsung 4TB SSD ($400) – not a lot of 4TB options on amazon

iMac adhesive strips + opening wheel

Generic phone and iMac work kit (has the necessary plastic cards and scraping tools and many other parts not used)

3M pads to adhere SSD inside iMac

Preparation Steps (note that a colon on a step means its a terminal command)

Step – Backup via Time Machine (to be restored later)

Step – Create a macOS (Mojave) boot usb drive (9to5Mac Article)

Step – Boot off usb drive (hold option key) and secure erase the HDD.  Since the HDD will be left inside the iMac, best to be safe and securely erase it.

Step – Launch Terminal from top menu Utilities 

Step -: diskutil list (to determine the name of the synthesized fusion disk drive such as /dev/disk2)

Step -: diskutil secureErase 0 /dev/diskX (where diskX is the name of the disk to HDD) (This can take hours depending on your drive size) (this does a single pass of zeros written for security, there are options to do more)

Installing SSD Steps 

Based on https://www.ifixit.com/Guide/iMac+Intel+27-Inch+Retina+5K+Display+Hard+Drive+Replacement/30522

& https://www.ifixit.com/Guide/How+to+Add+An+SSD+To+The+27-Inch+iMac+(Late+2015)/67309

Step 1 – Lay iMac on its back 
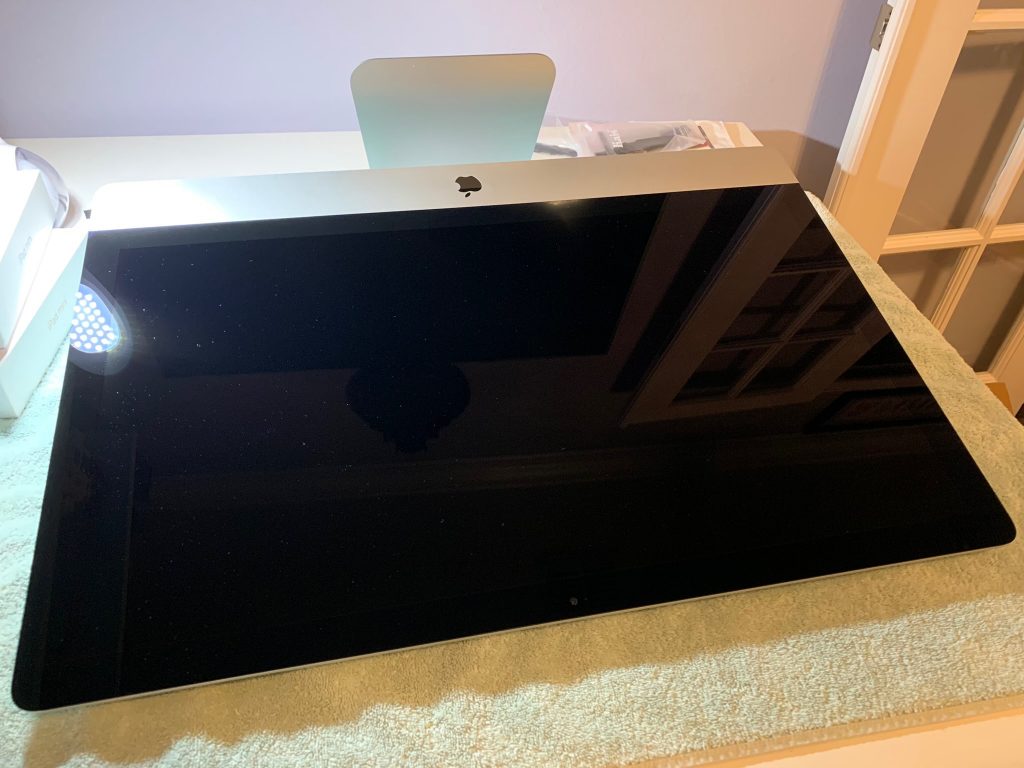
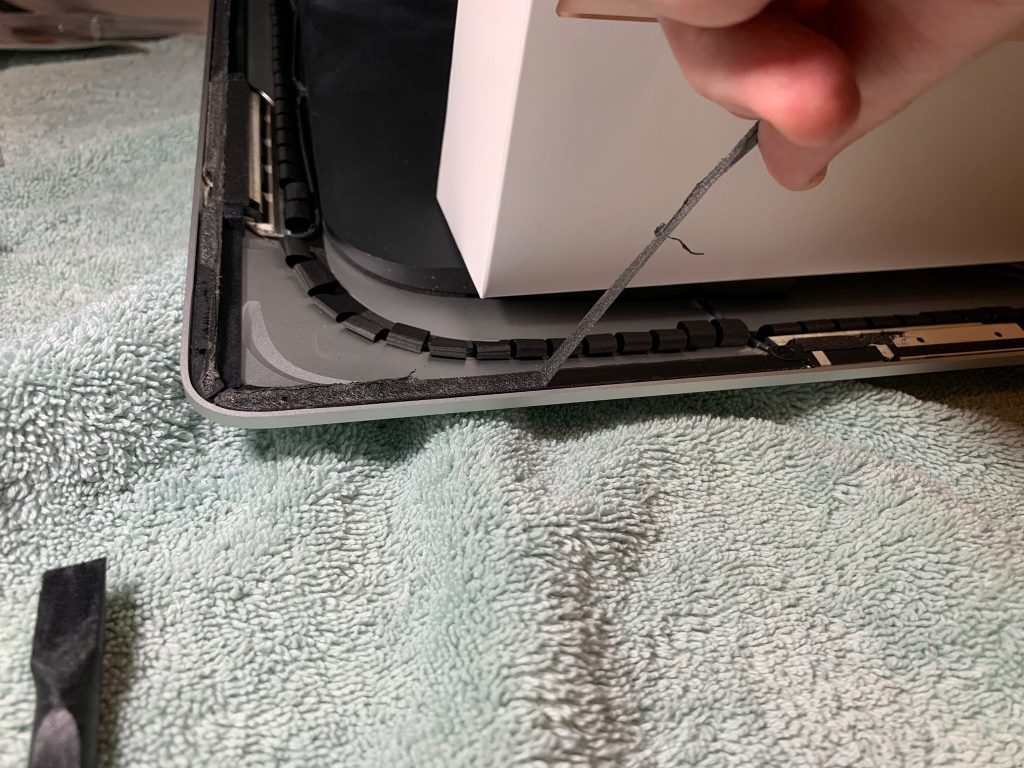
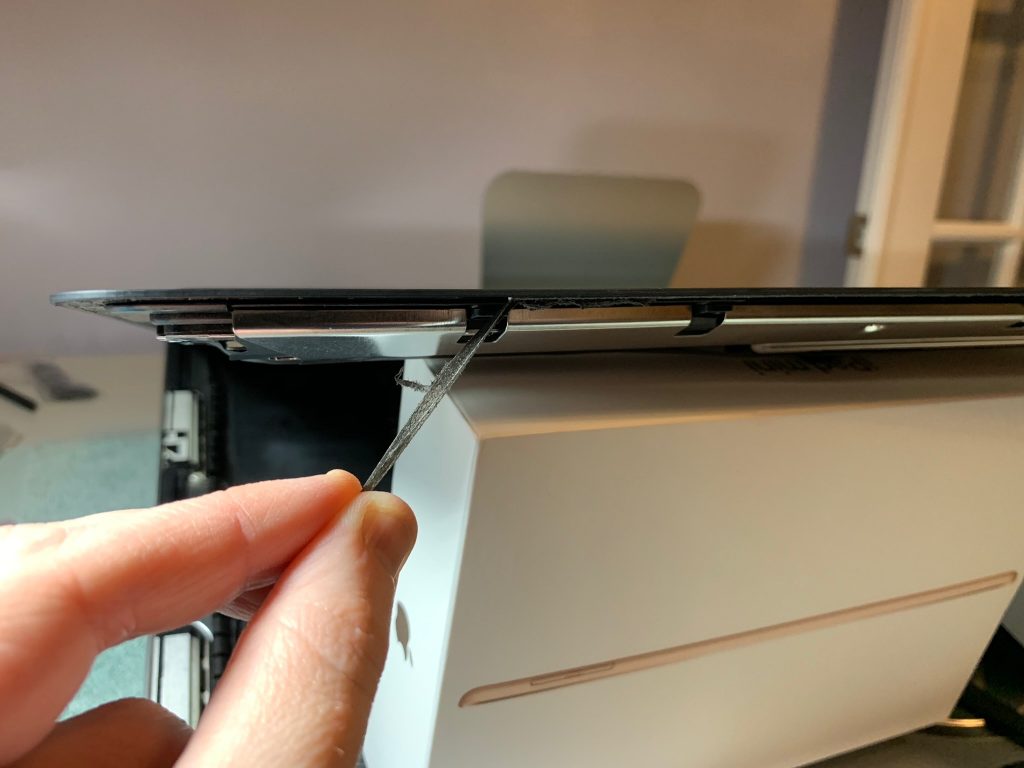
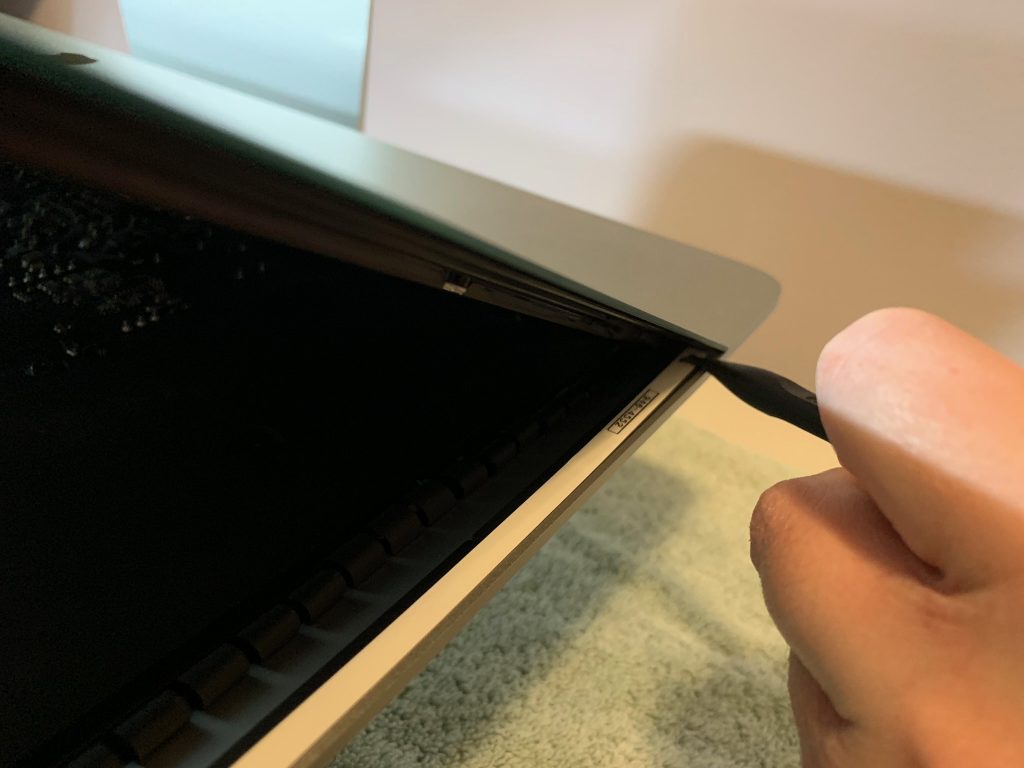
Step 2 – use roller tool to cut thru glue
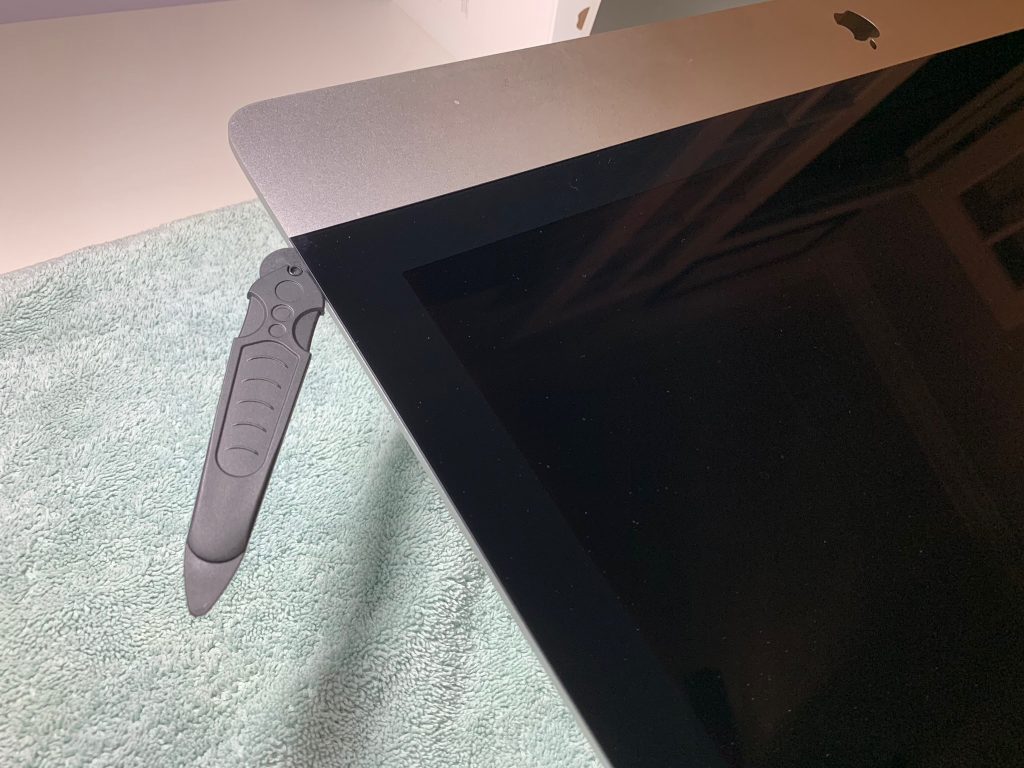
Step 3 – use plastic cards to separate remaining glue (takes time and work)
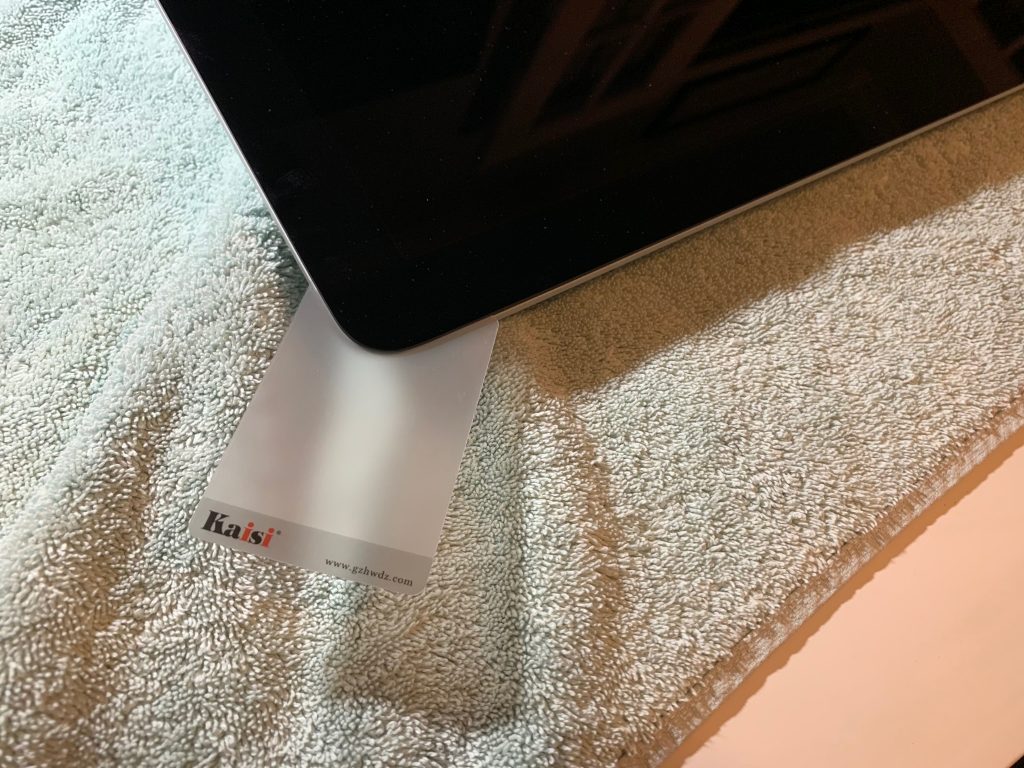
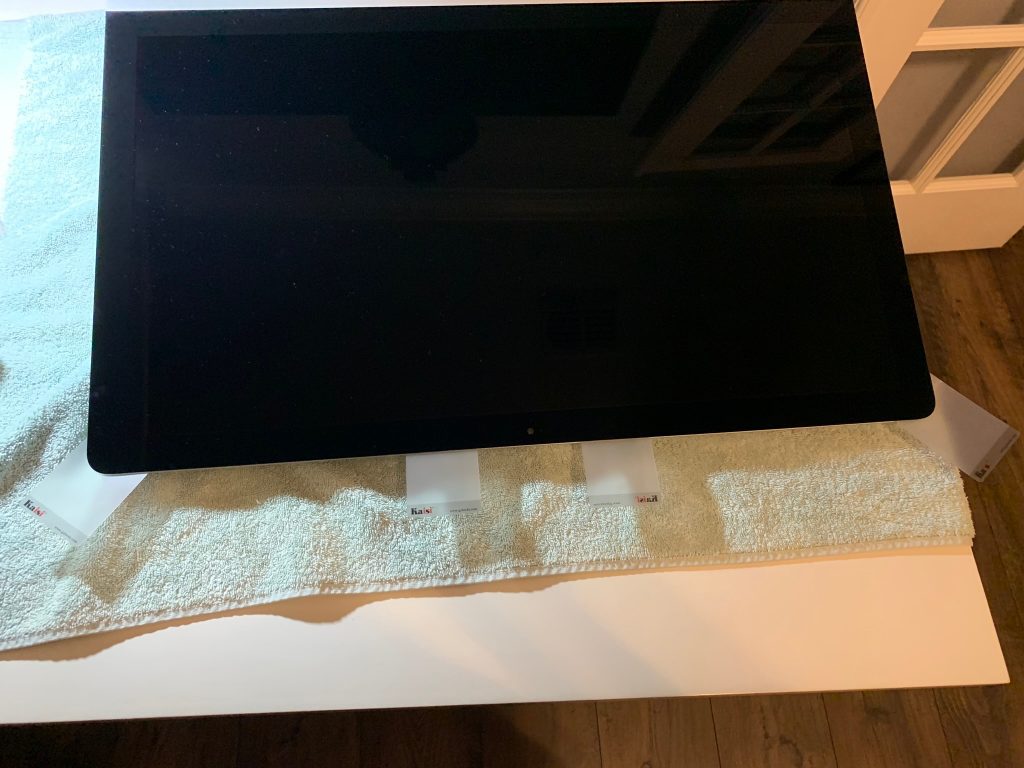
Plastic Cards

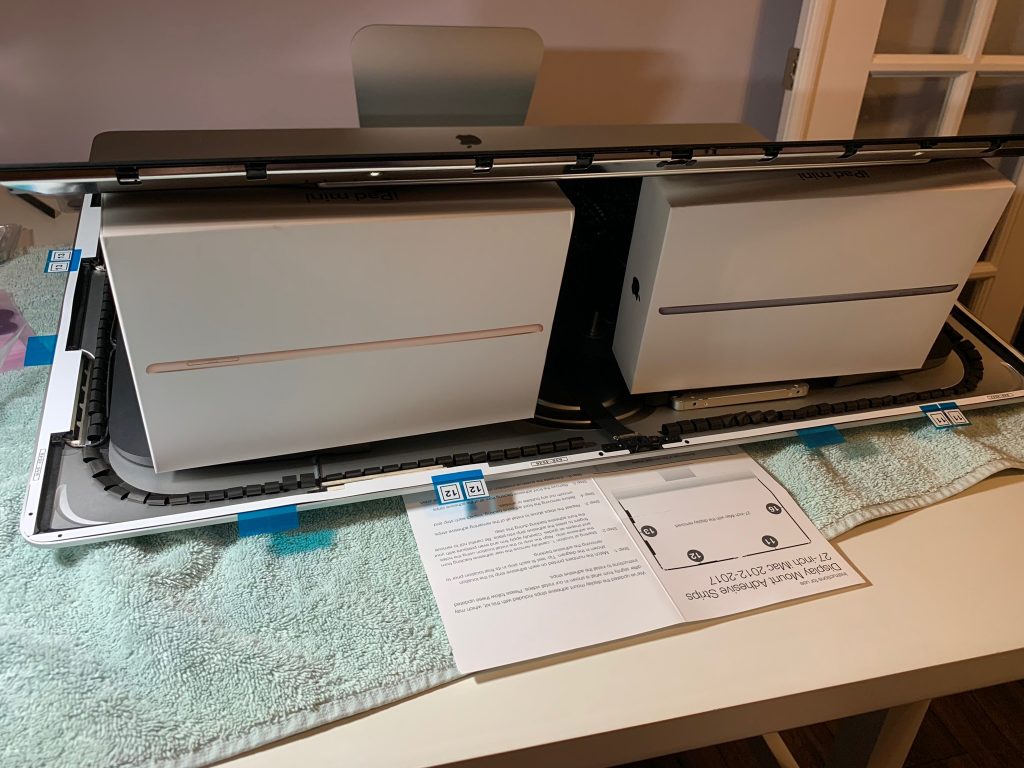
Step 4 – lift up screen ad prop up with boxes
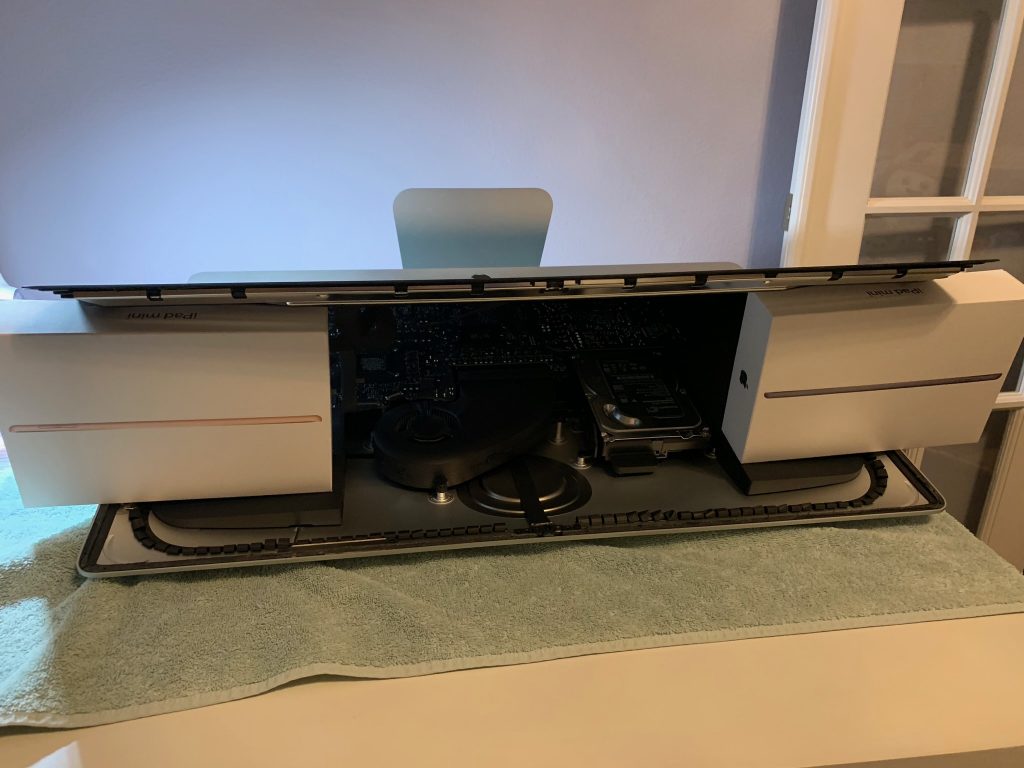
Step 5 – unplug old HDD
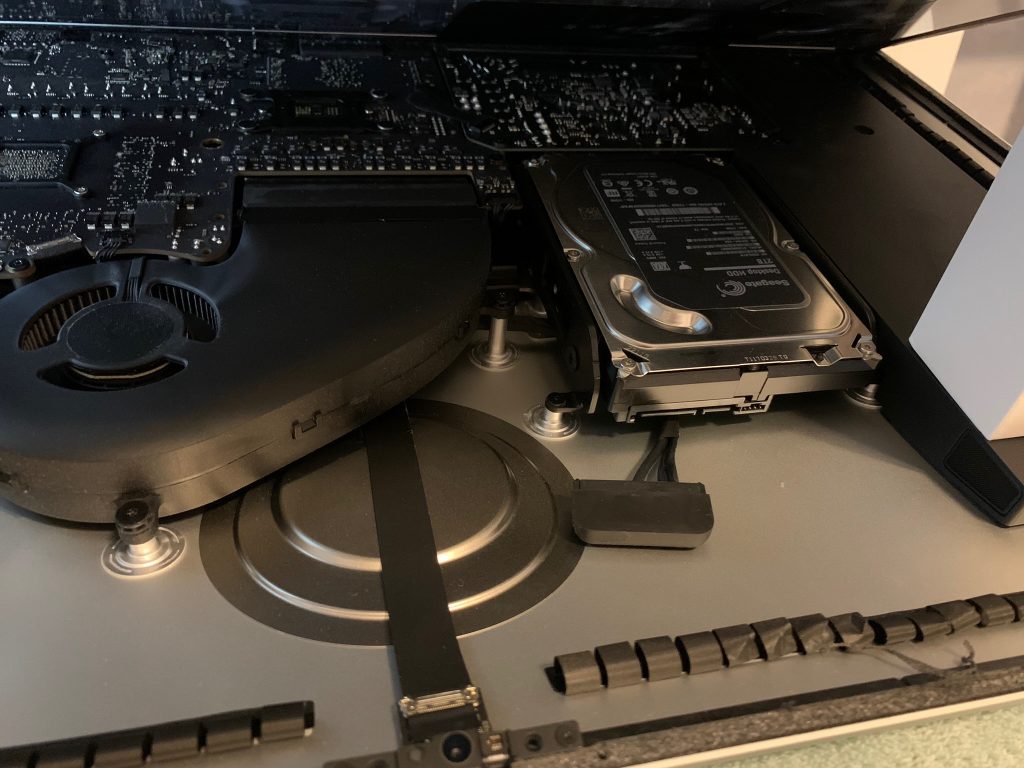
Step 6 – plug in new SSD

Step 7 – attach adhesive strips to SSD and stick to iMac wall, as near HDD as possible.  Slight angle is needed for opposite corners of SSD to touch curved wall.  I only put adhesive strips on opposite corners of the SSD.
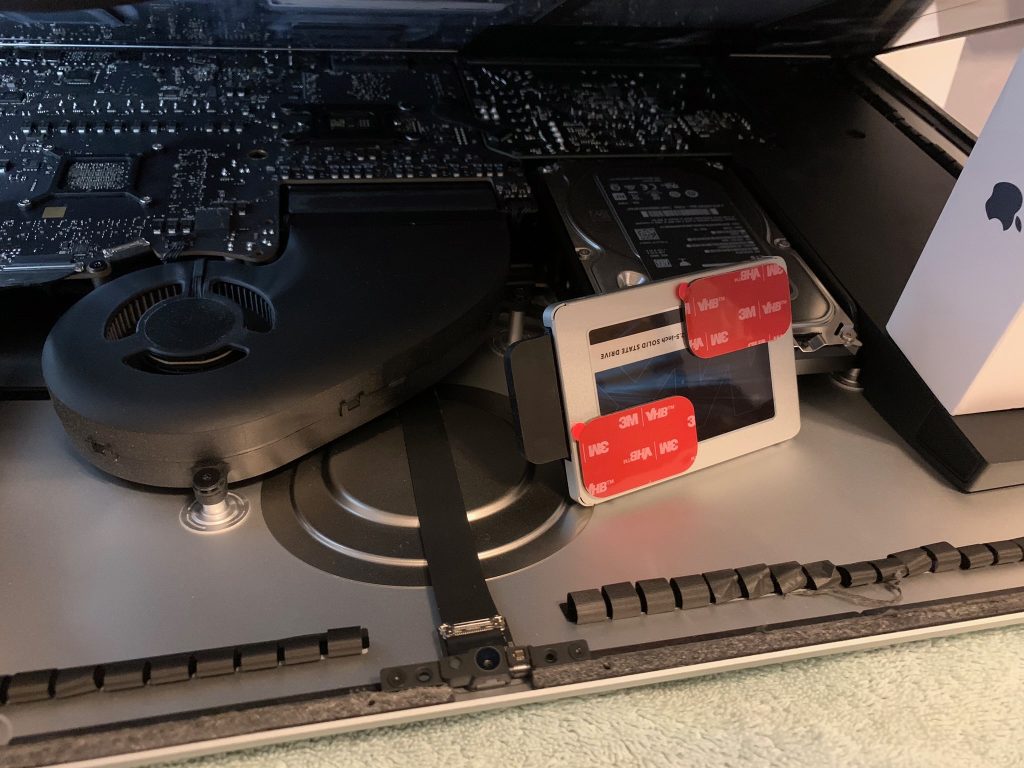
Step 8 – move prop up boxes to inside the iMac so you can do the next step
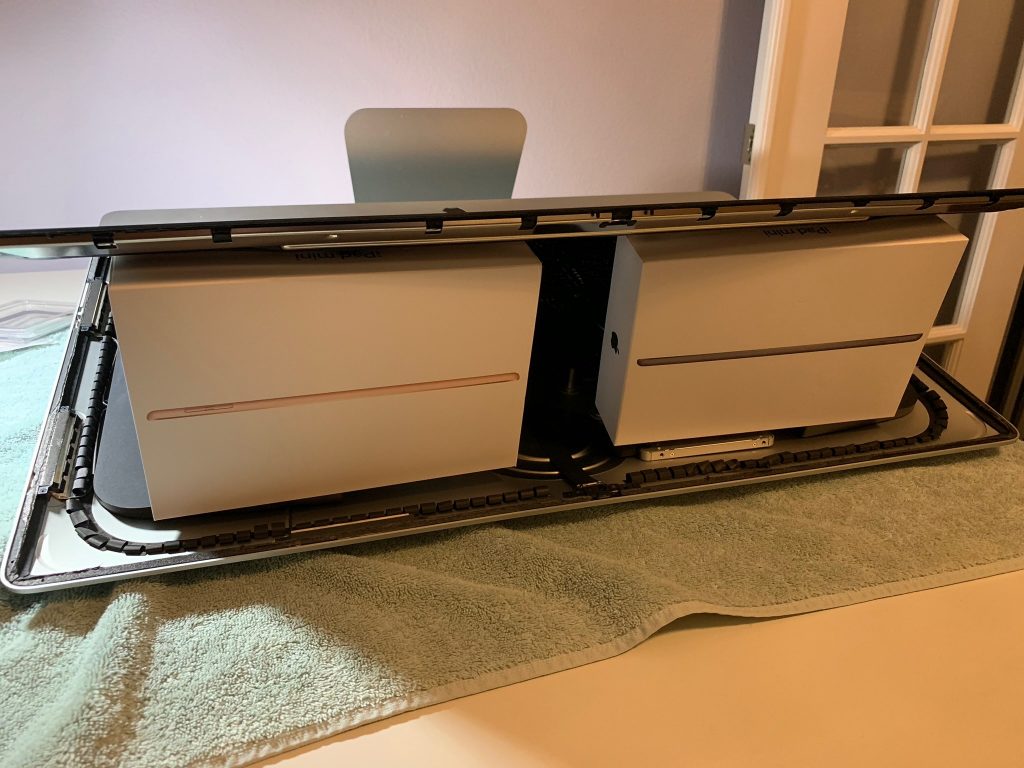
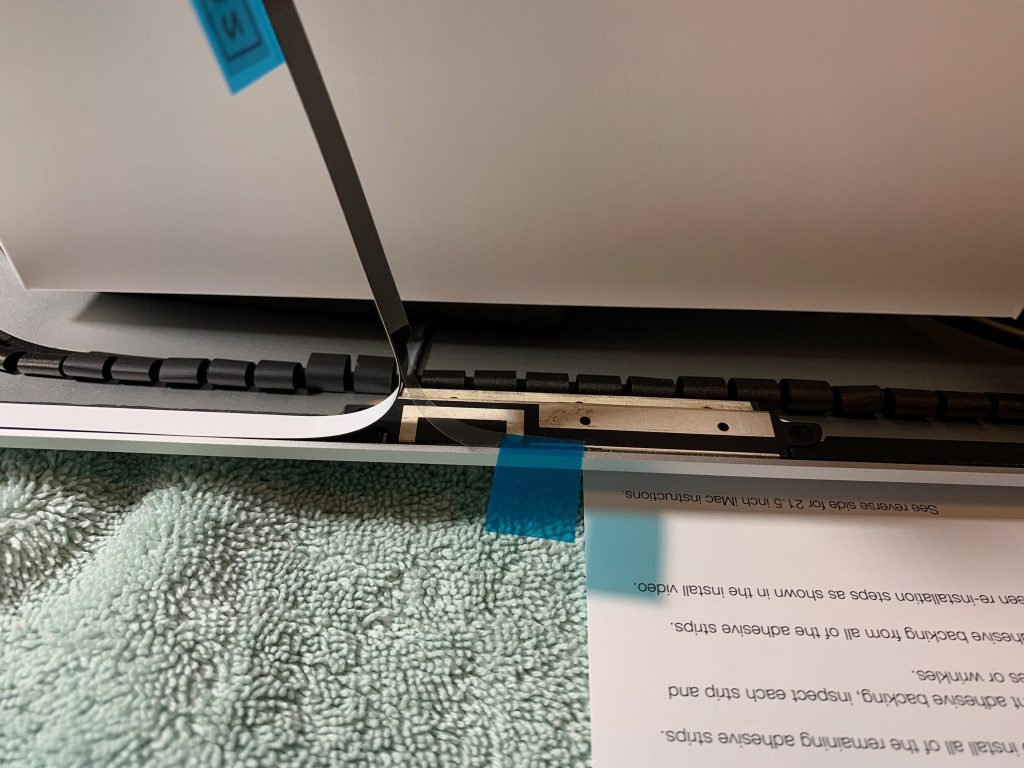
Step 9 – remove all adhesive that held screen in place (takes the most time)
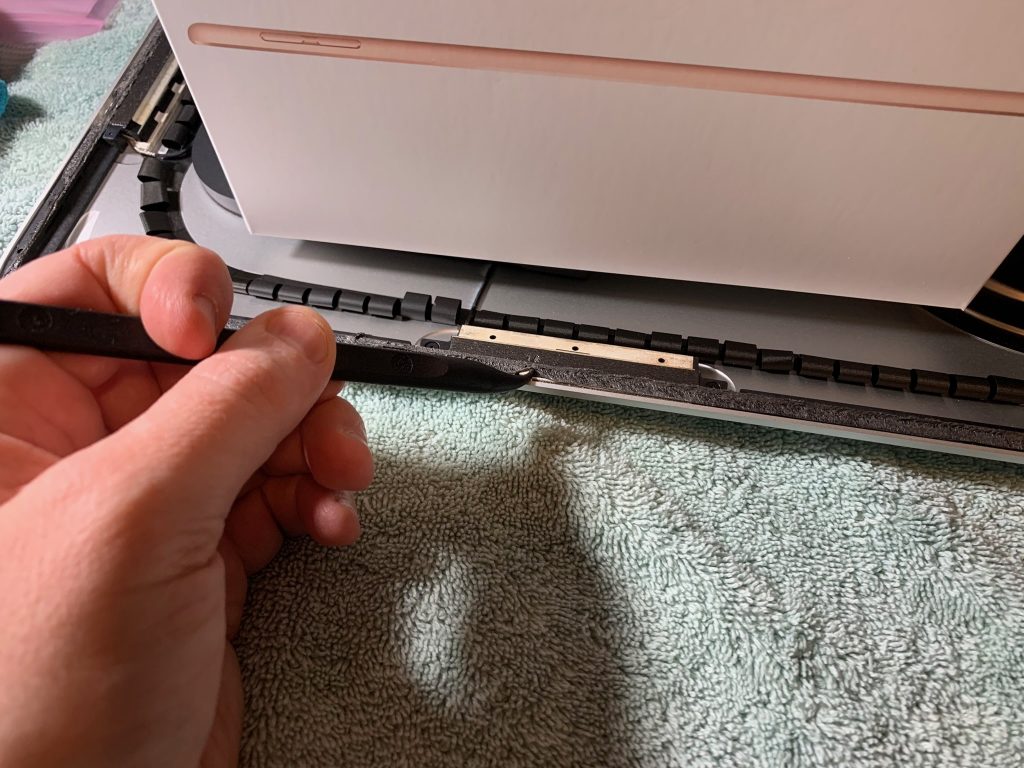
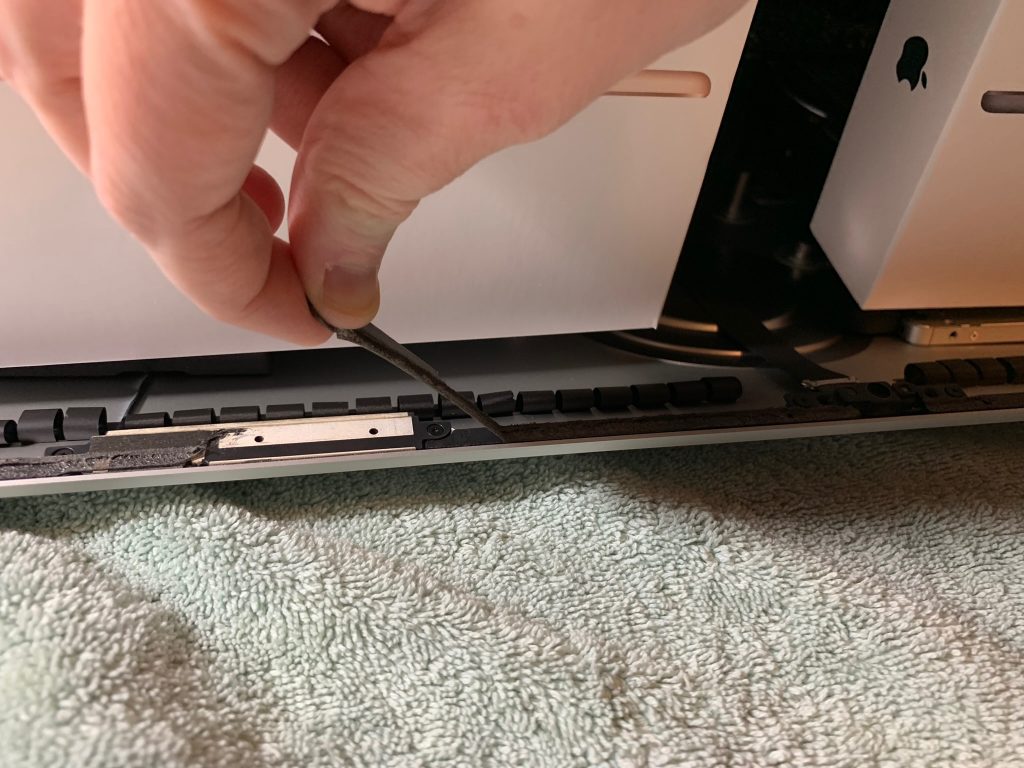
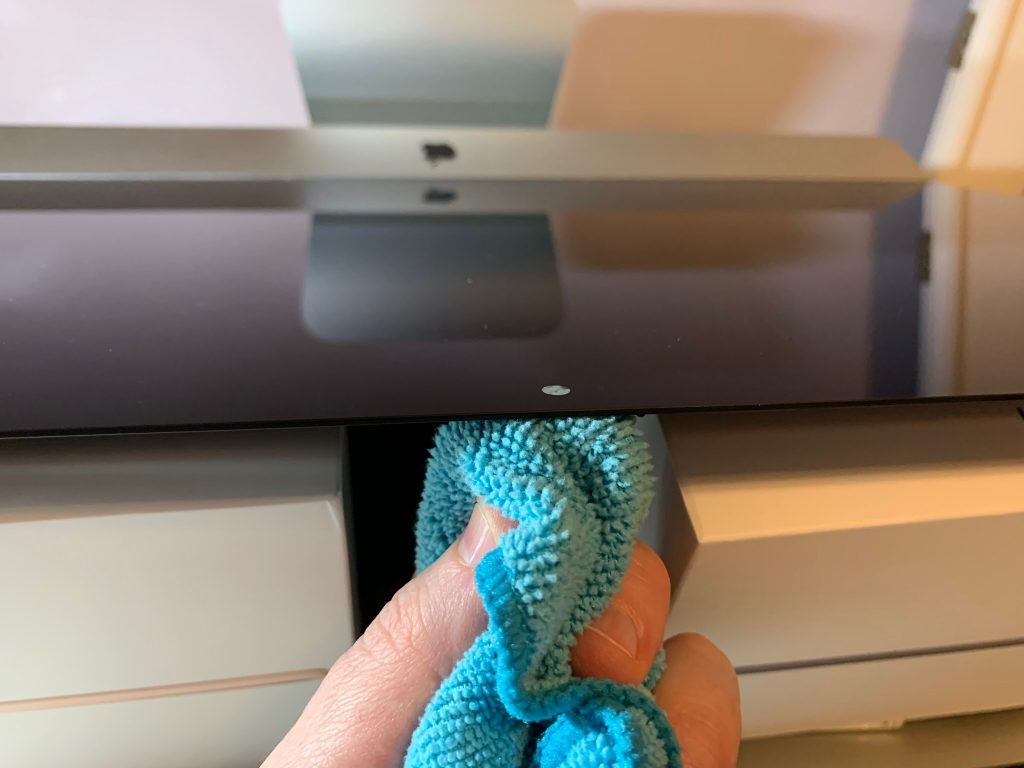
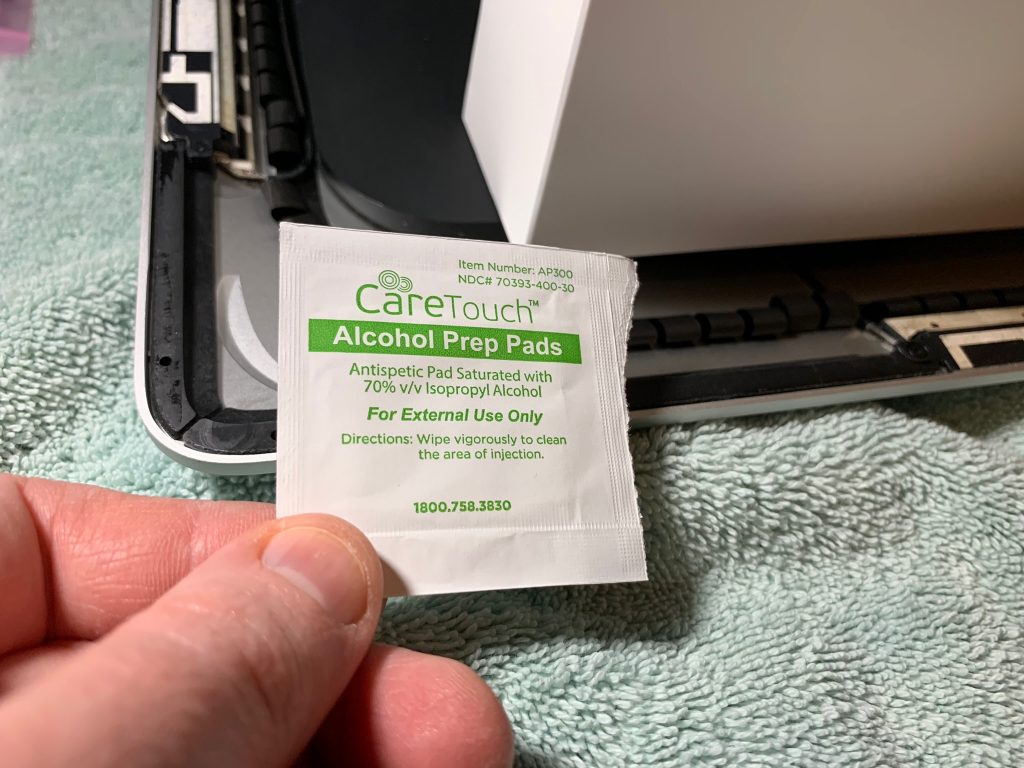
Step 10 – use alcohol wipes to clean up where the strips go
Step 11 – apply new strips
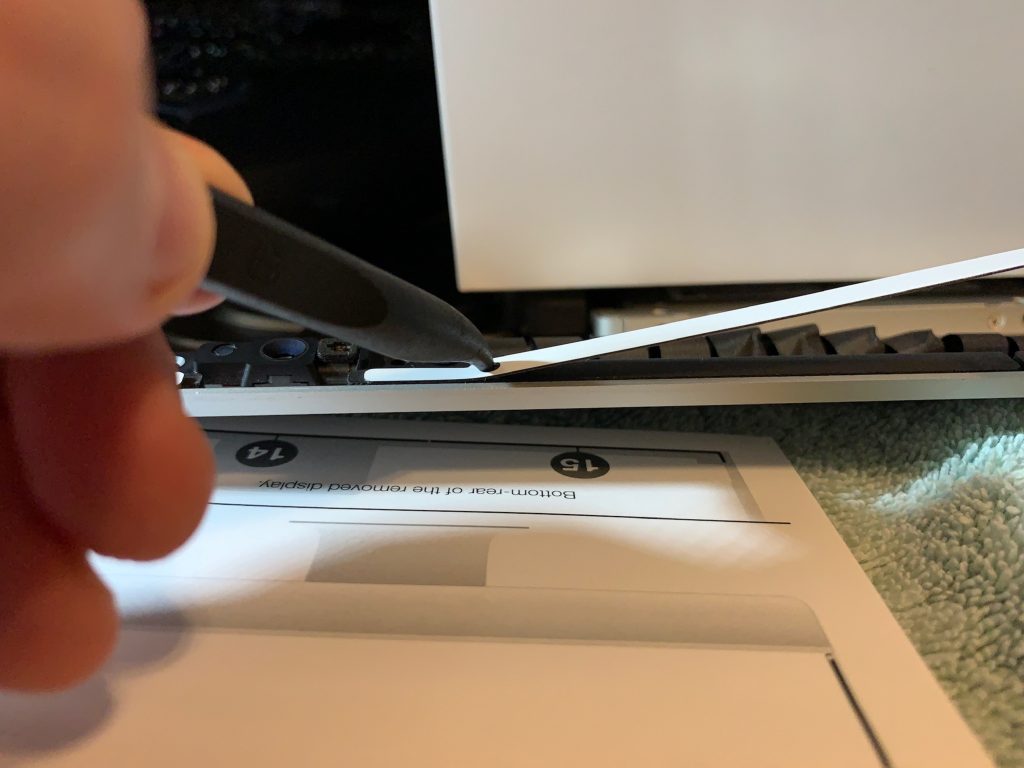
Step 12 – lower screen back down to adhere to new adhesive strips

Step 13 – Boot up iMac and begin post install steps

Post Install Setup Steps (colons refer to terminal commands)

Step 14 – Boot off macOS usb drive by holding down Option

Step 15 – Launch Terminal from top menus

Step 16 -: diskutil list (to determine the names of the old internal SSD and new added SSD)
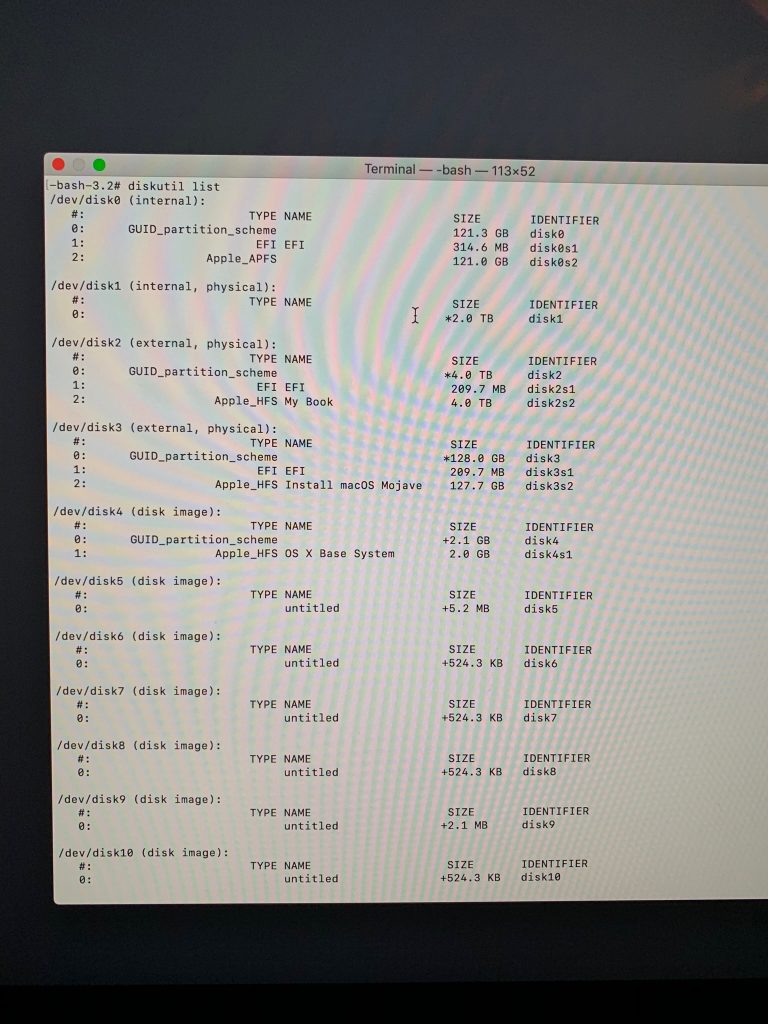
Step 17 -: diskutil coreStorage create fusion /dev/disk1s1 /dev/disk0s1 (where disk1s is the faster internal SSD and disk0s1 is the new SSD
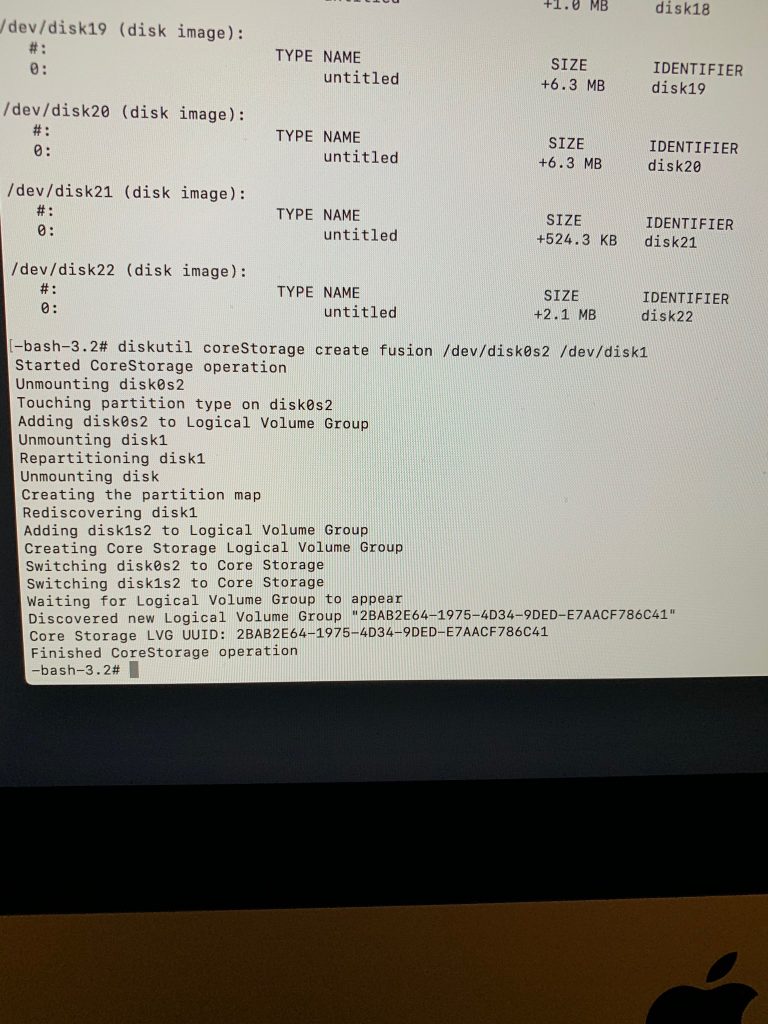
Step 18 – a unique UUID will be displayed identifying the new volume group.  Copy this to clipboard.

Step 19 -: disktuil coreStorage createVolume UUID-FROM-PREV-STEP jhfs+ “Macintosh HD” 100% (This note is likely changing those quotes to evil quotes, you’ll want to type this up with non-evil quotes so a reader can copy them)
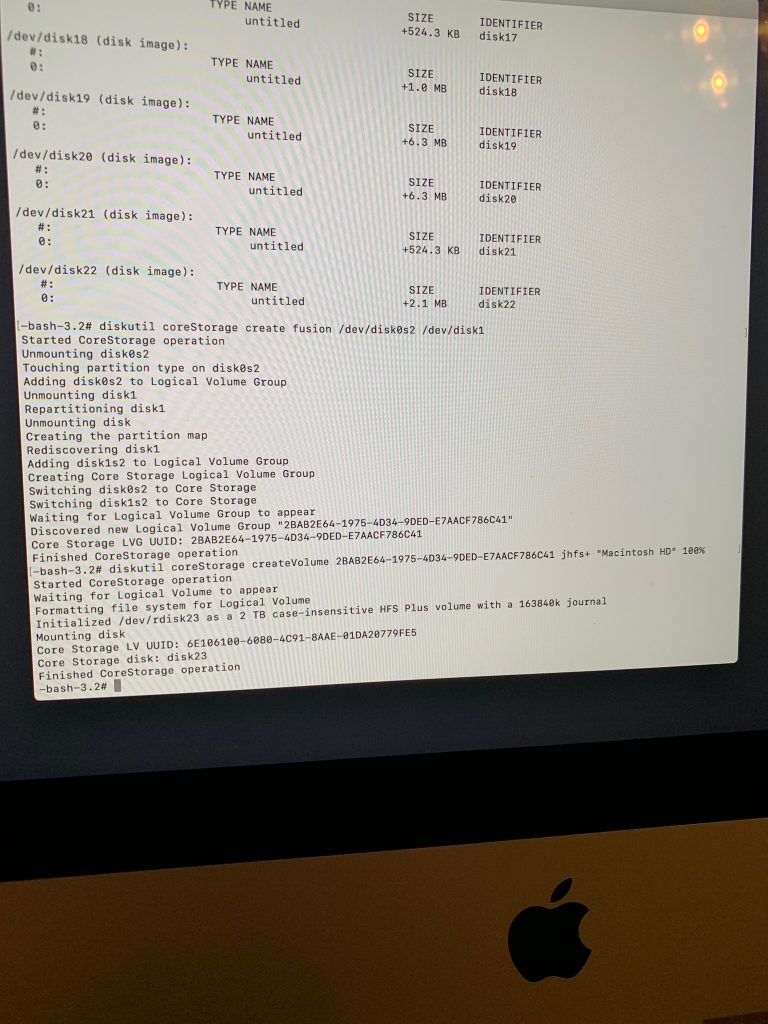
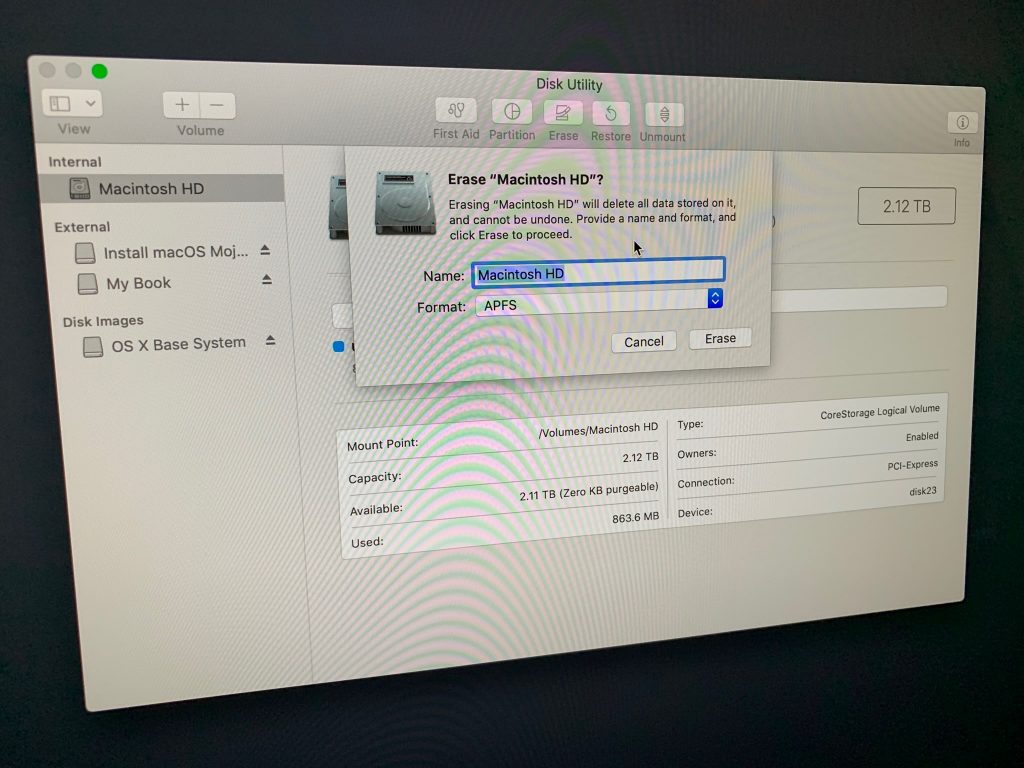
Step 20 – open disk utility

Step 21 – Erase the new Macintosh HD with the APFS option
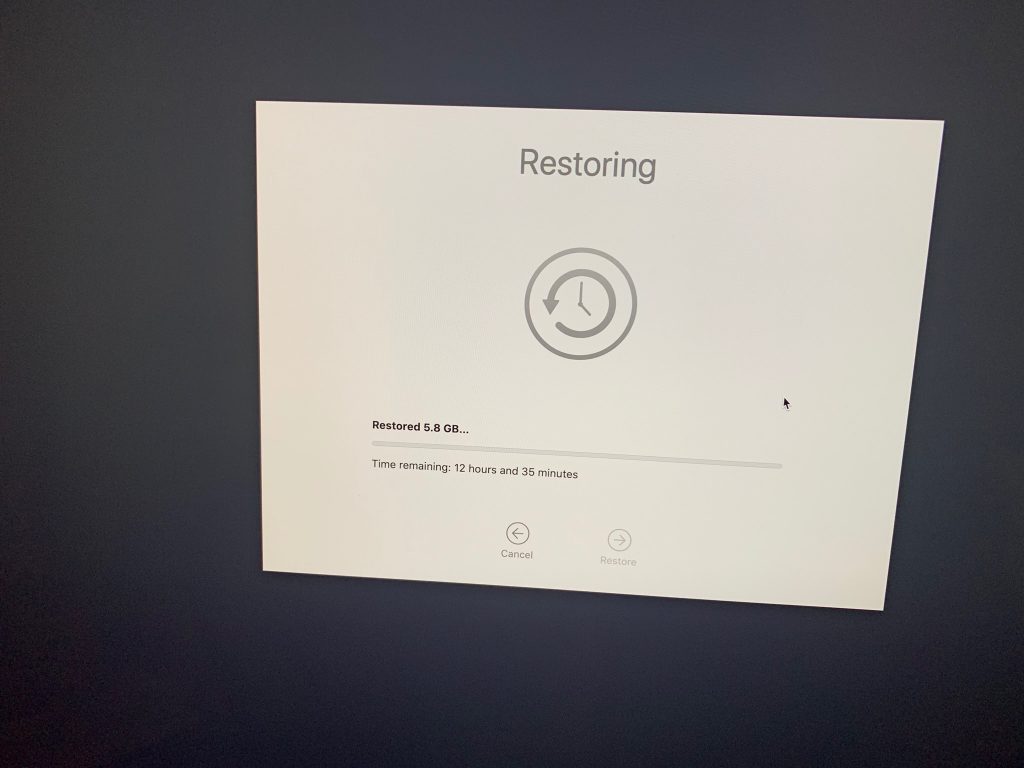
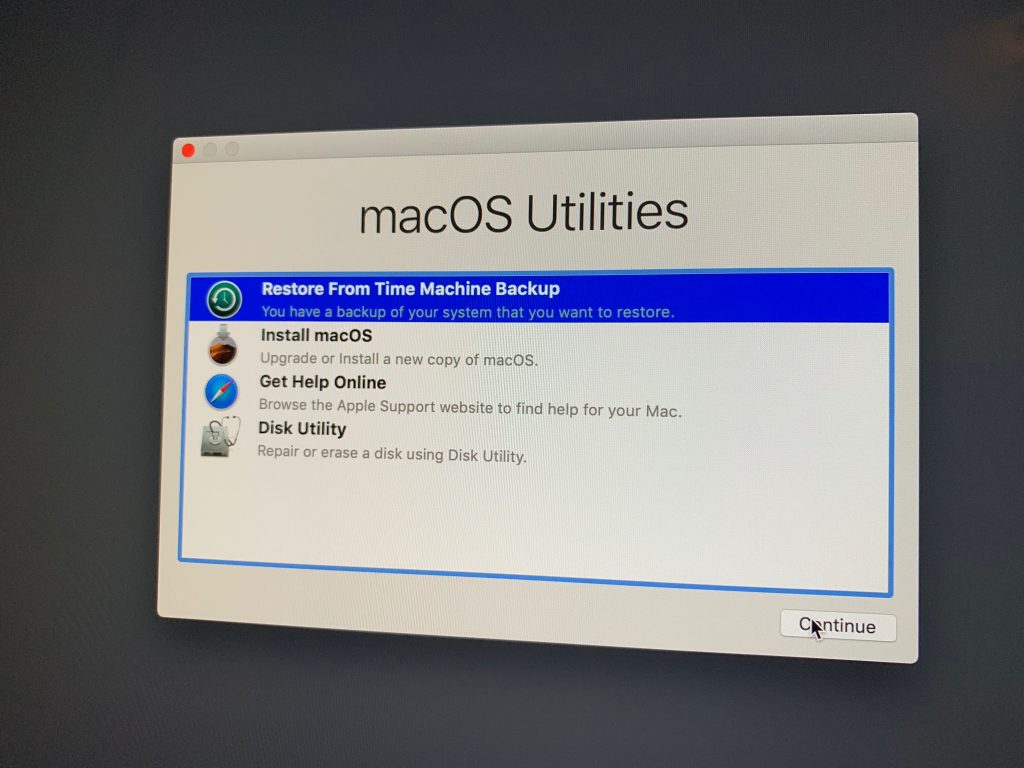
Step 22 – Restore from Time Machine
Step 23 – Open Photos (does restoration for a long time)

Step 24 – Open Mail (does some migration)