2011 Mac Mini Hard Drive Upgrade Video

We just upgraded a 2011 Apple Mac Mini to have an SSD, a second hard drive, and new RAM.

Video


Also available on YouTube in High Definition or Standard Definition.

Parts List

  • OCZ 120 GB Vertex 3 SATA III 6.0 Gb-s 2.5-Inch Solid State Drive VTX3-25SAT3-120G
  • Western Digital 1TB Blue WD10JPVT 5400RPM, 8 MB cache, 2.5 inch, 9.5MM height hard drive
  • Corsair 8 GB DDR3 Laptop Memory Kit CMSO8GX3M2A1333C9
  • Apple Mac Mini Model MC816LL/A 2.5 GHz Intel Core i5 dual-core processor, AMD Radeon HD 6630M graphics, 4GB RAM, 500GB hard drive
  • Cable: Apple Part 922-9560, also called “Apple Mac Mini Server (Mid 2010) Bottom Hard Drive Server Flex Cable” or “Hard Drive Flex Cable Bottom”. We used part number 1009005 at welovemacs.com. This is sold as a kit from ifixit.com.

Alternate Parts List

The OCZ Vertex 3 is the fastest consumer SSD at the moment. Other SSD’s that you might consider include:

The Western Digital Blue drive mentioned above is high capacity and quiet. For a faster spinning hard drive consider:

The dedicated graphics in the mid-tier Mac Mini make it worth it for me. But for the cheapest Mini, consider:

  • Apple Mac Mini MC815LL/A 2.3 GHz Intel Core i5 dual-core processor, integrated Intel HD Graphics 3000, 2GB RAM, 500GB hard drive

UPDATE: My video shows adding two 9.5MM height drives. I just upgraded another Mac Mini with a 9.5MM SSD and a 12.5MM standard hard drive. As with my first upgrade, the hard drive goes in the bottom slot (the side closest to the top of the case when upright). This does fit. But first you need to slide the logic board out slightly. Be sure to remove the IR port adapter before sliding out the logic board. The OWC video shows how to do this. I used a cut up coat hanger to insert into the logic board holes and slide it out.

First Boot

Starting with a blank hard drive is easy on the 2011 Mac Mini. Hold down Command-R to boot into Lion Recovery which allows you to format the drives and download Lion over the Internet.

TRIM Support in Lion

For optimal SSD performance, enable TRIM support within OS X Lion. Grant Pannell describes the terminal commands to enable TRIM.

Photos of Upgrade
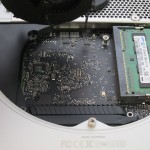
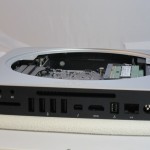
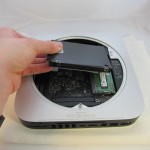
Opened
Opened
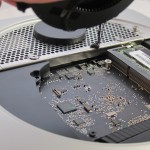
Fan Removal
Fan Removal
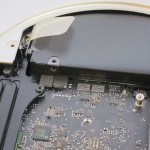
WiFi Connection
WiFi Connection
Empty Hard Drive Bay
Empty Drive Bay
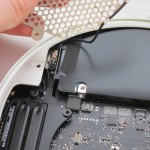
Original Hard Drive
Original Hard Drive
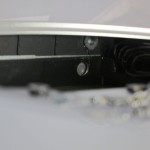
Drive Bay Side View 1
Drive Bay Side View 2
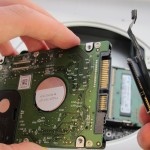
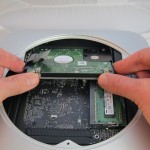
New Hard Drive & Cable
New Hard Drive Insertion
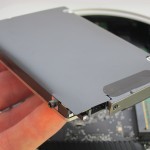
New SSD
New SSD
New SSD & Drive Cables Attached
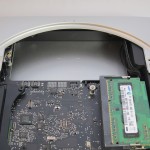
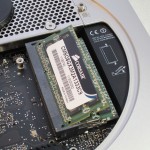
New RAM
New RAM
Attach Fan
Attach Fan

Accidentally put an SD card in the iMac’s DVD drive?

Apple usually puts a lot of thought into the design of their hardware.  However, the placement of the SD card slot right below the DVD drive has always escaped me.  I always suspected people are looking directly at their screen and put the card in the slot by feel.  As a result, it is probably all too common to accidentally put the card in the DVD drive which is right above it.  I recently saw this happen for the first time.

My first thought was to take apart the iMac including the DVD drive.  Unfortunately, this requires specialized tools and 1-2 hours of time.  I tried shaking it out (a scary thought with an expensive piece of hardware) but it didn’t budge because of the foam guards at the end.  Finally, I created a high tech tool just for the job.

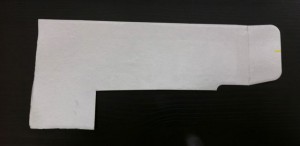
This is a piece of cardboard cutout to have a little extension at the bottom.  I inserted this at the top of the drive and pushed as far back as possible.  I then slide it down and pulled it forward and the extension pushed the SD card right out.  This is a rather thin piece of cardboard which is probably necessary.  Be sure to be gentle as you don’t want to damage the DVD drive in any way.

Bamboo Stylus

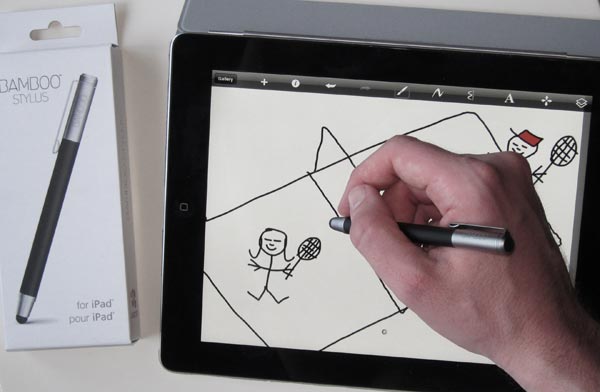
Although the iPad is designed and best used as a finger input device, I occasionally switch to using a stylus, especially when drawing (see my beautiful artwork below). I’ve tried nearly all of the styluses out there and found the new Bamboo Stylus to be the best available so far. The reason is that others have a thicker pointing area that slides poorly and is less precise. The Bamboo Stylus has a smaller more precise tip (they claim 25% smaller than competitors) and feels solid and properly weighted. It is well made in Japan.

Combining the Bamboo Stylus with Sketchbook Pro for iPad ($4.99) makes a powerful drawing system. I prefer this to using a Wacom tablet for drawing since I can directly see what I’m doing under the stylus.

I’m waiting on the Cosmonaut Stylus (should be out in August) to see how its wide-grip compares. But at least until then, the Bamboo Stylus to be the best available so far. The reason is that others have a thicker pointing area that slides poorly and is less precise. The Bamboo Stylus is the best out there.

There is still the inherent downside that you can not rest your hand on the iPad since that will be seen as a touch input. But even with that nit, I enjoy using this stylus.

See your iPhone Travel History

iPhone Tracker is a new desktop application that allows people to see where their iPhone has logged it’s travels. My iPhone has kept it’s entire travel history, going back to June 2010 when I got my iPhone 4. iPhone Tracker uses the data from your iPhone backups in iTunes.

It’s a little buggy, but still an interesting way to see your travels.

iPhone Tracker is can be downloaded for Mac and Windows.

It appears that the iPhones (like other phones) keep this data to provide GPS applications with your last location and make it easier to quickly attain your current location. If you want to protect your iTunes backup from divulging this information, go to your iPhone Summary page in iTunes and check off Encrypt iPhone backup.