Apple Vision Pro

I first used virtual reality goggles in 1994, when Sega set up a demo in Boulder, Colorado. It was very rudimentary. I virtually ran around for 20 minutes while vector-drawn teradactyls tried to attack me from above. I was disoriented, but fascinated. Apple has made a huge leap with the launch of the Vision Pro today. But I remain unconvinced that this is something most people will want to regularly use.

After using the Vision Pro for a week, I’m super impressed by the technology. It really feels like an amazing new interface. For Apple users, it’s both completely new and intuitive. Being able to place apps all around you is fun. Seeing immersive 3d videos and games is captivating.

But I don’t think many people will want to spend a lot of time with a headset on. The downsides are obviously weight and comfort. Even when that is improved, you’re still not in the real world. And the real world is great. There’s zero video jitter. You can make eye contact with people around you. There’s nothing smushed against your face.

I’ve ready many reviews saying that the Vision Pro is great, but that it’s really a preview of what’s coming in a few years. Just wait, they say, and the kinks will be ironed out. There will be more apps and we’ll find out how people really want to use this. I hope this is true. But I wonder if people are ever going to want to wear something on their head and live inside this for more than an hour at a time.

Like an immersive ride at Walt Disney World, it’s a lot of fun. I suggest signing up for a free demo at the Apple stores. These last about 20 minutes, and it really is a blast. But also like a Disney ride, you wouldn’t want it to last hours.

My digital persona, or as someone called me “old man ghost baby.” This is an Apple “beta” for how video conferencing works within the Vision Pro.

"Old man ghost baby" version of me, as we call my digital persona

Using Apple Configurator for Printers

Apple devices typically use a service called Bonjour to look for AirPrint printers. Printers can be anywhere on your network and the service typically works to find out where (what IP address the printer is using). But if this doesn’t work for you, there can be a more reliable to connect to printers.

To set a particular printer to be accessed by an IP address, first you need to make that printer have a static IP (so that the IP address doesn’t change). This can be done through the printer itself or your router.

Then you need to make a profile using Apple Configurator (available through the Mac App Store). Make a new profile and name it something like “Printers.” Then add the printer(s) to the profile and put in the IP address(es). This profile can then be loaded on any Apple device (Mac OS or iOS).

By the way, this also helps if you want to print remotely while logged in through a VPN. Many VPN’s don’t play nicely with Bonjour, while using this direct approach works.

Preparing for Theft

Unfortunately, I’ve had several clients who have been robbed. The most recent was when a laptop was stolen from a car. There are some actions that you can take to avoid the worst outcomes if a theft does happen.

  1. Set Up Passwords:
    • Use strong, unique passwords or passcodes for both your device and your accounts.
    • Enable biometric authentication methods like fingerprint or facial recognition if available.
  2. Enable Remote Tracking and Wiping:
    • For smartphones, enable features like Find My iPhone (iOS) or Find My Device (Android). For laptops, use tracking software like Find My Mac (Apple) or Find My Device (Windows).
    • Set up remote wipe options to erase your data if the device is lost or stolen.
  3. Backup Your Data:
    • Regularly back up your device’s data to an external drive or a cloud service. This ensures you can recover your important files even if the device is stolen. Both Apple and Microsoft offer cloud backup services.
  4. Protect your Passwords
    • Especially important today, don’t let people see you type your phone or laptop login password. This “shoulder surfing” is now common before a theft. Once people can log in, they can change your password and actually lock you out of your accounts.

Don’t Buy a New Computer Now

There’s a saying that the best time to buy a computer is when you need one. WIth new technology always arriving, most jumps in technology are incremental. So just buy whenever.  Today, in August 2020, I suggest waiting a bit longer if you can.

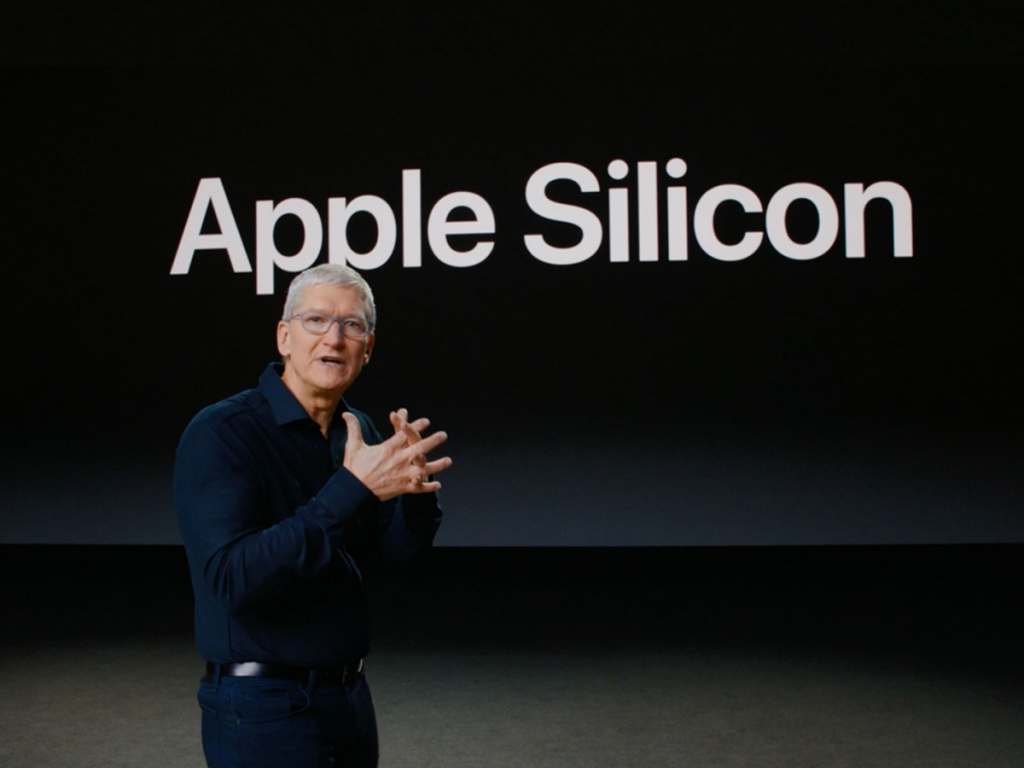
Apple is leading the way to end of Intel-based computers with their announcement that they will start using “Apple Silicon” in their computers. This will be a huge jump for Apple’s computers and it portends similar changes that are surely coming to the PC.

Apple CEO Tim Cook Announcing Apple Silicon (aka ARM) for Macs

42 years ago in 1978, Intel came out with the 8086 chip and the x86 architecture. Intel, along with Advanced Micro Devices (AMD) later, made practically every computer’s central processing unit (CPU). (There were many exceptions such as Motorola 68000 chips and PowerPC CPUs, but these never achieved the scale or had the long run of Intel’s CPUs.)

ARM CPUs use a different RISC-based architecture than Intel’s CPUs, and became most ubiquitous in Apple’s iPhones and iPads, as well as most Android phones. Apple will start selling Macs this year with ARM CPUs, which Apple refers to as “Apple Silicon,” justifiably since Apple puts a great deal of effort into designing and optimizing the CPUs for their devices.

ARM is already becoming popular in servers. Therefore, we only await Microsoft Windows’ move to ARM for a full transition away from the Intel era. (Microsoft Windows does have an ARM version, but it is not 64-bit and was never made to be able to run the x86 applications.)

What does an ARM CPU mean for consumers? Due to efficiencies of the ARM CPU, we will see computers that are faster, smaller, and cheaper, while also having better battery life. This is partially because Intel has hit technical snags which have kept their CPUs stagnant the last few years. While AMD has made great improvements with their Zen chips on the same x86 architecture, ARM chips are clearly the power per watt leaders of the future.

So certainly buy a new computer if you need one now. But a big jump in computing is on the way.

Upgrade iMac to Fusion SSD for Speed

TechDC iMac 27” 2017  HDD to SSD (should work if there’s no fusion too)

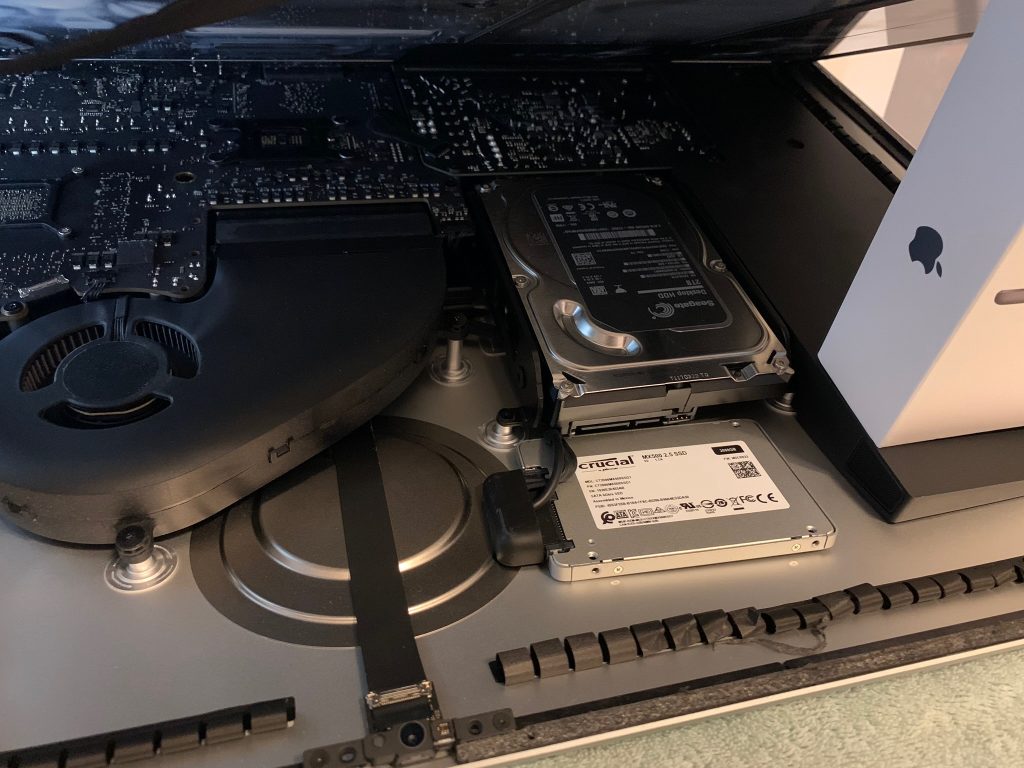
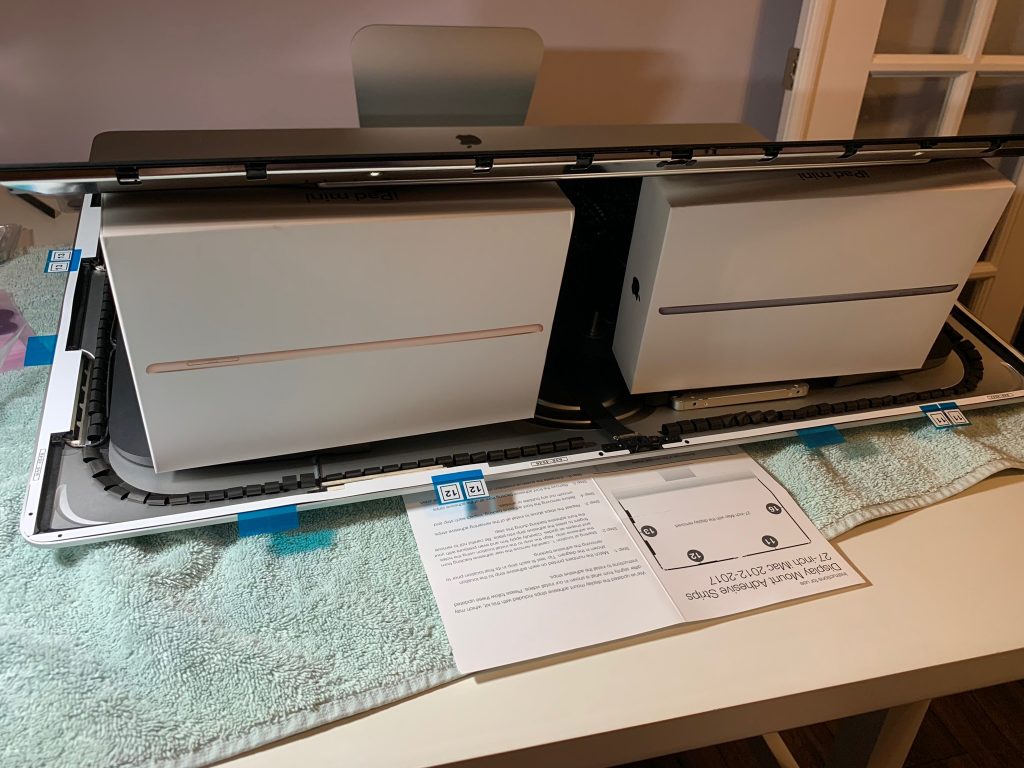
I recently upgraded a 2017 iMac with a Fusion drive (SSD plus hard drive) to an SSD only Fusion drive by replacing the hard drive (HDD) with an SSD. While the idea of a fusion SSD may sound weird, it works great. The SSD in iMacs (especially 2017 and beyond) are much faster than a standard SSD, so you still get the fusion benefit of combining a faster and slower drive. And replacing a HDD with SSD is a huge speed improvement that can make a computer feel much more responsive.

Parts List

Crucial 2TB SSD ($207) – this is a hair faster than the Samsung.  

Or

Samsung 4TB SSD ($400) – not a lot of 4TB options on amazon

iMac adhesive strips + opening wheel

Generic phone and iMac work kit (has the necessary plastic cards and scraping tools and many other parts not used)

3M pads to adhere SSD inside iMac

Preparation Steps (note that a colon on a step means its a terminal command)

Step – Backup via Time Machine (to be restored later)

Step – Create a macOS (Mojave) boot usb drive (9to5Mac Article)

Step – Boot off usb drive (hold option key) and secure erase the HDD.  Since the HDD will be left inside the iMac, best to be safe and securely erase it.

Step – Launch Terminal from top menu Utilities 

Step -: diskutil list (to determine the name of the synthesized fusion disk drive such as /dev/disk2)

Step -: diskutil secureErase 0 /dev/diskX (where diskX is the name of the disk to HDD) (This can take hours depending on your drive size) (this does a single pass of zeros written for security, there are options to do more)

Installing SSD Steps 

Based on https://www.ifixit.com/Guide/iMac+Intel+27-Inch+Retina+5K+Display+Hard+Drive+Replacement/30522

& https://www.ifixit.com/Guide/How+to+Add+An+SSD+To+The+27-Inch+iMac+(Late+2015)/67309

Step 1 – Lay iMac on its back 
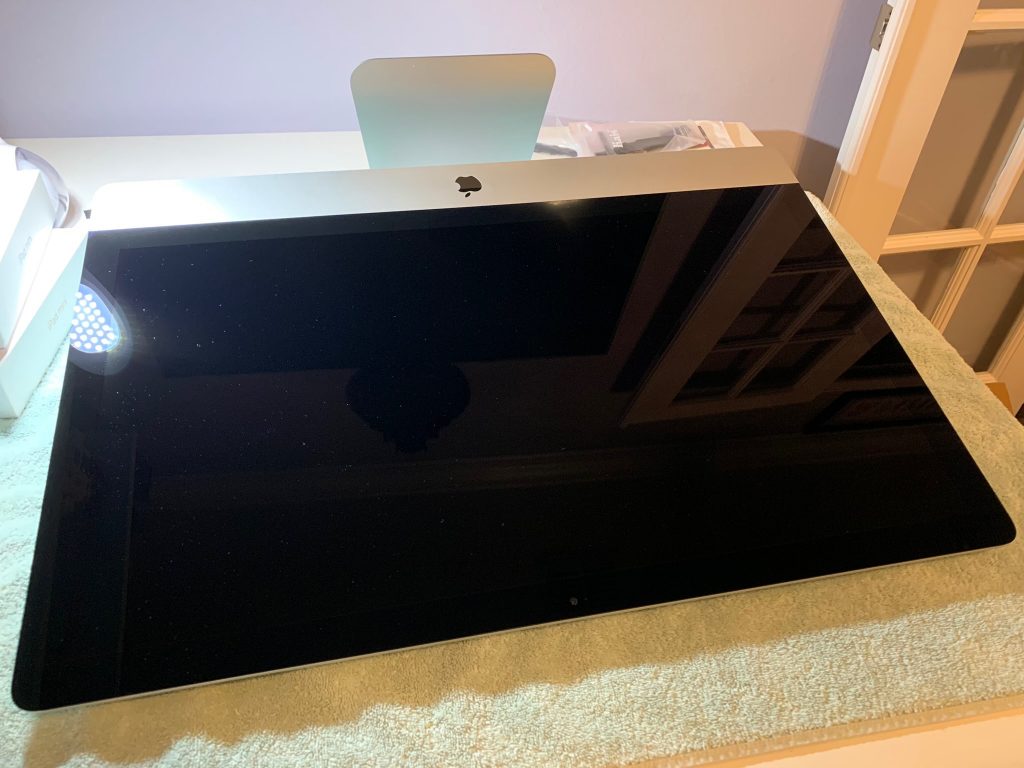
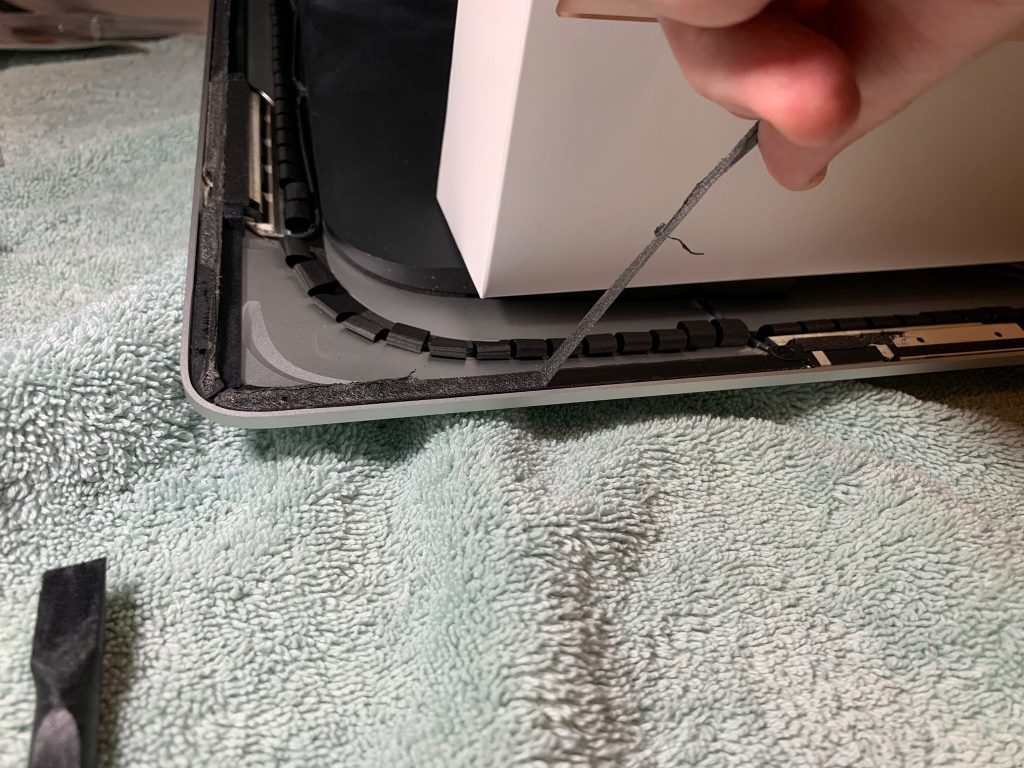
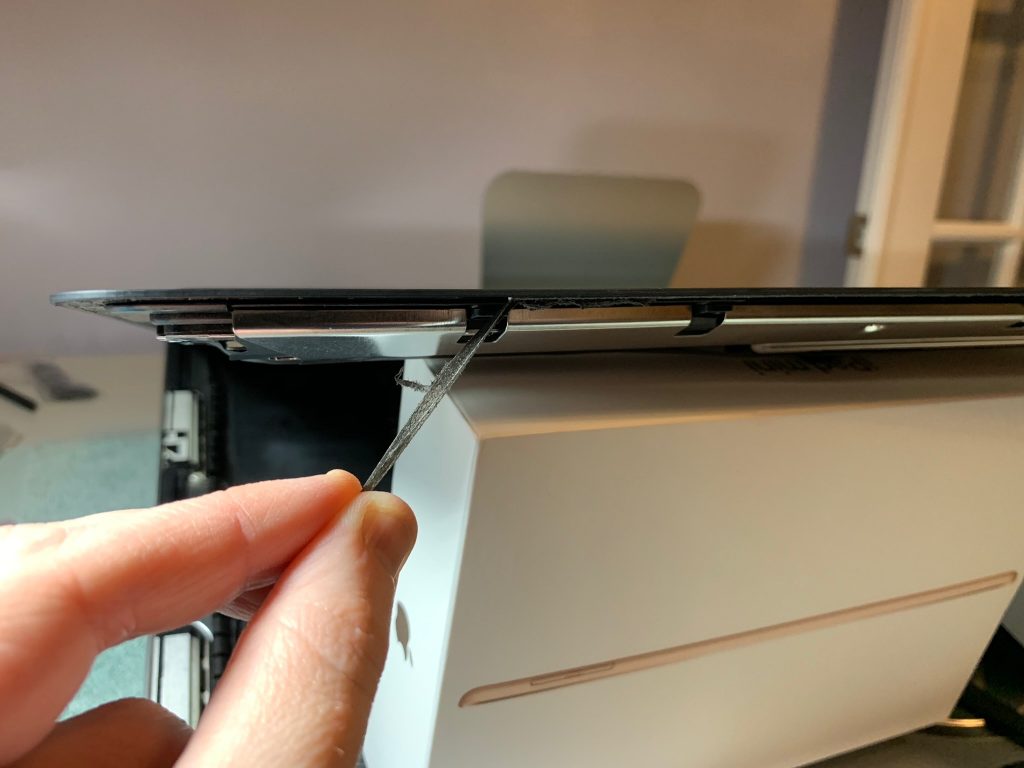
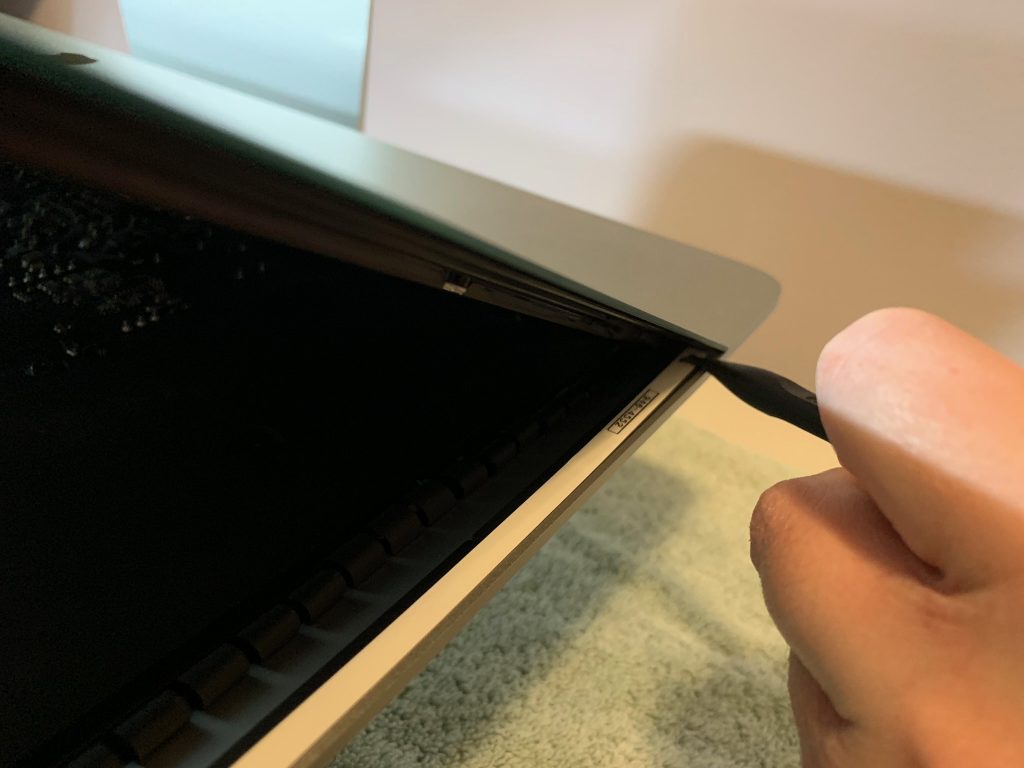
Step 2 – use roller tool to cut thru glue
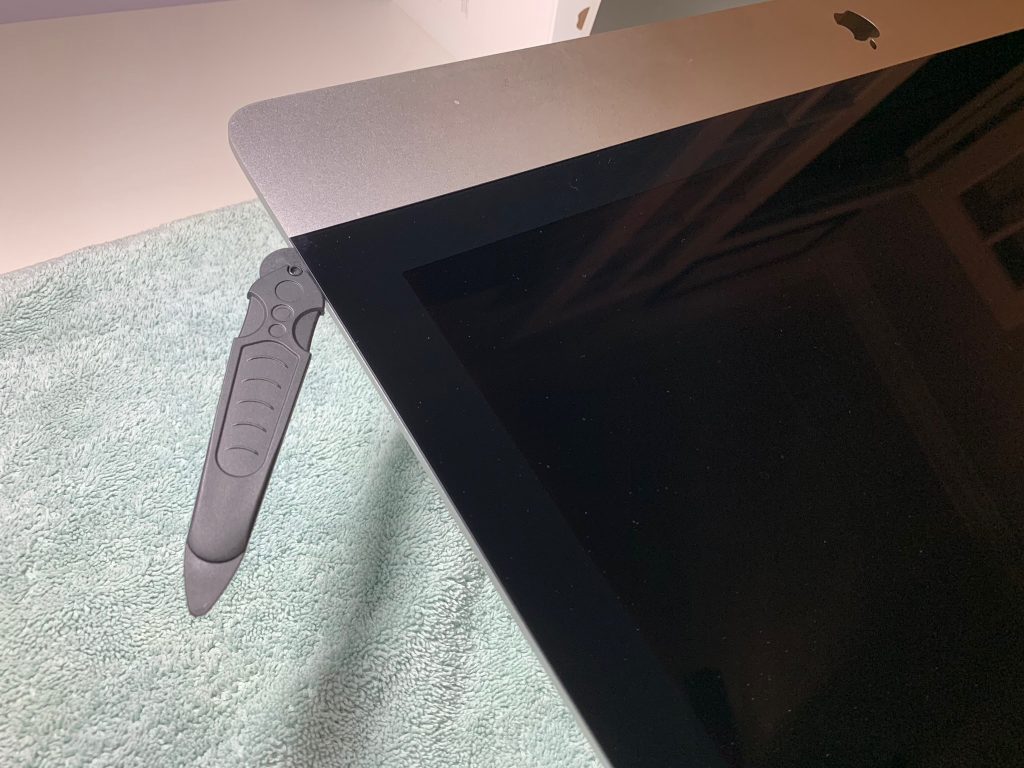
Step 3 – use plastic cards to separate remaining glue (takes time and work)
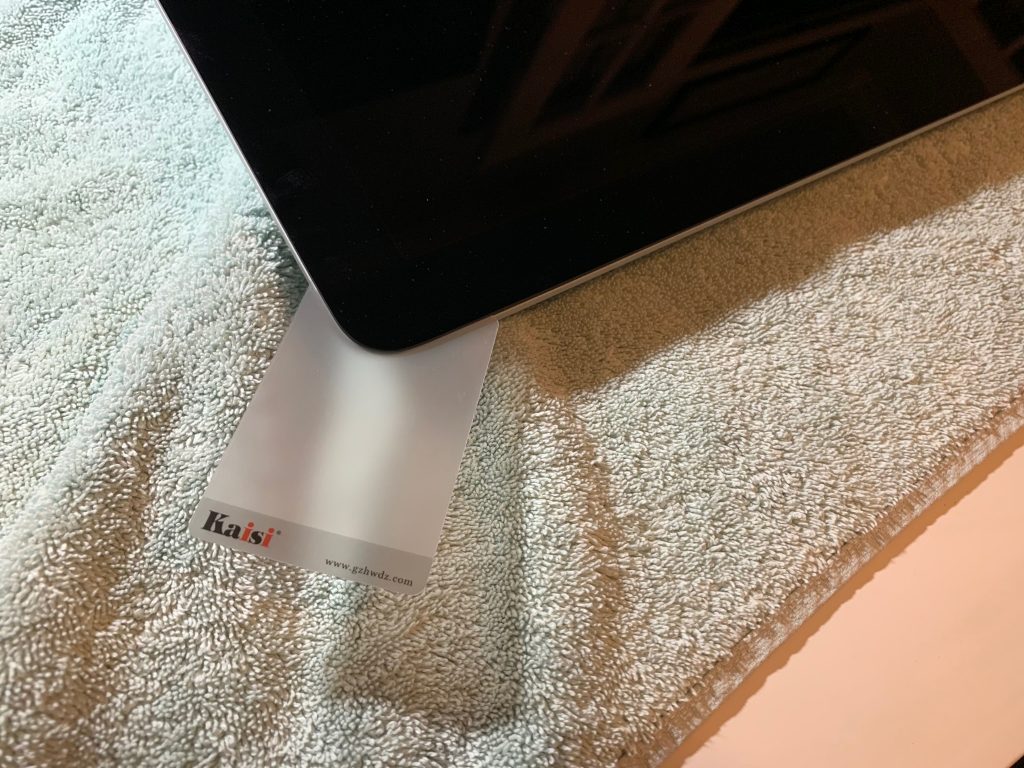
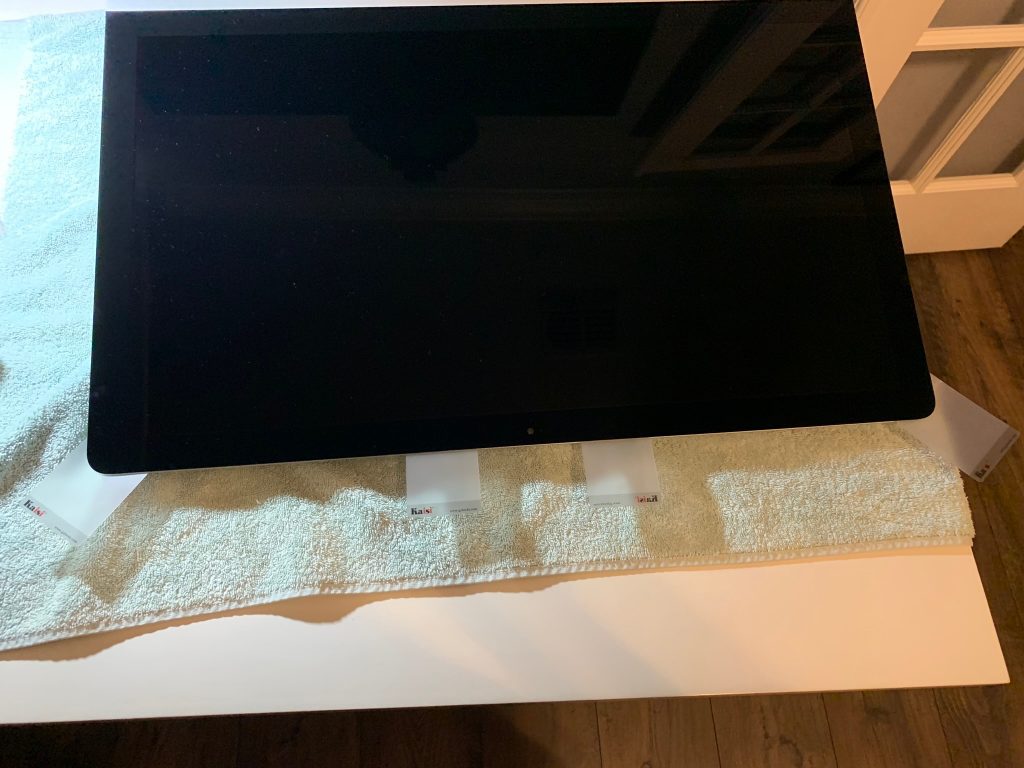
Plastic Cards

Step 4 – lift up screen ad prop up with boxes
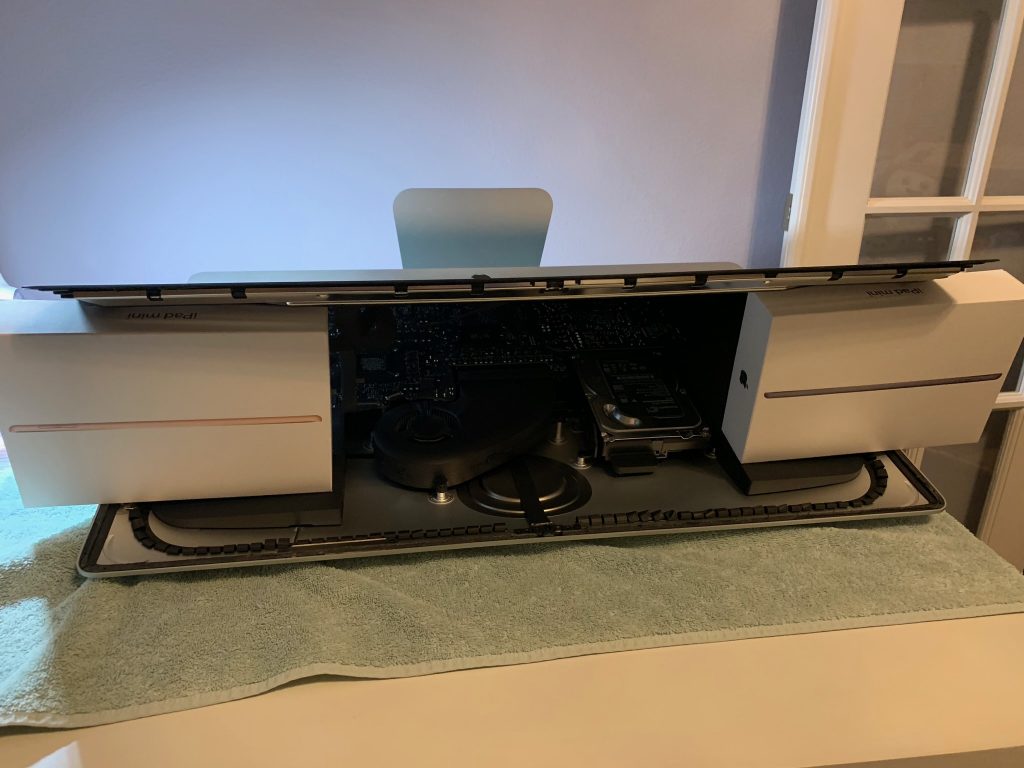
Step 5 – unplug old HDD
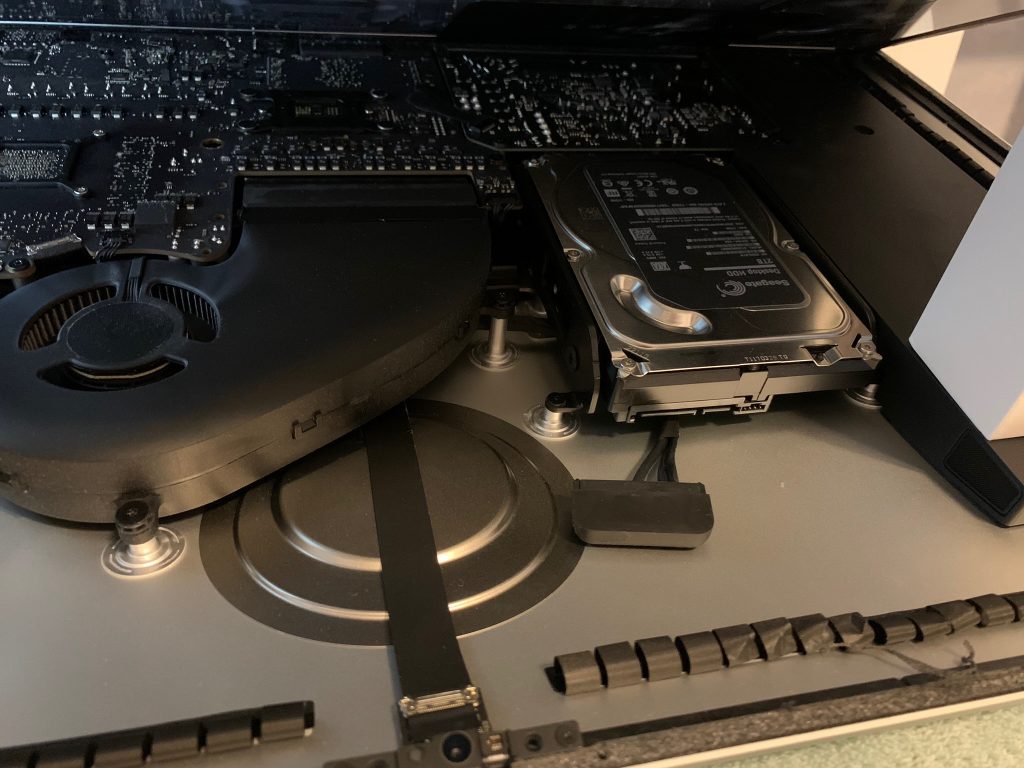
Step 6 – plug in new SSD

Step 7 – attach adhesive strips to SSD and stick to iMac wall, as near HDD as possible.  Slight angle is needed for opposite corners of SSD to touch curved wall.  I only put adhesive strips on opposite corners of the SSD.
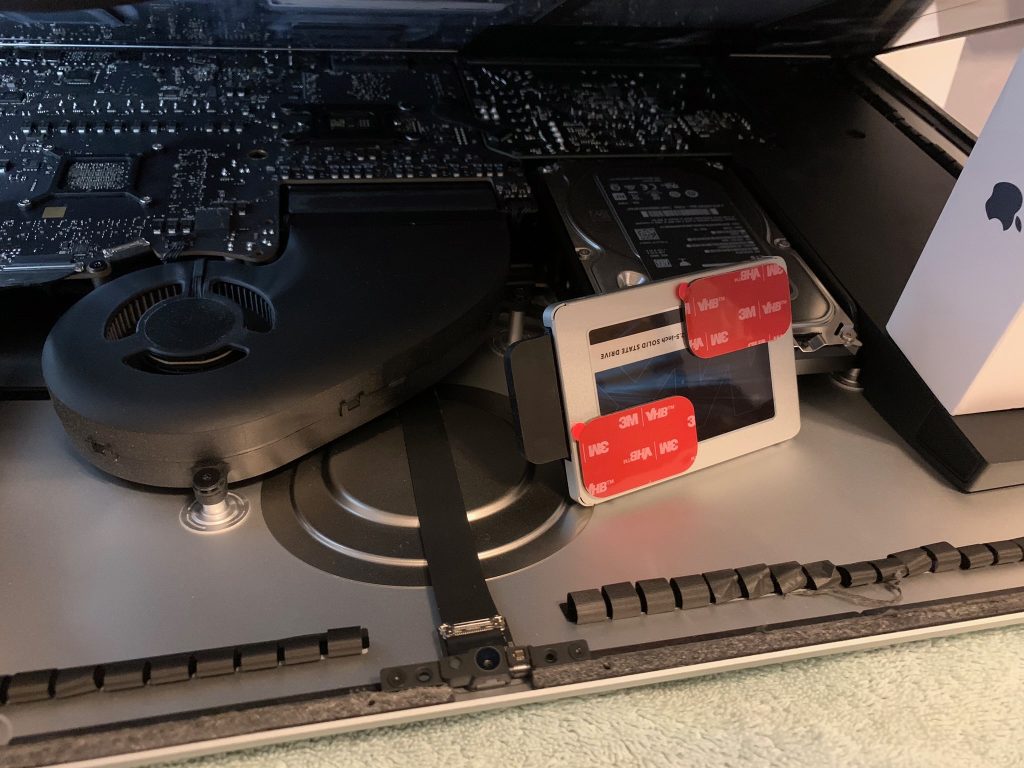
Step 8 – move prop up boxes to inside the iMac so you can do the next step
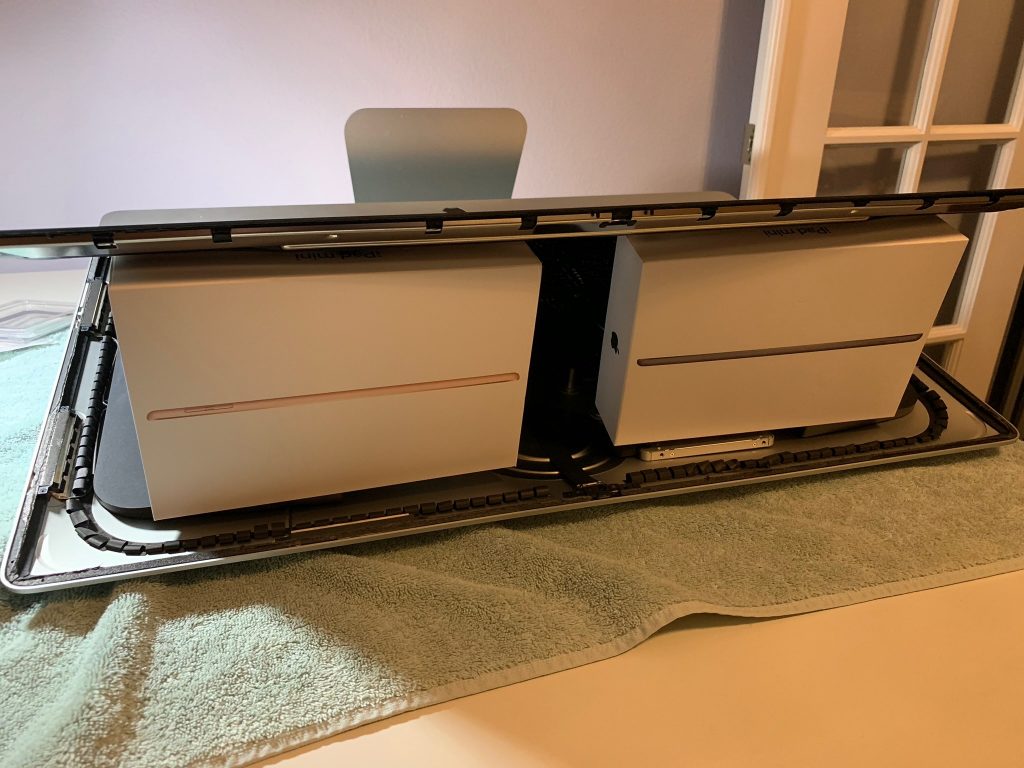
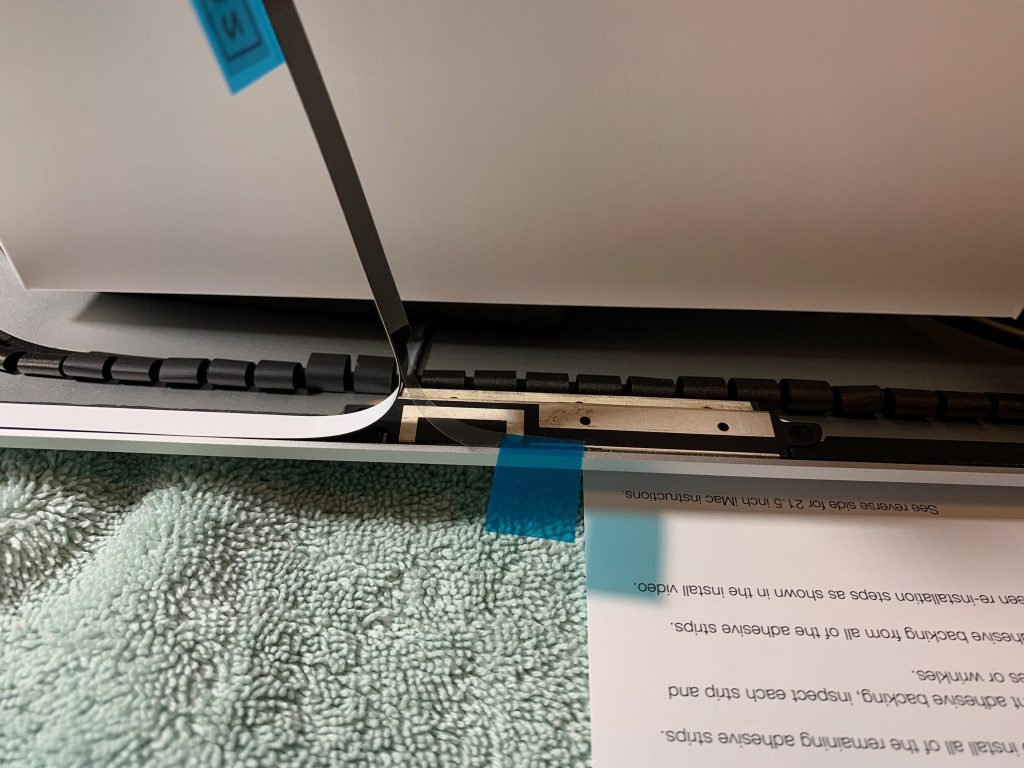
Step 9 – remove all adhesive that held screen in place (takes the most time)
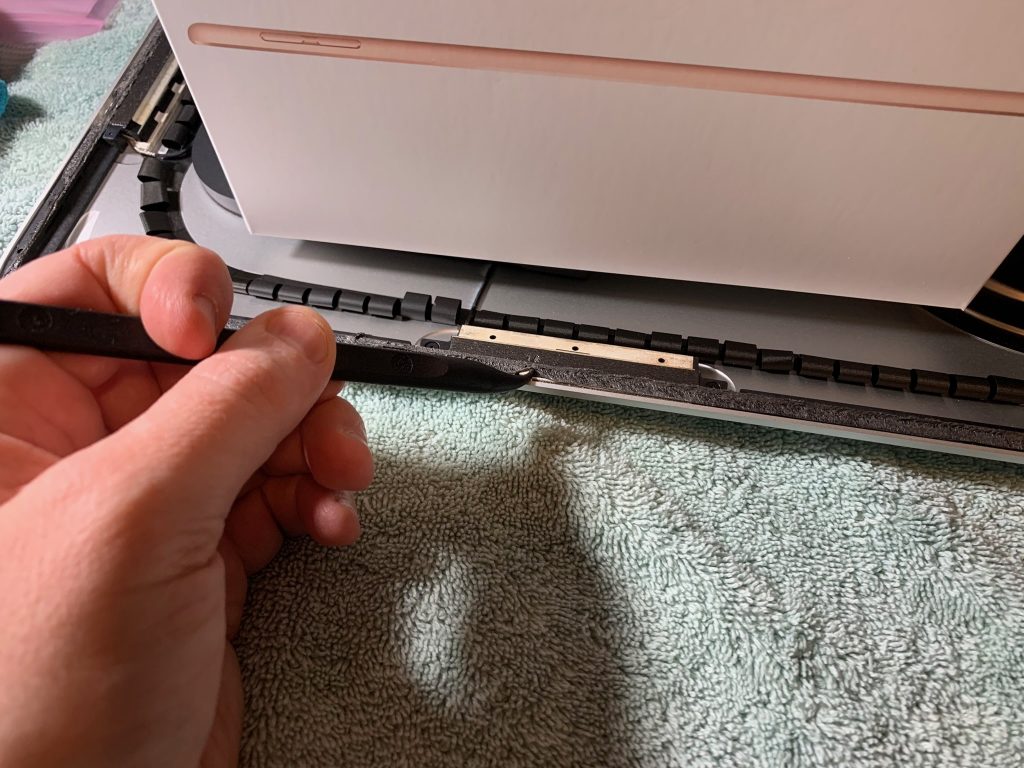
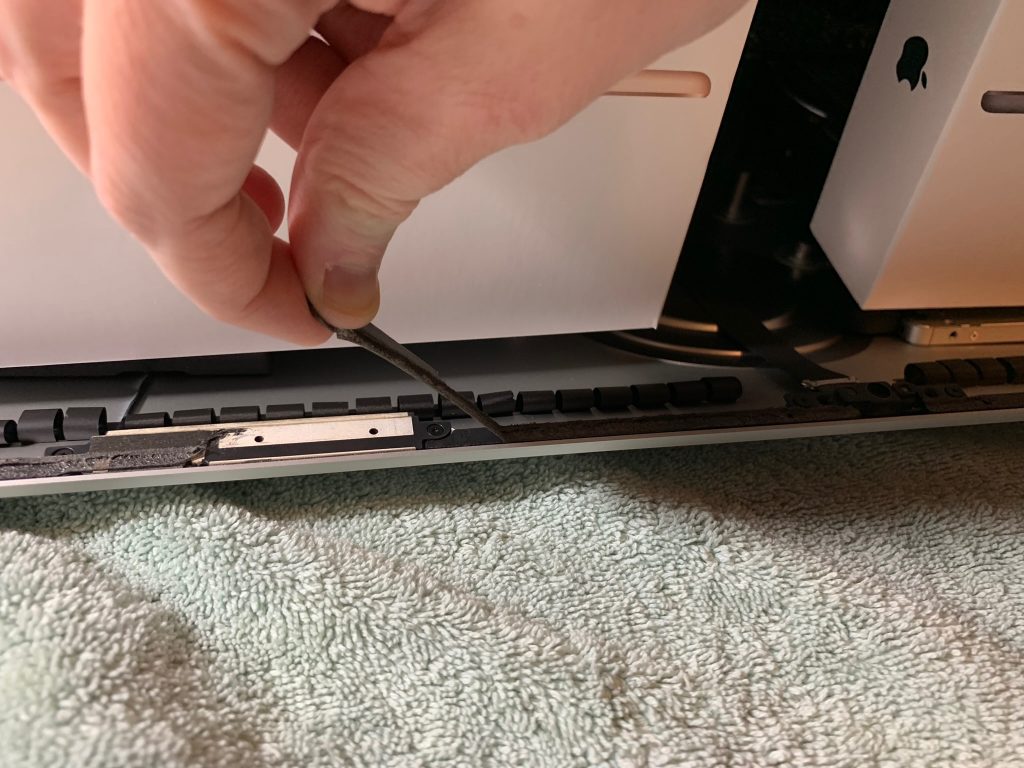
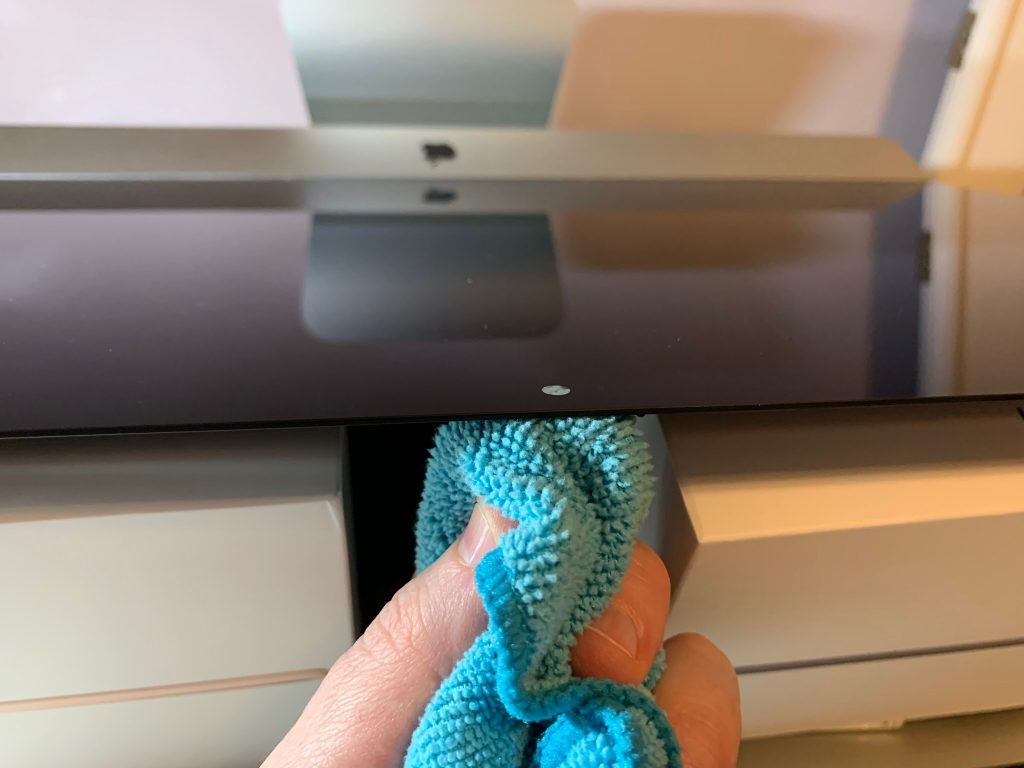
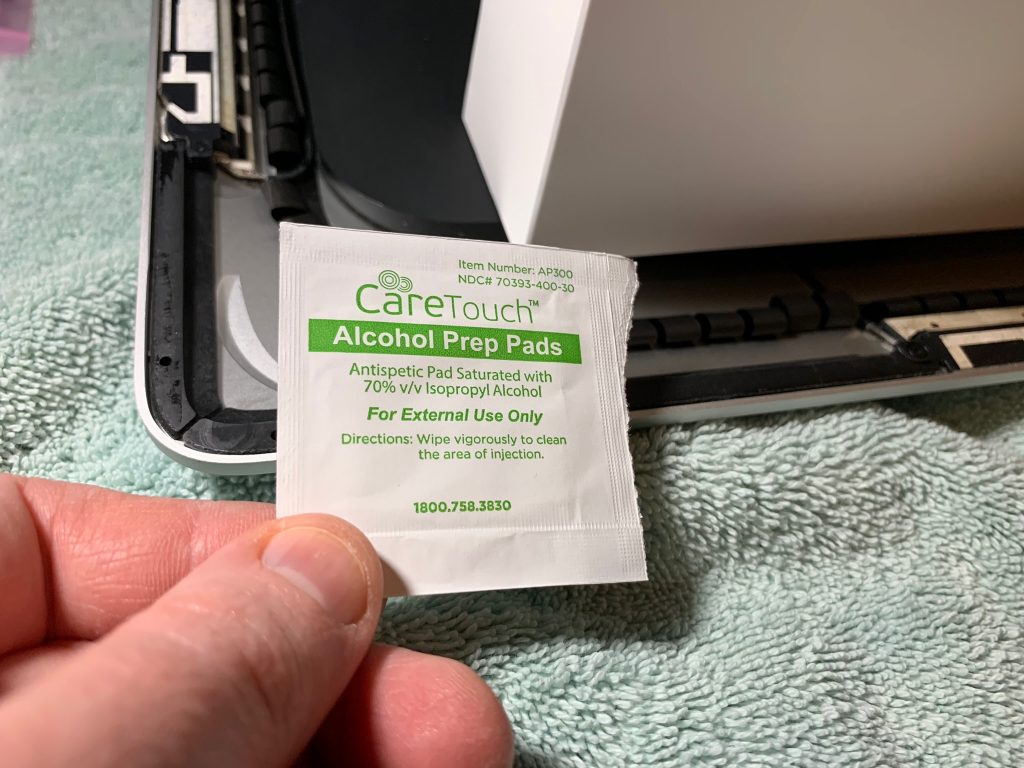
Step 10 – use alcohol wipes to clean up where the strips go
Step 11 – apply new strips
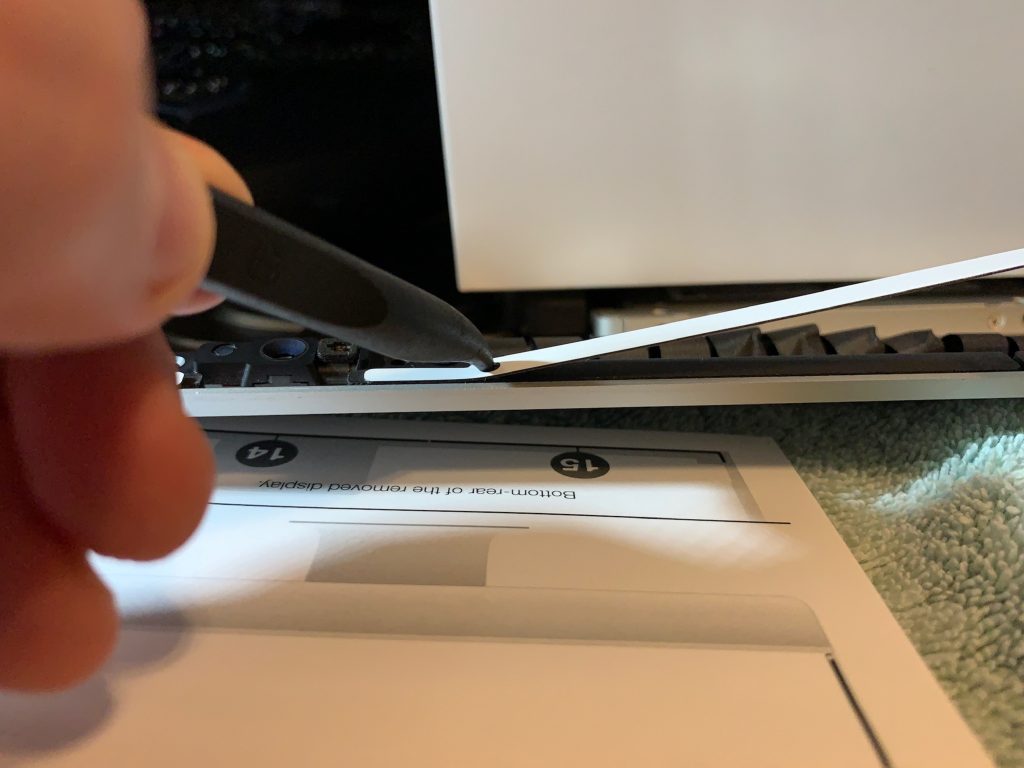
Step 12 – lower screen back down to adhere to new adhesive strips

Step 13 – Boot up iMac and begin post install steps

Post Install Setup Steps (colons refer to terminal commands)

Step 14 – Boot off macOS usb drive by holding down Option

Step 15 – Launch Terminal from top menus

Step 16 -: diskutil list (to determine the names of the old internal SSD and new added SSD)
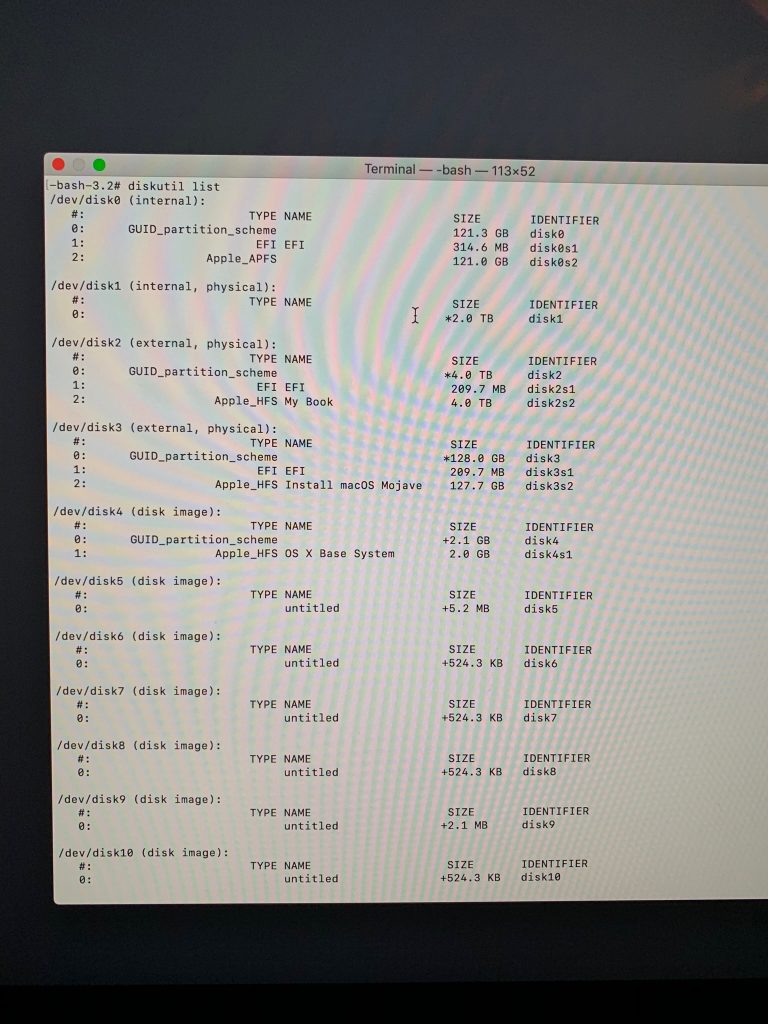
Step 17 -: diskutil coreStorage create fusion /dev/disk1s1 /dev/disk0s1 (where disk1s is the faster internal SSD and disk0s1 is the new SSD
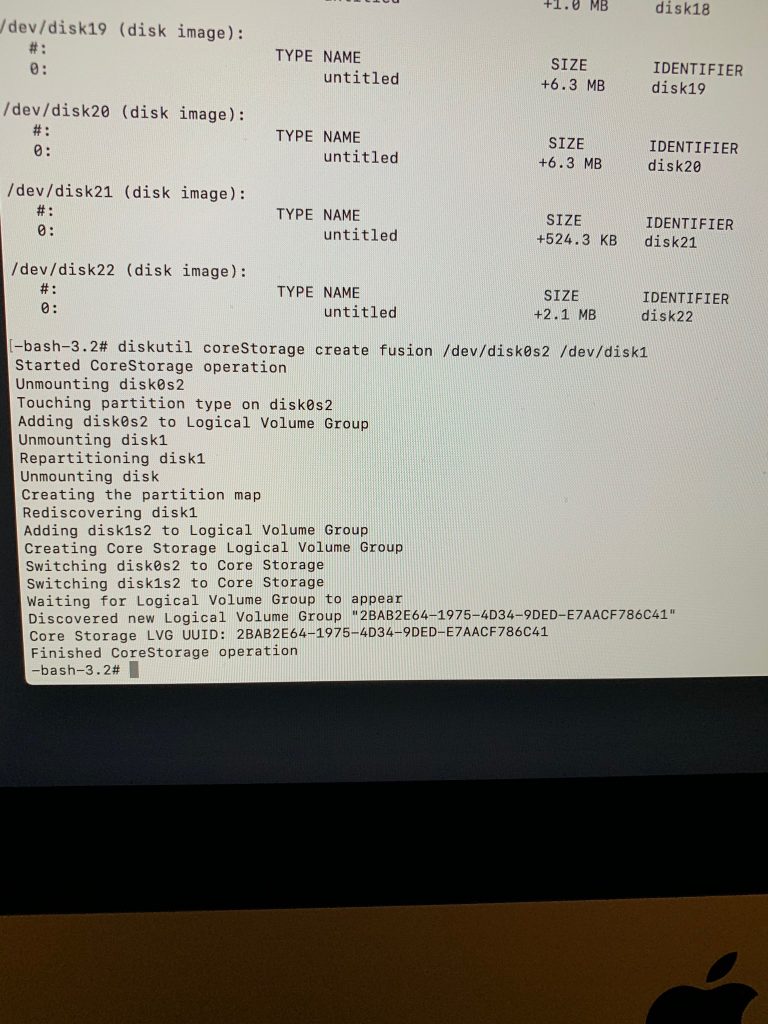
Step 18 – a unique UUID will be displayed identifying the new volume group.  Copy this to clipboard.

Step 19 -: disktuil coreStorage createVolume UUID-FROM-PREV-STEP jhfs+ “Macintosh HD” 100% (This note is likely changing those quotes to evil quotes, you’ll want to type this up with non-evil quotes so a reader can copy them)
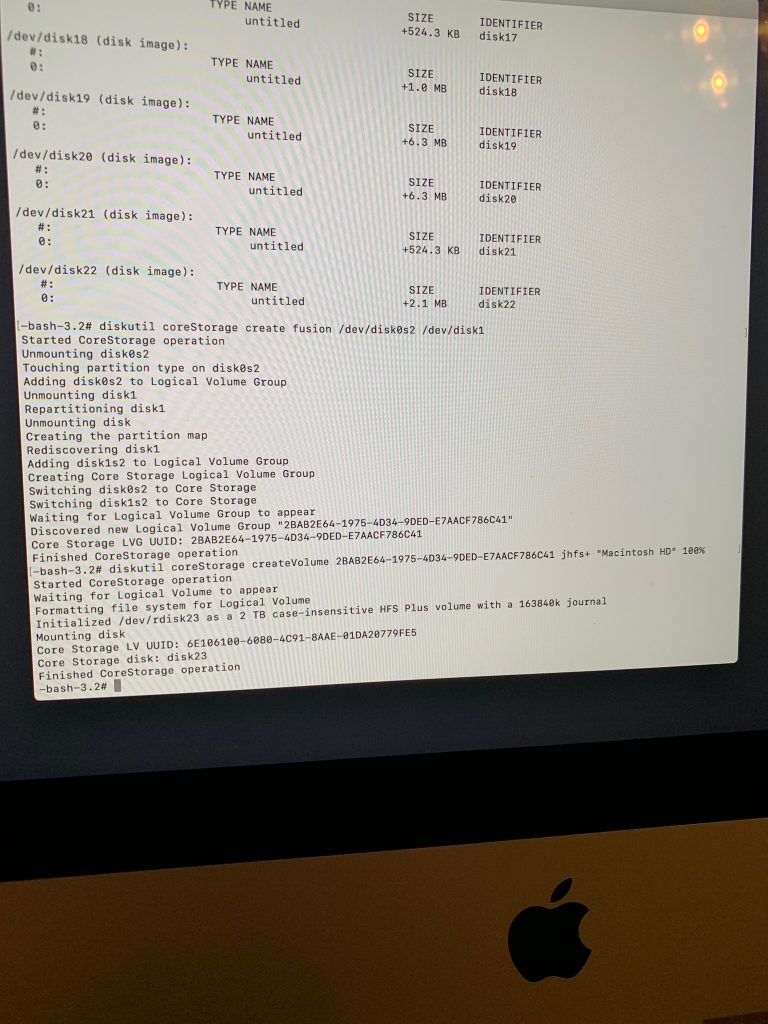
Step 20 – open disk utility

Step 21 – Erase the new Macintosh HD with the APFS option
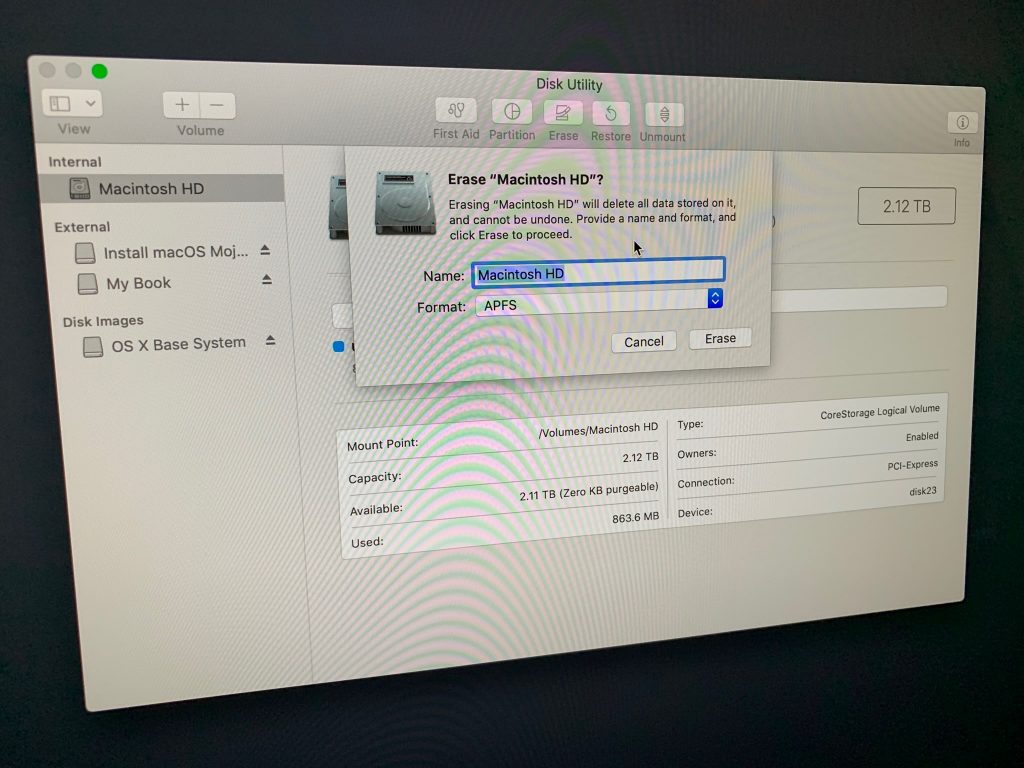
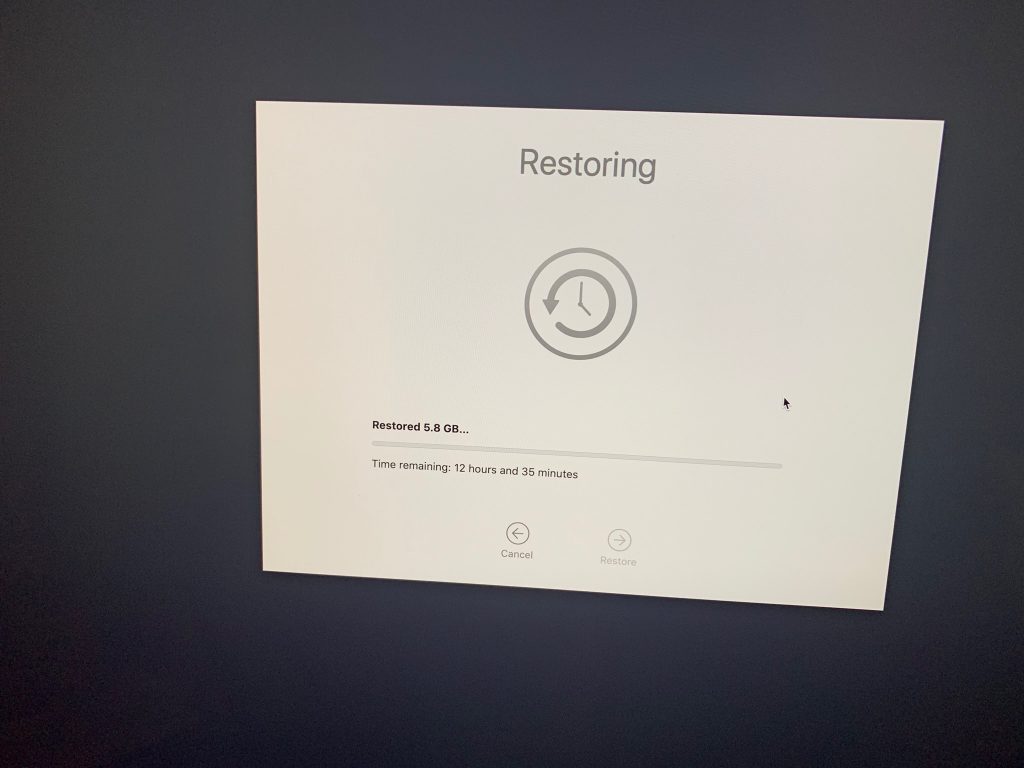
Step 22 – Restore from Time Machine
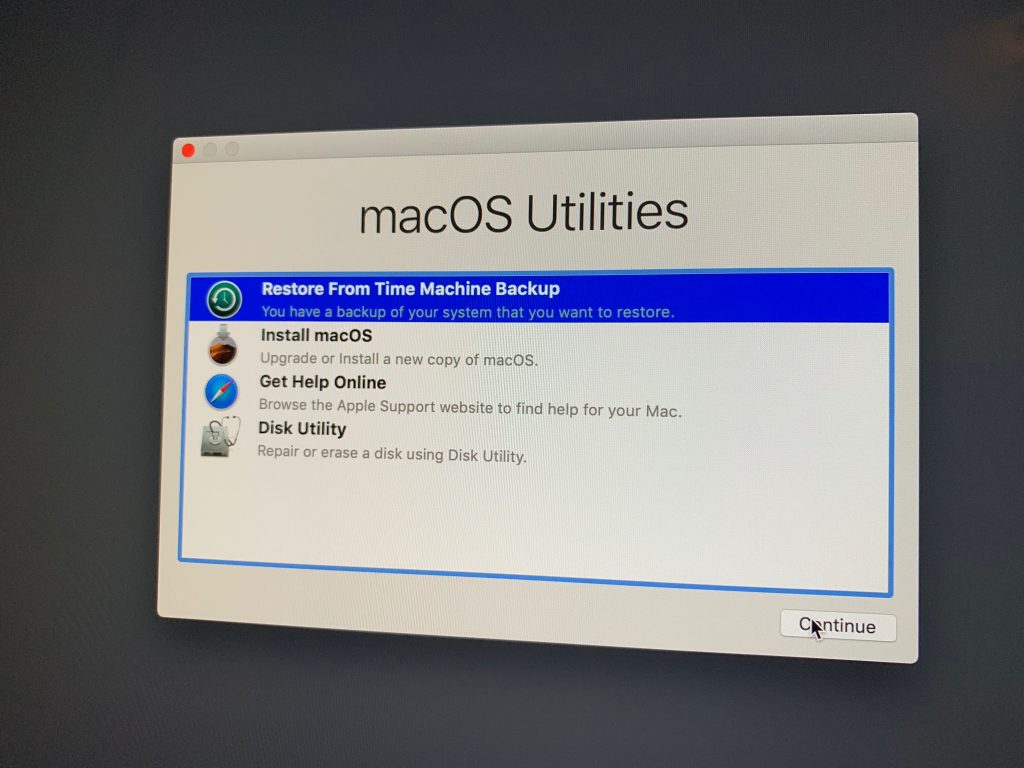
Step 23 – Open Photos (does restoration for a long time)

Step 24 – Open Mail (does some migration)