Time for a break? One of these Kindles decided that it was. Don’t drop your Kindle.
Keynotes – Amazon and Apple
2011 Mac Mini Hard Drive Upgrade Video
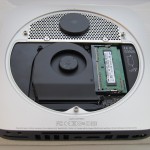
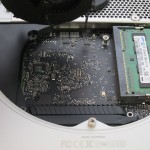
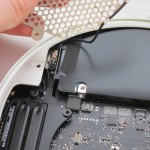
We just upgraded a 2011 Apple Mac Mini to have an SSD, a second hard drive, and new RAM.
Video
Also available on YouTube in High Definition or Standard Definition.
Parts List
- OCZ 120 GB Vertex 3 SATA III 6.0 Gb-s 2.5-Inch Solid State Drive VTX3-25SAT3-120G
- Western Digital 1TB Blue WD10JPVT 5400RPM, 8 MB cache, 2.5 inch, 9.5MM height hard drive
- Corsair 8 GB DDR3 Laptop Memory
Kit CMSO8GX3M2A1333C9
- Apple Mac Mini
Model MC816LL/A 2.5 GHz Intel Core i5 dual-core processor, AMD Radeon HD 6630M graphics, 4GB RAM, 500GB hard drive
- Cable: Apple Part 922-9560, also called “Apple Mac Mini Server (Mid 2010) Bottom Hard Drive Server Flex Cable” or “Hard Drive Flex Cable Bottom”. We used part number 1009005 at welovemacs.com. This is sold as a kit from ifixit.com.
Alternate Parts List
The OCZ Vertex 3 is the fastest consumer SSD at the moment. Other SSD’s that you might consider include:
- Highest reliability SSD: Intel 510 Series 120 GB
- Best value high capacity SSD: Lexar Media Crucial 512 GB m4
The Western Digital Blue drive mentioned above is high capacity and quiet. For a faster spinning hard drive consider:
- Western Digital 750TB Black WD7500BPKT
7200RPM, 16 MB cache, 2.5 inch, 9.5MM height hard drive
The dedicated graphics in the mid-tier Mac Mini make it worth it for me. But for the cheapest Mini, consider:
- Apple Mac Mini MC815LL/A 2.3 GHz Intel Core i5 dual-core processor, integrated Intel HD Graphics 3000, 2GB RAM, 500GB hard drive
UPDATE: My video shows adding two 9.5MM height drives. I just upgraded another Mac Mini with a 9.5MM SSD and a 12.5MM standard hard drive. As with my first upgrade, the hard drive goes in the bottom slot (the side closest to the top of the case when upright). This does fit. But first you need to slide the logic board out slightly. Be sure to remove the IR port adapter before sliding out the logic board. The OWC video shows how to do this. I used a cut up coat hanger to insert into the logic board holes and slide it out.
First Boot
Starting with a blank hard drive is easy on the 2011 Mac Mini. Hold down Command-R to boot into Lion Recovery which allows you to format the drives and download Lion over the Internet.
TRIM Support in Lion
For optimal SSD performance, enable TRIM support within OS X Lion. Grant Pannell describes the terminal commands to enable TRIM.
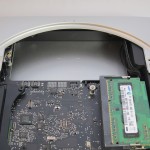
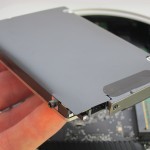
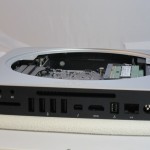
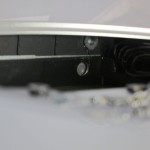
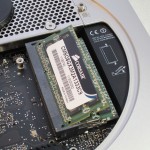
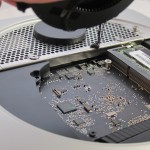
Photos of Upgrade
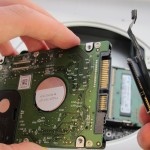
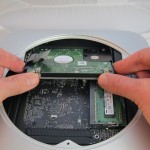
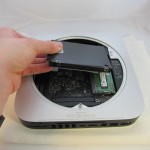
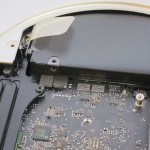
Panasonic DMC-TS3 Waterproof GPS Camera
Panasonic DMC-TS3
It’s summer. And if you’re like me, you want to get out and take pictures. But wait. Are you forgetting something? Yes, you forgot about your crushing fear of dementia which will inevitably make you forget where the photos were taken. Well, there’s a solution for that.
It’s the Panasonic DMC-TS3, my favorite adventure camera with built-in geotagging (the ability to add location metadata to the photo). This allows you to see where the photo was taken from iPhoto, Flickr, and other photo tools.
The DMC-TS3 isn’t a battery hog like other GPS cameras. But it does checks its position periodically so that it doesn’t take too long to find its new location.
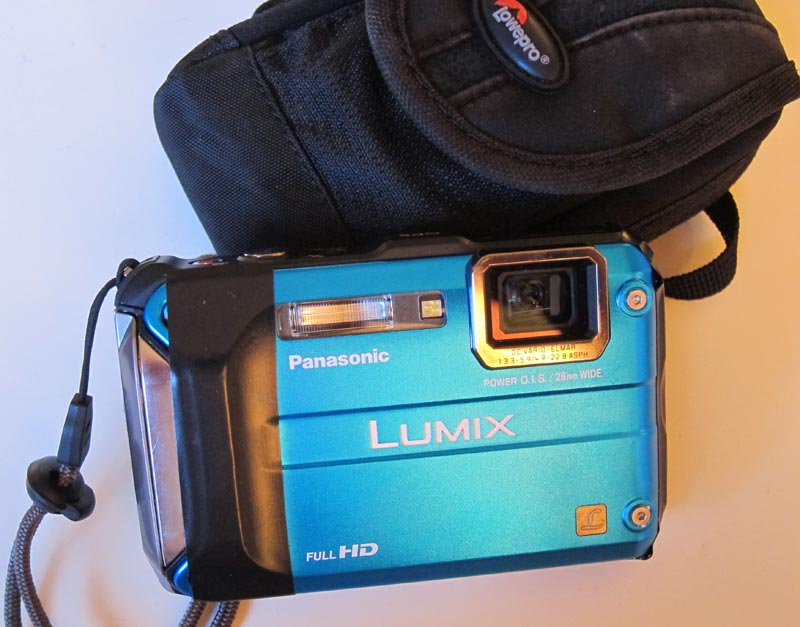 (Panasonic DMC-TS3
 with the Lowepro Rezo 30 case
.)
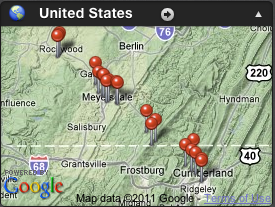
Here’s a map of geotagged photos from within iPhoto of my bike trip along the Great Allegheny.
Other Geotagging Solutions
There are unfortunately very few cameras with GPS tagging built-in. Cell phone cameras such as the iPhone will geotag photos automatically. You can use any camera with the neat iPhone app GeoLogTag but this requires several extra steps to add the location information later. I’d love to have geotagging built into a larger sensor compact camera like the Canon S95.
Waterproof
While the Panasonic DMC-TS3 won’t produce the same low-light shots a S95, it has the additional advantage of being waterproof. It takes amazing underwater photos and videos.
Being waterproof, it’s also great for skiing or any outdoor sports where rain or sweat would attack a normal camera.
The only thing I wish the DMC-TS3 kept from the DMC-TS2 is the rubberized case which made me feel better about bouncing it off rocks. It’s not a huge deal. I’ve put a little bit of black electrical tape on the camera to make it more grippy in wet situations (see photo).
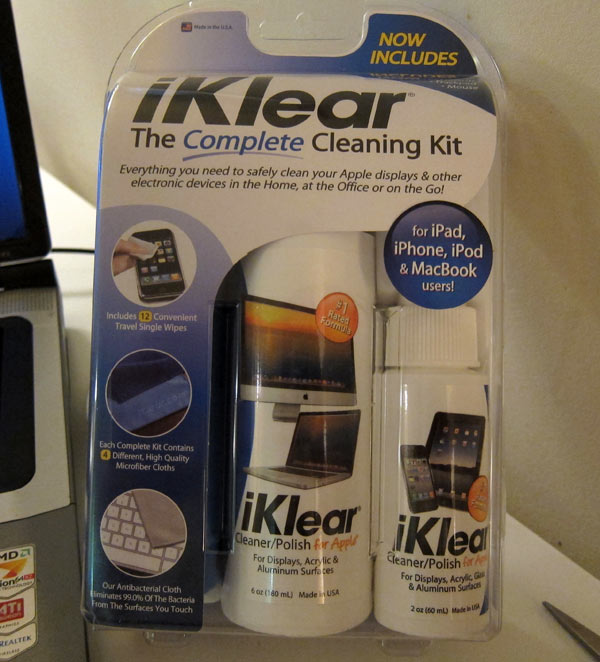
iKlear Cleaning Kit
When clients give me computers that have lots of dirt and smudge on the screen, I grab iKlear to clean it. I saw a few years ago that it’s what Apple uses to clean laptops, especially the white MacBook prone to discoloration.
Now I also use iKlear to clean phones, tablets, and TVs. Do not to use Windex or other cleansers not specifically designed for monitors. They can permanently damage the screen. If you don’t want to spend the money, at least get a microfiber cloth and just use a small amount of plain water.

