Organize Your Mac Desktop

A couple of Mac desktop defaults that I like have changed with OSX Snow Leopard. The icons no longer default to a grid and the Hard Drive icon is gone. Here’s how to change it back.

Putting back the Hard Drive:

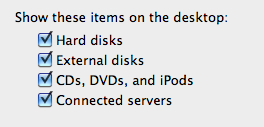
  1. In the Finder, choose Finder -> Preferences.
  2. Click the General icon on the toolbar.
  3. Select Hard disks in the Show these items on the desktop section.
  4. Close the Finder Preferences window.Show Hard Drive on Desktop

Making your icons align to a grid:

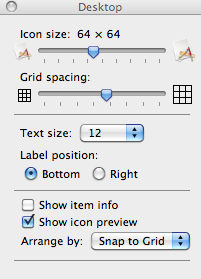
  1. In the Finder, choose View -> Show View Options
  2. Choose Snap to Grid from the Arrange by drop list.Finder View OptionsNotice that this is also where you can change the icon size, grid spacing, and text size.

Windows “AntiSpyware” 2009

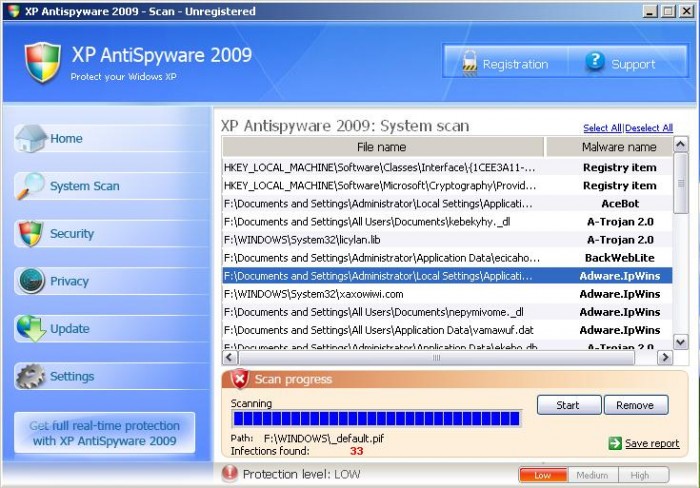
Gina Trapani wrote up a great article on the infamous Antispyware 2009 and how to get rid of it. This software pretends to be legitimate antivirus software, but is itself a virus. There are many variants of the software and I wrote about one of them called Antivirus XP 2008.

How to Remove XP AntiSpyware by Gina Trapani

It’s been a long time since I’ve had to deal with a malware-laden PC, but my long streak of luck ran out this weekend when a family friend–who describes himself as computer illiterate–called. “Every time I try to do anything on the computer,” he told me, “I get a message saying it’s infected, and I have to pay $69 to clean it, but I tried to do that and I couldn’t.” He couldn’t even navigate to the Mozilla site to download Firefox; Internet Explorer was completely hijacked.

Read the rest of How to Remove XP AntiSpyware

XP Antispyware 2009


Move iTunes from PC to Mac

As of iTunes 9, it is pretty simple to move the iTunes library from one computer to another, even between Windows and Macs. These instructions detail a move from a PC to a Mac.

  1. Update to latest version of iTunes on both systems. In Windows: open iTunes, then Help -> Check For Updates. On Mac: open System Preferences then Software Update.
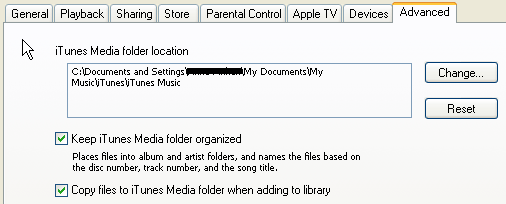
  2. In Windows: open iTunes’ preferences (Edit -> Preferences) and click the Advanced tab. Check both Keep iTunes Media folder organized and Copy files to iTunes Media folder when adding to library. These settings keep all your media files in the main iTunes Media folder, which you will later copy to your Mac.iTunes Advanced Organized
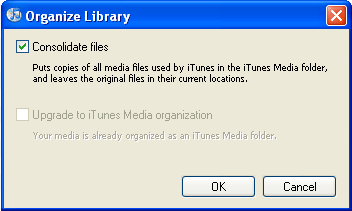
  3. In Windows iTunes: Choose File -> Library -> Organize Library. Check Consolidate Files, then click OK. This moves any files that weren’t in the right folder and makes sure that the library file has the correct pointers to these files’ locations. If the Upgrade To iTunes Media Organization option is not dimmed, check this too; it sorts your files in separate sub-folders.iTunes Consolidate Files
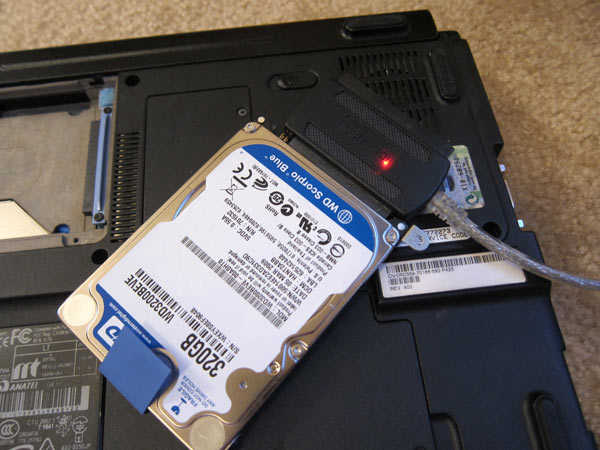
  4. Copy the iTunes folder (in Windows 7 located in username\My Music\iTunes, in Windows XP located in Documents and Settings\username\My Documents\My Music\iTunes). You can copy by sharing the folder over the network, copying the folder to an external drive, or by pulling the Windows computer’s hard drive and attaching it to the Mac by a USB adapter (see picture). Pulling the drive is usually the fastest method if you have a huge library. Copy the iTunes folder to the Music folder in your user folder on the Mac. If there is already an iTunes folder, it means you’ve launched iTunes at least once on the Mac. If there’s no music there, you can just replace the folder. However, if you’ve already added music, you won’t be able to merge the libraries; in the iTunes Media folder, found in the iTunes folder, move the Music folder to your desktop and add those files into iTunes after you’ve completed this process. (Note that you’ll lose any playlists and play counts associated with those files. Alternatively, you can add the music from the PC to Mac’s iTunes by dragging it into iTunes, thereby losing the playlists etc of the PC’s music.)USB IDE Hard Drive Adapter

Learn Guitar or Piano with GarageBand

Music, Easily Learned with a Computer

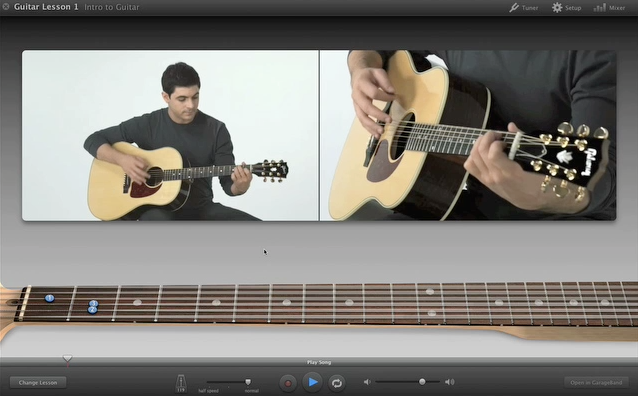
A recent Washington D.C. client wanted to learn how to play guitar and asked what the best software was for the job. The clear winner here is GarageBand on Mac OSX. It is part of iLife ’09 and included with all new Apple computers. GarageBand has a series of free lessons for guitar and keyboard/piano that go through all the basics (e.g., chords, strumming, etc.). After completing each lesson, you can play along with a song related to what you learned. You can easily repeat sections or slow down the music if you are having trouble playing at the pace of the teacher. If you’re like me an not particularly good, you can save yourself the embarrassment of practicing a chord change twenty times in front of a real teacher.

GarageBand

Learn from the Artist

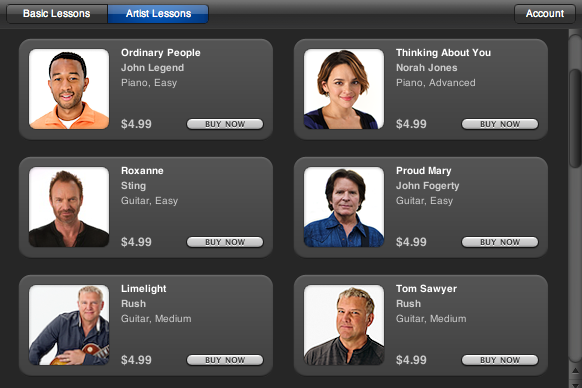
There are also Artist Lessons, costing $4.99 each to learn a song directly from the artist who wrote it. There are only 20 Artist Lessons currently available, but these include songs from Sting, Rush, Ben Folds, John Legend and many other popular names.

GarageBand Artist Lessons

Create Panoramas with Hugin

Hugin is free open source software for creating panoramas from a series of photos. It is not terribly difficult to use, but you should follow one of the tutorials such as the Lifehacker Hugin tutorial. This explains how to set control points between photos in order for Hugin to know where things line up.

There are downloads for Windows, Mac, and various flavors of Linux. For simplicity, download from the pre-compiled versions.

NY Panorama from Hugin