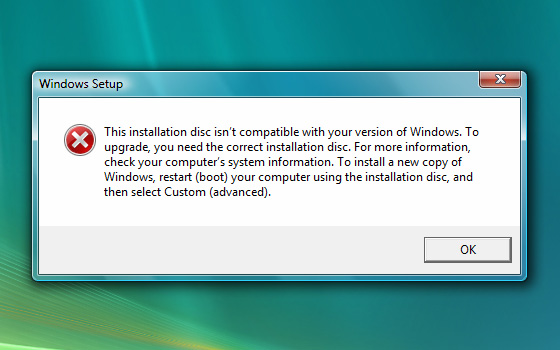
Upgrade Conundrum
Microsoft offers Full and Upgrade versions for each of its Windows 7 versions: Home Premium, Professional, and Ultimate. To qualify for an upgrade, you need to have a copy of Windows 2000, XP, or Vista. Unfortunately, anyone running Windows XP or 2000 can not do an in-place upgrade to 64-bit Windows 7. A migration to Windows 7 is needed. This can be done with an upgrade disk, which moves all your existing files to a windows.old directory. See the this Upgrade/Migration Table to see what is possible for your scenario.

If you back up your files yourself, wipe your hard drive completely, then try to install using the Upgrade disk, it doesn’t work because the Upgrade disk doesn’t see the qualifying product that you are upgrading from.
There are many other reasons to want to do a clean install. It is smart to do a clean install on such a major upgrade. Many people used the beta of Windows 7 after wiping their legal copy of Windows. Those people need a clean install but are legally entitled to use the Upgrade Disk.
Hack Time
Thankfully Paul Thurrott’s Supersite for Windows explains how to get around this technical problem that Microsoft created. Method 1 is to just try the Upgrade activation key to see if it works. If that does not work, Method 2 explains the “hack”:
- Install Windows 7 Upgrade DVD and do no put in your upgrade key. Just leave the key blank and do not activate yet.
- Open RegEdit by going to the Start Menu search and typing regedit.exe and hit enter.
- Navigate on the left menu to: HKEY_LOCAL_MACHINE/Software/Microsoft/Windows/CurrentVersion/Setup/OOBE/
- Double-click on MediaBootInstall and change it from “1” to “0”. Close RegEdit.
- Type cmd in Start Menu search to display a shortcut to the Command Line utility. Right-click this shortcut and choose “Run as administrator.” Accept the UAC prompt.
- Type in the command line: slmgr /rearm
- Hit enter and wait for the completion notice.
- Reboot.
- Activate Windows with your Upgrade Key
Microsoft Upset
Microsoft is upset that this “hack” could be used to illegally install the Upgrade on computers that do not qualify for it. See Paul Thurrott’s response to this: Enough, Microsoft. No One Is Endorsing Piracy. Obviously.
Also consider that Microsoft doesn’t have to act this way. Apple realizes that activation keys do more to frustrate legitimate users than to thwart thieves. That’s one of the reasons that Apple’s operating systems have never had an activation system. Upgrades and full installs just work. Apple trusts that most of its users will do the right thing.
Windows 7 OEM Version
For technically savvy users looking for a better deal on Windows 7, this isn’t even needed. One can purchase a cheaper OEM version of Windows 7 from Newegg for building a new computer. This comes without support from Microsoft, but is a great deal for people who do not rely on Microsoft support.
![]()


 Cartoon by Donna Barstow via