Keynotes – Amazon and Apple

It’s been an exciting week of product announcements from Amazon and Apple. Decide who does a better Steve Jobs impersonation.

Amazon Kindle Press Conference – September 28, 2011, New York, NY

Apple Special Event – October 4, 2011, Cupertino, CA

Mac Eject Key for External Disk Drive

Apple keyboards have an eject key in the upper right corner that works with built-in Mac DVD drives. If you have a new Mac Mini without an optical drive, you might want to use a 3th party external disk drive. The problem is that the eject key doesn’t work for these drives.

Thanks to tjb1 at MacRumors who gave instructions on how to make the eject key work.

  1. Download and install KeyRemap4Macbook. Restart is required for use.
  2. Open System Preferences > KeyRepma4Macbook
  3. Make sure you are on the “Change Key” menu and click in the search bar in KeyRemap4Macbook, not the search for System Preferences.
  4. Type “eject” in the search bar and check the box next to “Eject to Command+Control+Option+Shift+E”
  5. Exit System Preferences and open Automator.
  6. Choose the template “Service” and hit “Choose” at the bottom right.
  7. In the search bar at the top left, type “Run Shell Script”
  8. Drag “Run Shell Script” from the left to the Workflow Area.
  9. At the top above “Run Shell Script” click the arrows next to “Service receives selected text” and pick “no input” at the bottom of the list.
  10. Next delete “cat” from the Shell Script and type this “drutil eject”
  11. While in Automator go File > Save As > Eject
  12. Close Automator and open System Preference > Keyboard > Keyboard Shortcuts
  13. In Keyboard Shortcuts choose Services in the left box.
  14. In the right, scroll down to “General” and you should see “Eject” listed.
  15. Make sure the box beside “Eject” is checked and double click on the right side, left of the scroll bar. This should open text box where you hold down Command+Control+Option+Shift+E. This will enter those keys as shown here.
  16. Restart the operating system.
  17. Close System Preferences and the Eject key should now eject your external cd/dvd/blu ray drive.


2011 Mac Mini Hard Drive Upgrade Video

We just upgraded a 2011 Apple Mac Mini to have an SSD, a second hard drive, and new RAM.

Video


Also available on YouTube in High Definition or Standard Definition.

Parts List

  • OCZ 120 GB Vertex 3 SATA III 6.0 Gb-s 2.5-Inch Solid State Drive VTX3-25SAT3-120G
  • Western Digital 1TB Blue WD10JPVT 5400RPM, 8 MB cache, 2.5 inch, 9.5MM height hard drive
  • Corsair 8 GB DDR3 Laptop Memory Kit CMSO8GX3M2A1333C9
  • Apple Mac Mini Model MC816LL/A 2.5 GHz Intel Core i5 dual-core processor, AMD Radeon HD 6630M graphics, 4GB RAM, 500GB hard drive
  • Cable: Apple Part 922-9560, also called “Apple Mac Mini Server (Mid 2010) Bottom Hard Drive Server Flex Cable” or “Hard Drive Flex Cable Bottom”. We used part number 1009005 at welovemacs.com. This is sold as a kit from ifixit.com.

Alternate Parts List

The OCZ Vertex 3 is the fastest consumer SSD at the moment. Other SSD’s that you might consider include:

The Western Digital Blue drive mentioned above is high capacity and quiet. For a faster spinning hard drive consider:

The dedicated graphics in the mid-tier Mac Mini make it worth it for me. But for the cheapest Mini, consider:

  • Apple Mac Mini MC815LL/A 2.3 GHz Intel Core i5 dual-core processor, integrated Intel HD Graphics 3000, 2GB RAM, 500GB hard drive

UPDATE: My video shows adding two 9.5MM height drives. I just upgraded another Mac Mini with a 9.5MM SSD and a 12.5MM standard hard drive. As with my first upgrade, the hard drive goes in the bottom slot (the side closest to the top of the case when upright). This does fit. But first you need to slide the logic board out slightly. Be sure to remove the IR port adapter before sliding out the logic board. The OWC video shows how to do this. I used a cut up coat hanger to insert into the logic board holes and slide it out.

First Boot

Starting with a blank hard drive is easy on the 2011 Mac Mini. Hold down Command-R to boot into Lion Recovery which allows you to format the drives and download Lion over the Internet.

TRIM Support in Lion

For optimal SSD performance, enable TRIM support within OS X Lion. Grant Pannell describes the terminal commands to enable TRIM.

Photos of Upgrade
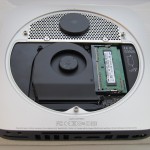
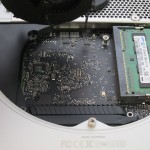
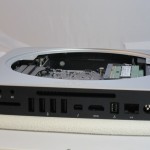
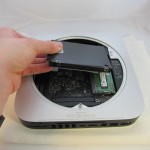
Opened
Opened
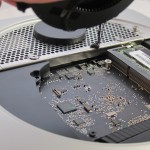
Fan Removal
Fan Removal
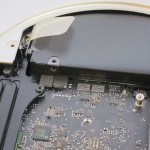
WiFi Connection
WiFi Connection
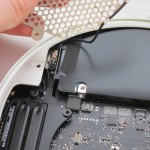
Empty Hard Drive Bay
Empty Drive Bay
Original Hard Drive
Original Hard Drive
Drive Bay Side View 1
Drive Bay Side View 2
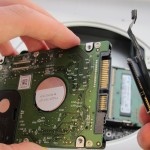
New Hard Drive & Cable
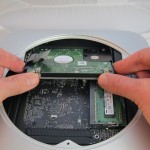
New Hard Drive Insertion
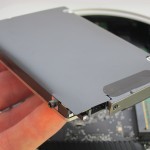
New SSD
New SSD
New SSD & Drive Cables Attached
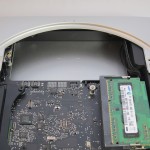
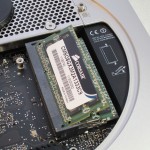
New RAM
New RAM
Attach Fan
Attach Fan

Make a Linux Boot USB Key

If you want to install Linux or just try it out, you can make a USB key that is bootable into Linux with UNetbootin.
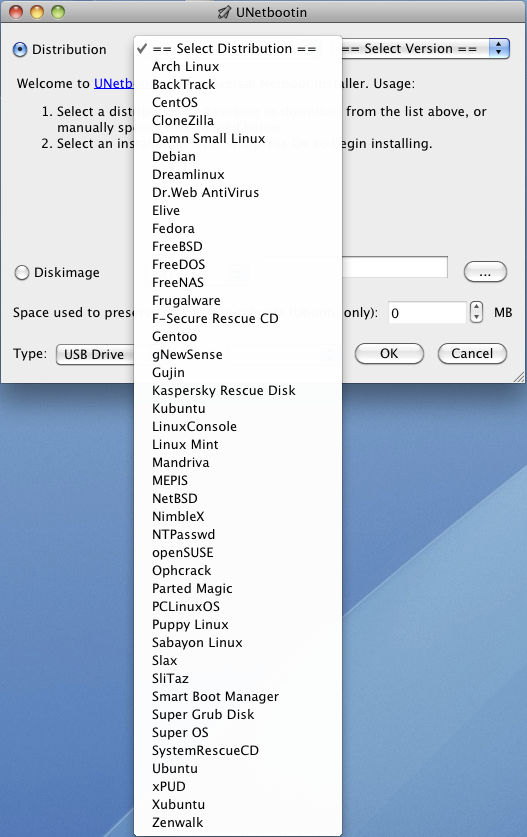

UNetbootin is a simple program that allows you to choose from over 40 Linux distributions. My favorites are Linux Mint (which is probably easiest for folks used to Windows) and Ubuntu.

Once you create the bootable USB thumb drive, you can select it in your computer’s boot options or enable USB booting in the BIOS.

This is a great way to try a new operating system that might speed up your old machine.