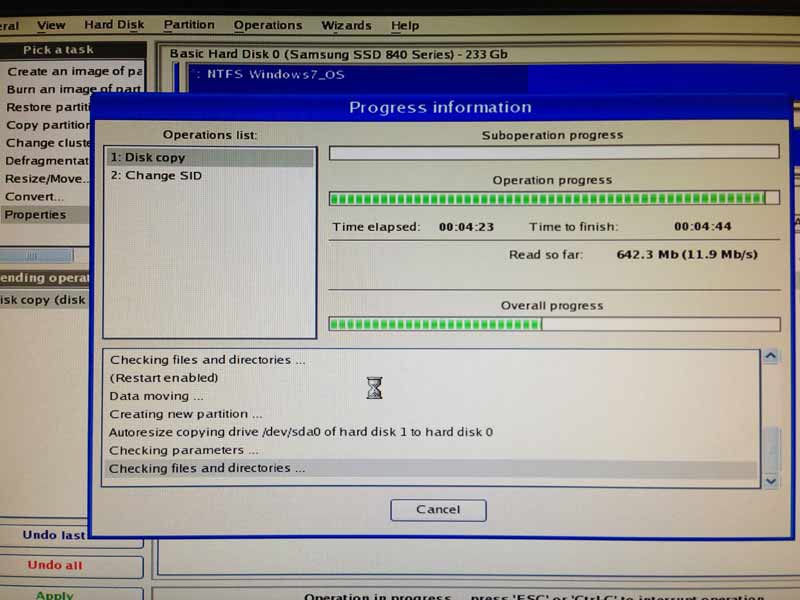
I recently upgraded a client’s computer from an old spinning hard drive to an SSD (solid state drive) to make the machine much faster. A simple disk clone did not work for Windows 7 to make the disk bootable. To make Windows 7 boot properly, the SID (Security Identifier) had to be updated. This is done easily using Paragon Partition Manager by just checking off the option to change the SID after performing the disk copy.
Seagate Momentus Hybrid Hard Drive
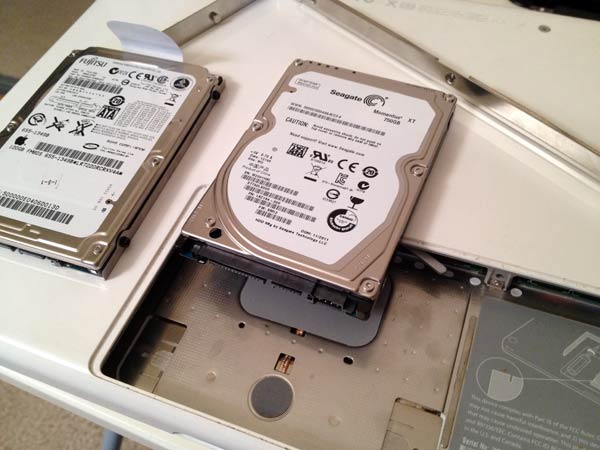
I recently upgraded the client’s old laptop hard drive laptop to a hybrid drive from Seagate:
Seagate Momentus XT 750 GB
Hybrid
What’s special about it? It’s got 8GB of solid state drive. That makes its speed somewhere between a standard hard drive an SSD. The drive intelligently moves commonly used files to the solid state portion. The hard drive handles all that on its own, appearing to the computer as just one drive.
With the original hard drive in this 5 year old Mac, it booted up in 55 seconds. With the new drive it booted up in 43 seconds. But after three boots, it had moved the boot files to the SSD and was booting up in 24 seconds. It felt much faster for common tasks and commonly used programs.
If you need a large fast drive, this Seagate is a great compromise. SSDs at 750GB are prohibitively expensive. And standard hard drives are much slower.
2011 Mac Mini Hard Drive Upgrade Video
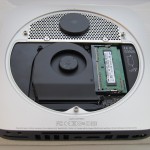
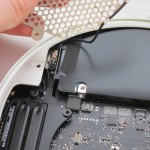
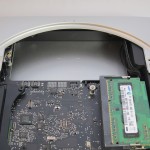
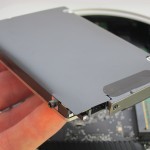
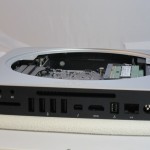
We just upgraded a 2011 Apple Mac Mini to have an SSD, a second hard drive, and new RAM.
Video
Also available on YouTube in High Definition or Standard Definition.
Parts List
- OCZ 120 GB Vertex 3 SATA III 6.0 Gb-s 2.5-Inch Solid State Drive VTX3-25SAT3-120G
- Western Digital 1TB Blue WD10JPVT 5400RPM, 8 MB cache, 2.5 inch, 9.5MM height hard drive
- Corsair 8 GB DDR3 Laptop Memory
Kit CMSO8GX3M2A1333C9
- Apple Mac Mini
Model MC816LL/A 2.5 GHz Intel Core i5 dual-core processor, AMD Radeon HD 6630M graphics, 4GB RAM, 500GB hard drive
- Cable: Apple Part 922-9560, also called “Apple Mac Mini Server (Mid 2010) Bottom Hard Drive Server Flex Cable” or “Hard Drive Flex Cable Bottom”. We used part number 1009005 at welovemacs.com. This is sold as a kit from ifixit.com.
Alternate Parts List
The OCZ Vertex 3 is the fastest consumer SSD at the moment. Other SSD’s that you might consider include:
- Highest reliability SSD: Intel 510 Series 120 GB
- Best value high capacity SSD: Lexar Media Crucial 512 GB m4
The Western Digital Blue drive mentioned above is high capacity and quiet. For a faster spinning hard drive consider:
- Western Digital 750TB Black WD7500BPKT
7200RPM, 16 MB cache, 2.5 inch, 9.5MM height hard drive
The dedicated graphics in the mid-tier Mac Mini make it worth it for me. But for the cheapest Mini, consider:
- Apple Mac Mini MC815LL/A 2.3 GHz Intel Core i5 dual-core processor, integrated Intel HD Graphics 3000, 2GB RAM, 500GB hard drive
UPDATE: My video shows adding two 9.5MM height drives. I just upgraded another Mac Mini with a 9.5MM SSD and a 12.5MM standard hard drive. As with my first upgrade, the hard drive goes in the bottom slot (the side closest to the top of the case when upright). This does fit. But first you need to slide the logic board out slightly. Be sure to remove the IR port adapter before sliding out the logic board. The OWC video shows how to do this. I used a cut up coat hanger to insert into the logic board holes and slide it out.
First Boot
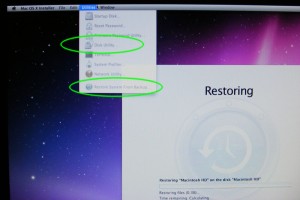
Starting with a blank hard drive is easy on the 2011 Mac Mini. Hold down Command-R to boot into Lion Recovery which allows you to format the drives and download Lion over the Internet.
TRIM Support in Lion
For optimal SSD performance, enable TRIM support within OS X Lion. Grant Pannell describes the terminal commands to enable TRIM.
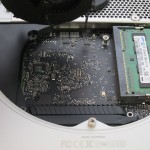
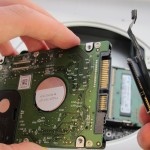
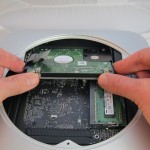
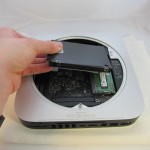
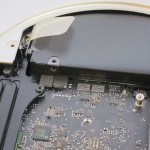
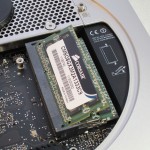
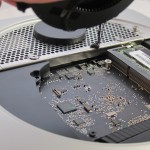
Photos of Upgrade
Visualize Your Hard Drive to Free Space
It’s sometimes difficult to find out what’s taking up all your computer hard drive space. That’s why I like these free programs which visually display the contents of your hard drive by file size. These programs make it easy to find and delete large files and directories that you no longer need.
For Windows – Disk Space Fan
Disk Space Fan shows you a beautiful fan of your hard drive space. Here’s a video of how it works. When you install the free version, it allows you to use the Pro version for free for 15 days, then it reverts to the free version automatically. All the basic tools are included in the free version though.
UPDATE: Daniel in the comments alerted me to the fact that Disk Space Fan is a ripoff of the Mac app DaisyDisk available at http://daisydiskapp.com.
For Mac – GrandPerspective
GrandPerspective for Mac OS X is similar to Disk Space Fan but chooses the box metaphor to visually display your files. The first segment of this video explains how it works.
For more ideas on saving hard disk space, look at the Lifehacker article How to Analyze, Clean Out, and Free Space on Your Hard Drive.
Aluminum iMac Hard Drive Upgrade
What you need
1. T6 and T8 torx screwdrivers
2. Phillips Head screwdriver
3. Microfiber cleaning cloth
4. Suction cups
5. External USB or firewire backup hard drive
6. New SATA hard drive. We recommend the 1.5TB Western Digital Green Drive

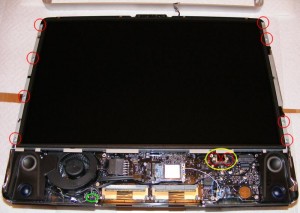
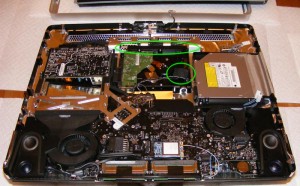
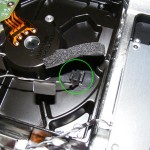
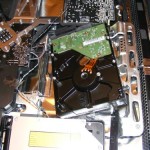
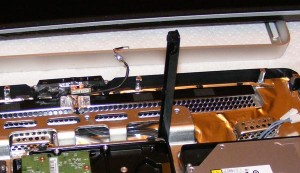 There is a black plastic bar holding the hard drive in place. Lift it up from left to right to unlock it. This can be very challenging since it is tight. The drive can then slide up and out and you can unhook the power and SATA cables.