Upgrade iMac to Fusion SSD for Speed

TechDC iMac 27” 2017  HDD to SSD (should work if there’s no fusion too)

I recently upgraded a 2017 iMac with a Fusion drive (SSD plus hard drive) to an SSD only Fusion drive by replacing the hard drive (HDD) with an SSD. While the idea of a fusion SSD may sound weird, it works great. The SSD in iMacs (especially 2017 and beyond) are much faster than a standard SSD, so you still get the fusion benefit of combining a faster and slower drive. And replacing a HDD with SSD is a huge speed improvement that can make a computer feel much more responsive.

Parts List

Crucial 2TB SSD ($207) – this is a hair faster than the Samsung.  

Or

Samsung 4TB SSD ($400) – not a lot of 4TB options on amazon

iMac adhesive strips + opening wheel

Generic phone and iMac work kit (has the necessary plastic cards and scraping tools and many other parts not used)

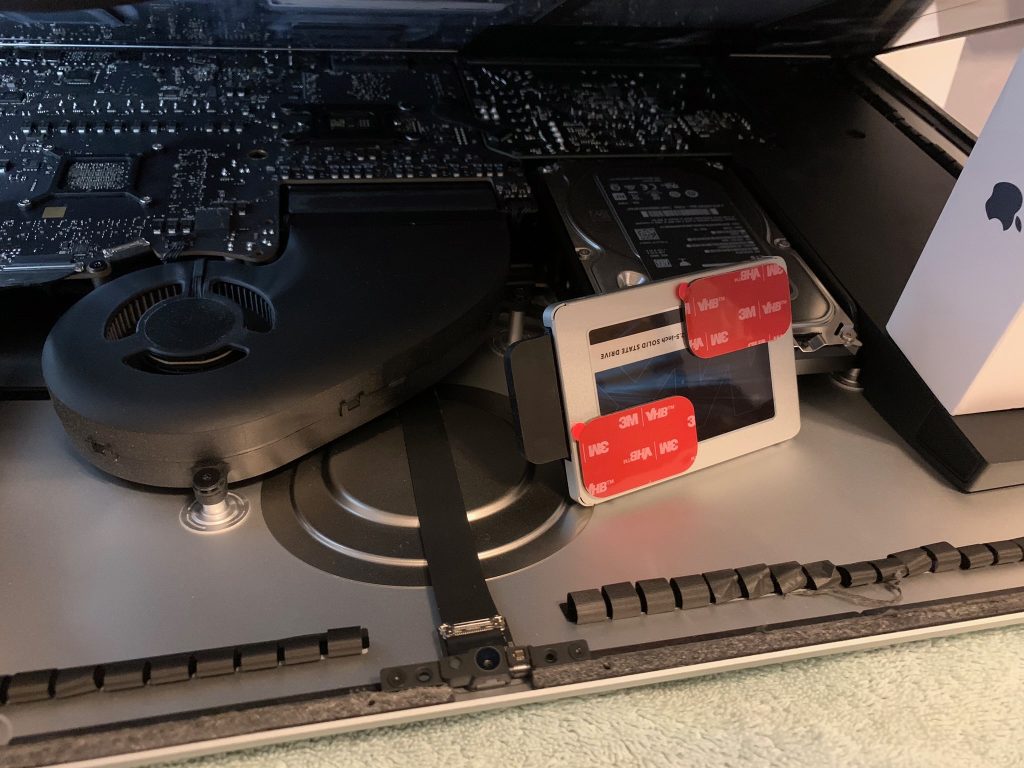
3M pads to adhere SSD inside iMac

Preparation Steps (note that a colon on a step means its a terminal command)

Step – Backup via Time Machine (to be restored later)

Step – Create a macOS (Mojave) boot usb drive (9to5Mac Article)

Step – Boot off usb drive (hold option key) and secure erase the HDD.  Since the HDD will be left inside the iMac, best to be safe and securely erase it.

Step – Launch Terminal from top menu Utilities 

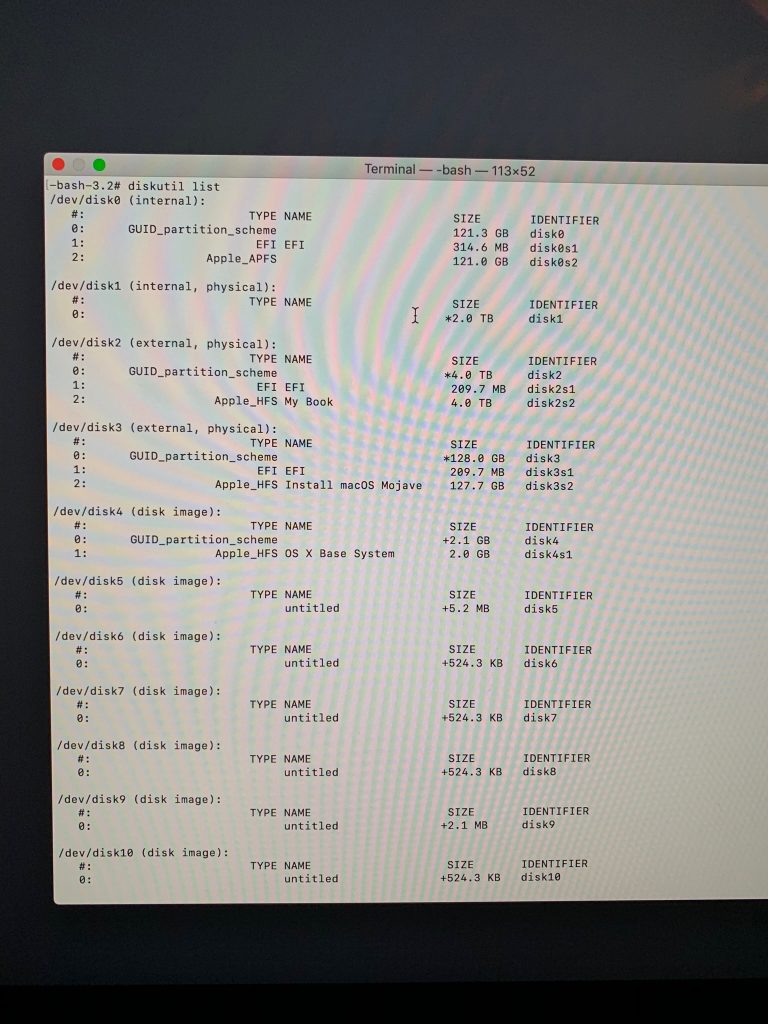
Step -: diskutil list (to determine the name of the synthesized fusion disk drive such as /dev/disk2)

Step -: diskutil secureErase 0 /dev/diskX (where diskX is the name of the disk to HDD) (This can take hours depending on your drive size) (this does a single pass of zeros written for security, there are options to do more)

Installing SSD Steps 

Based on https://www.ifixit.com/Guide/iMac+Intel+27-Inch+Retina+5K+Display+Hard+Drive+Replacement/30522

& https://www.ifixit.com/Guide/How+to+Add+An+SSD+To+The+27-Inch+iMac+(Late+2015)/67309

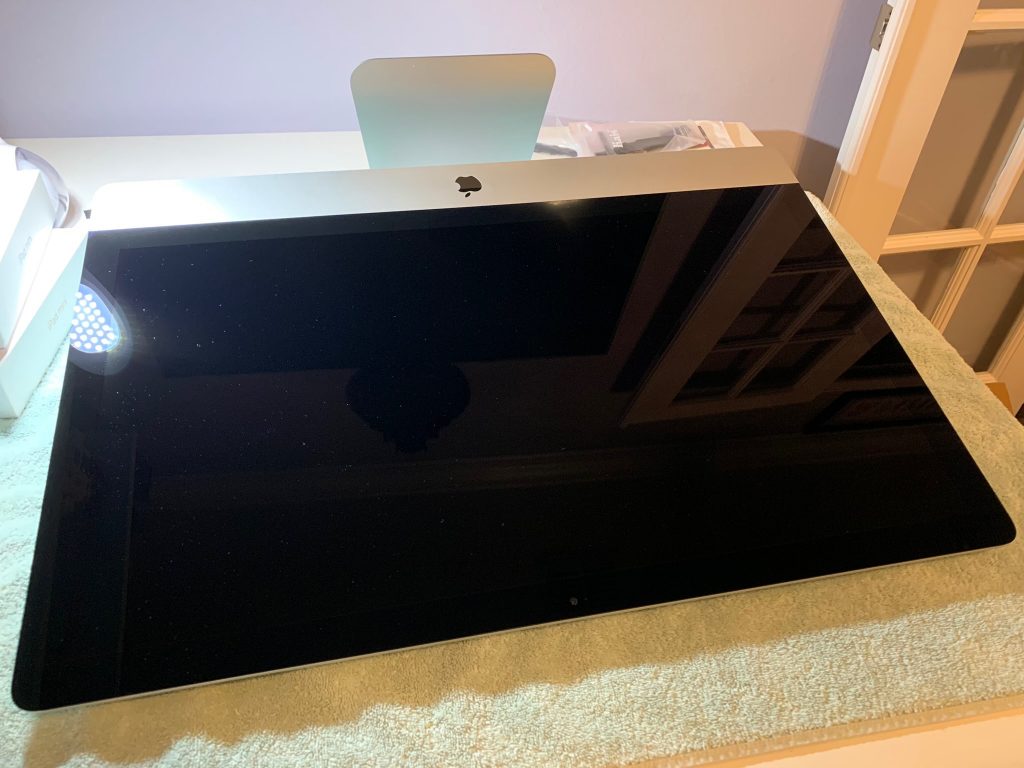
Step 1 – Lay iMac on its back 

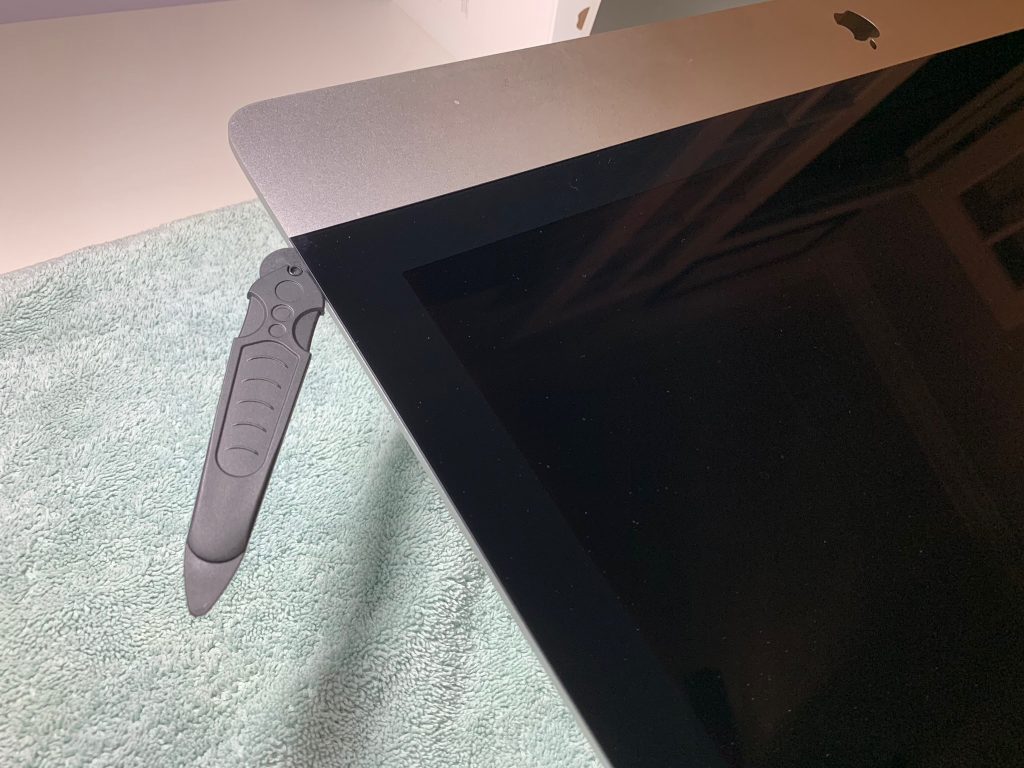
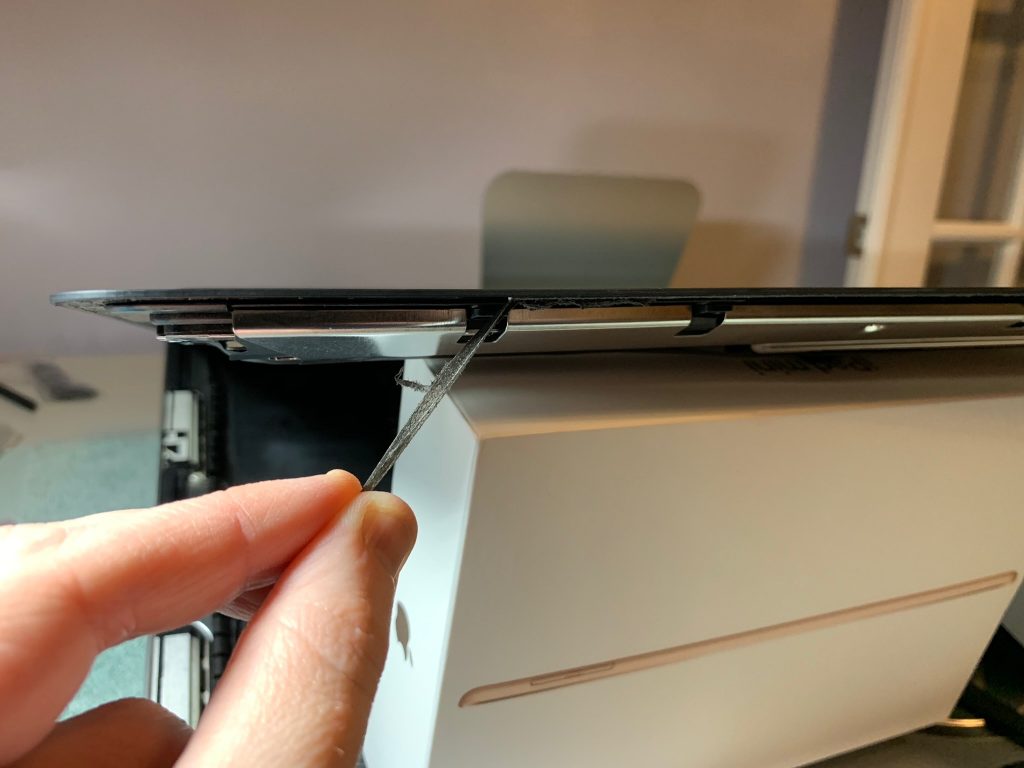
Step 2 – use roller tool to cut thru glue

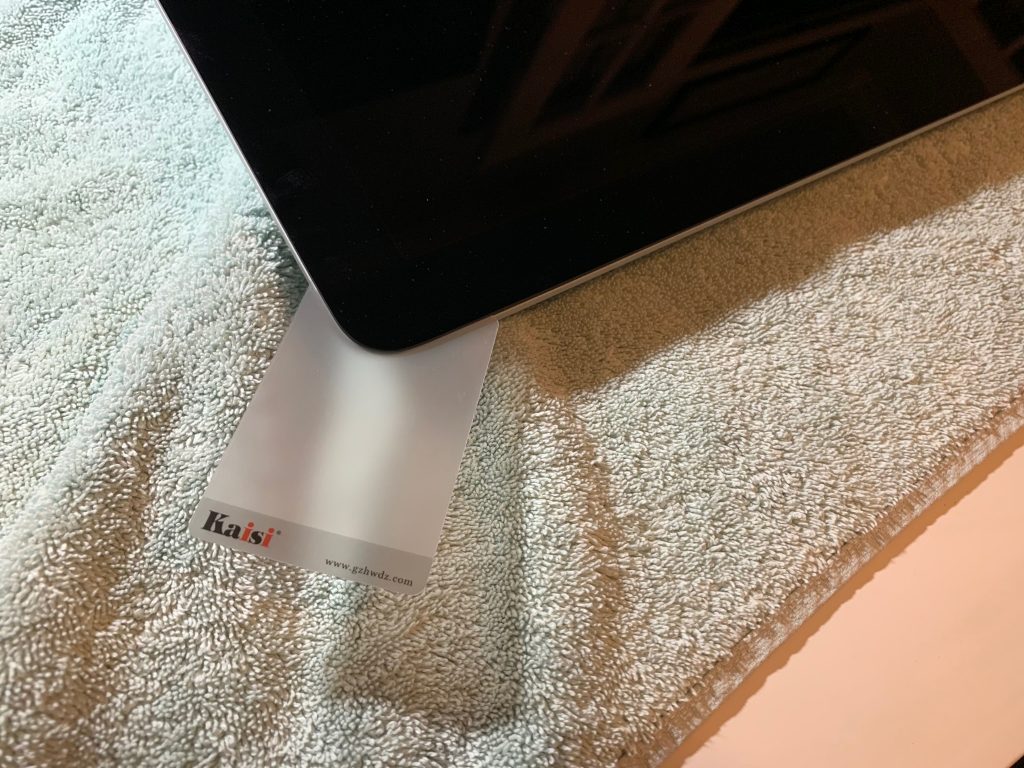
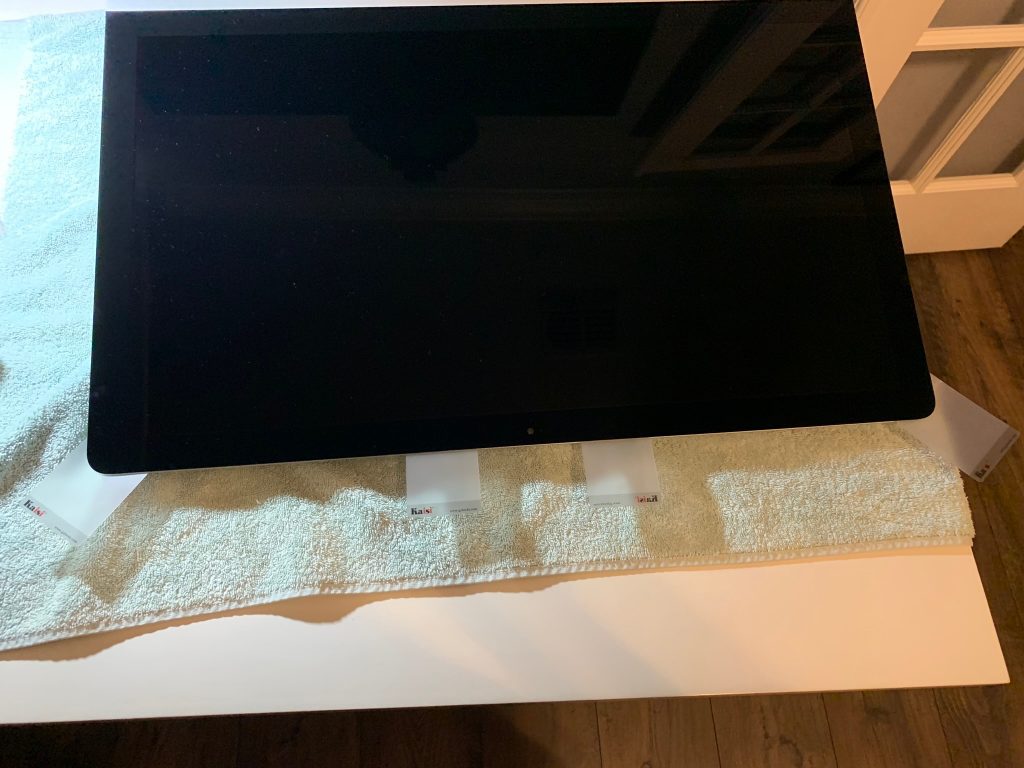
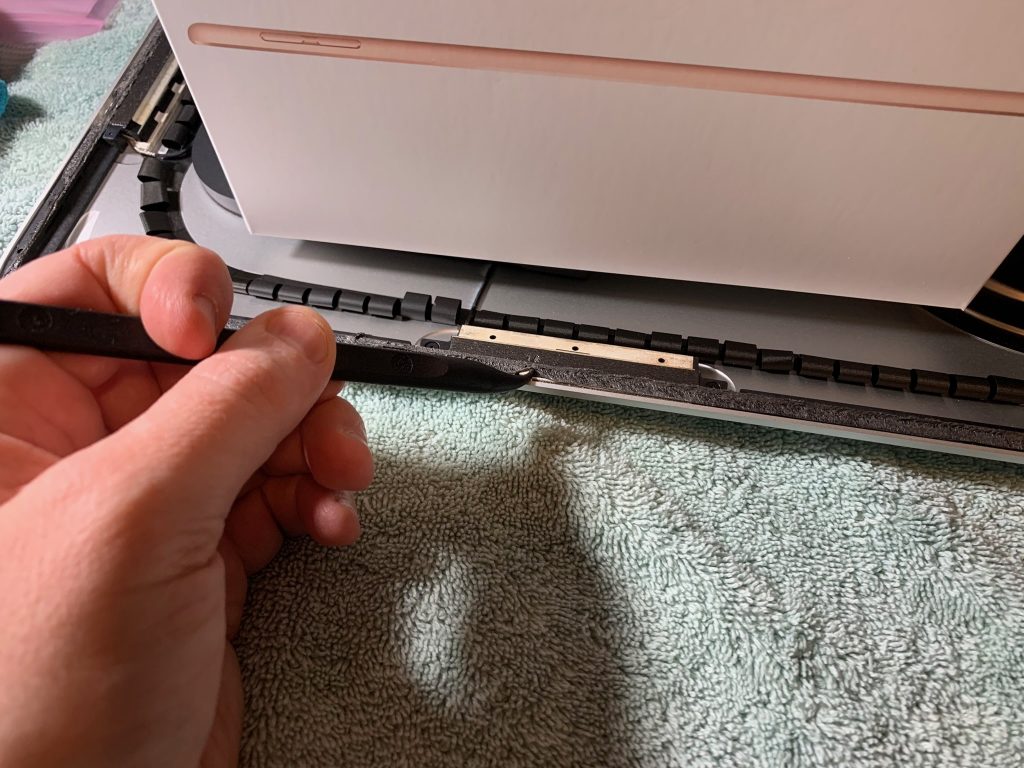
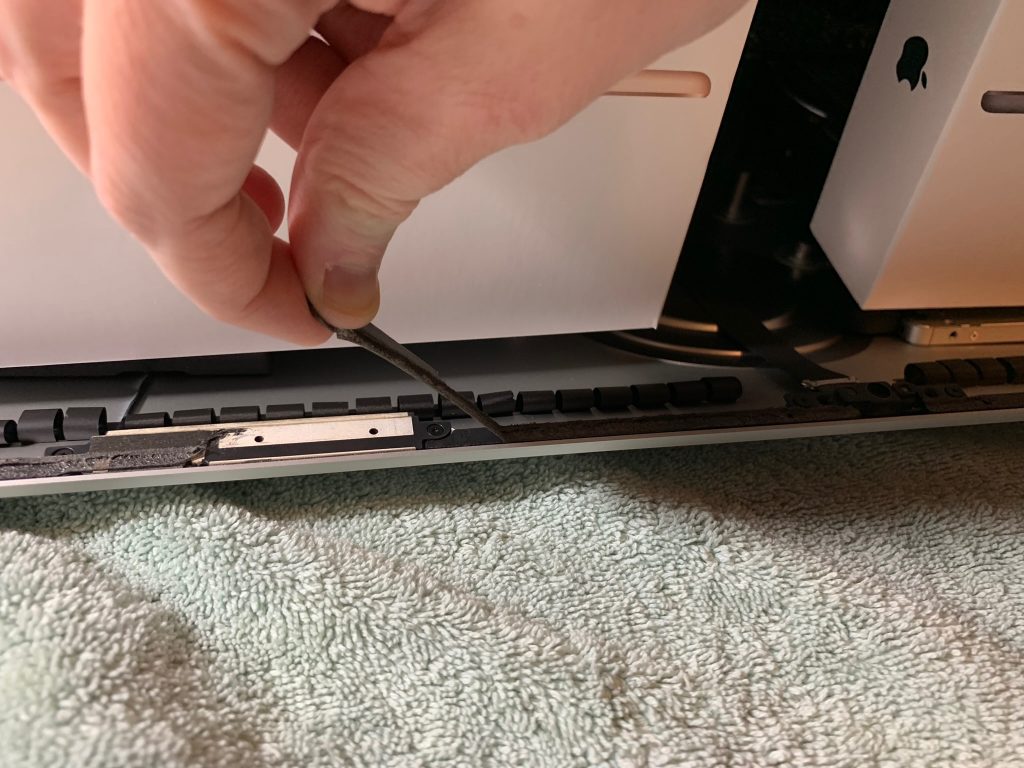
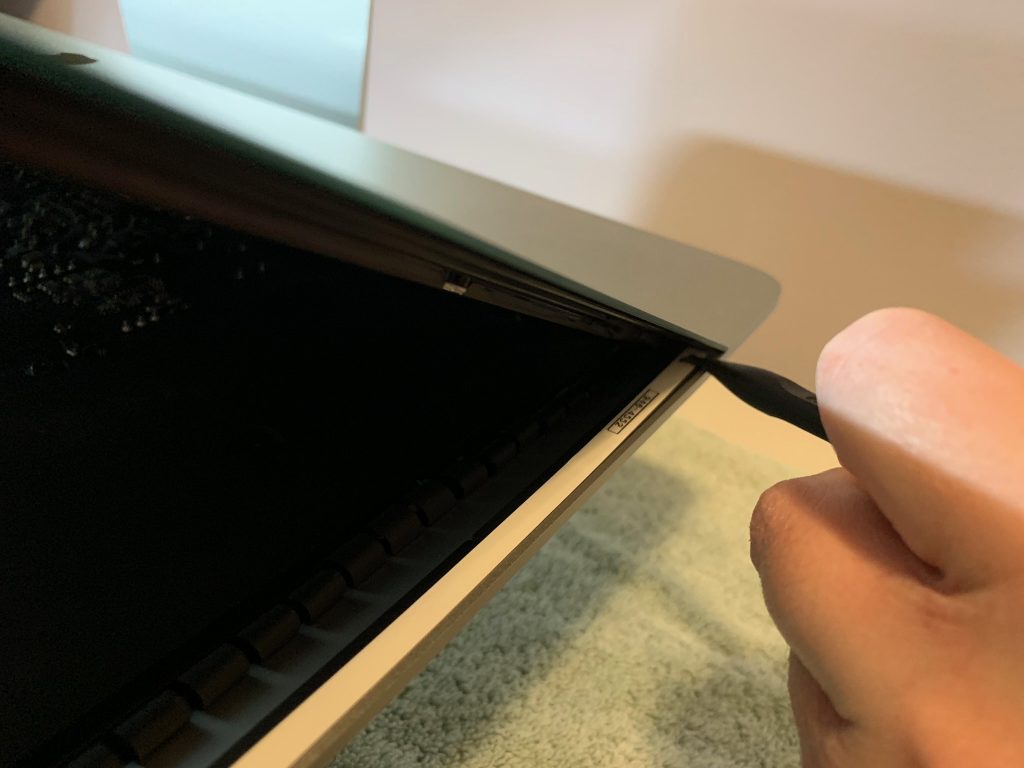
Step 3 – use plastic cards to separate remaining glue (takes time and work)

Plastic Cards

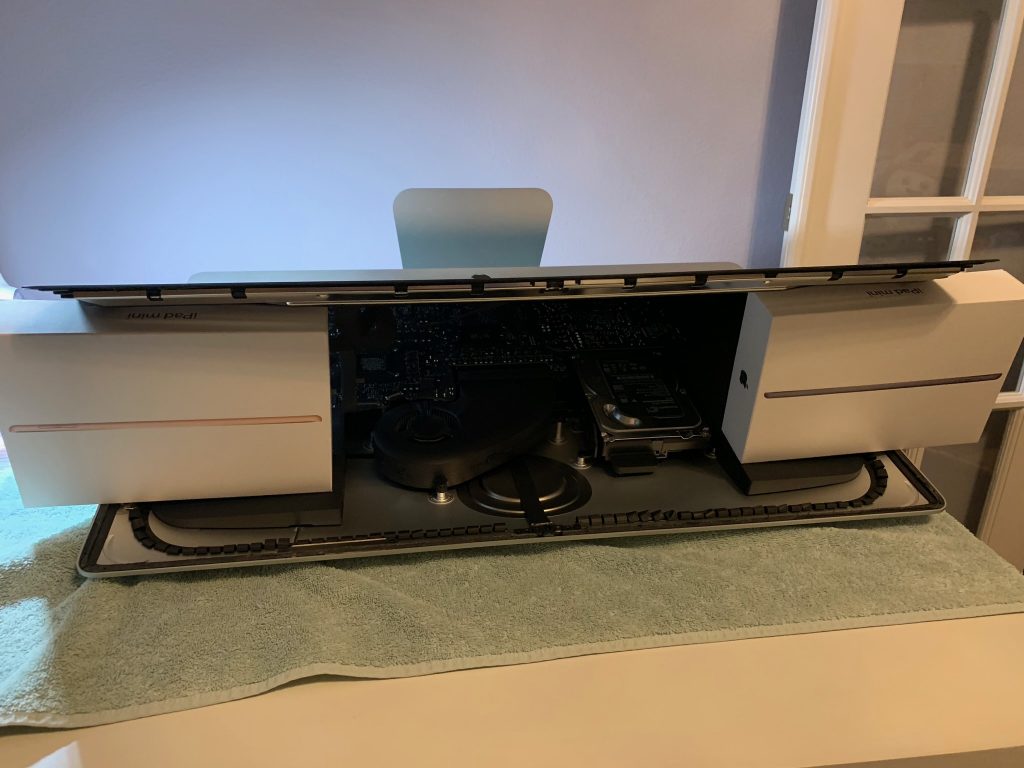
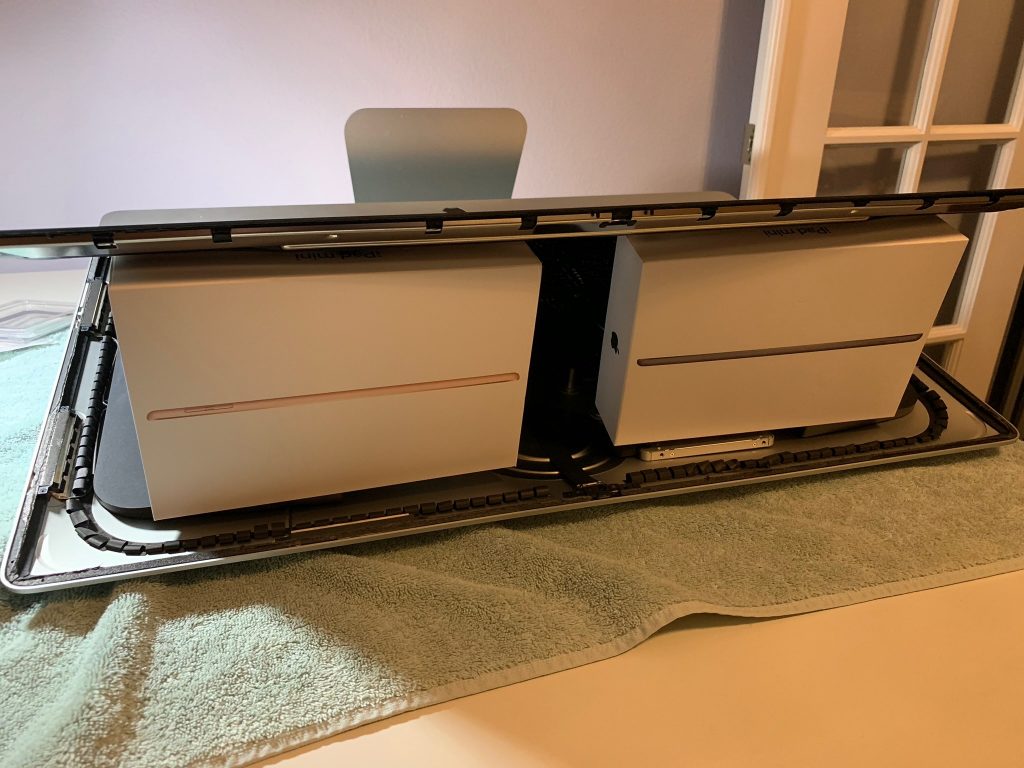
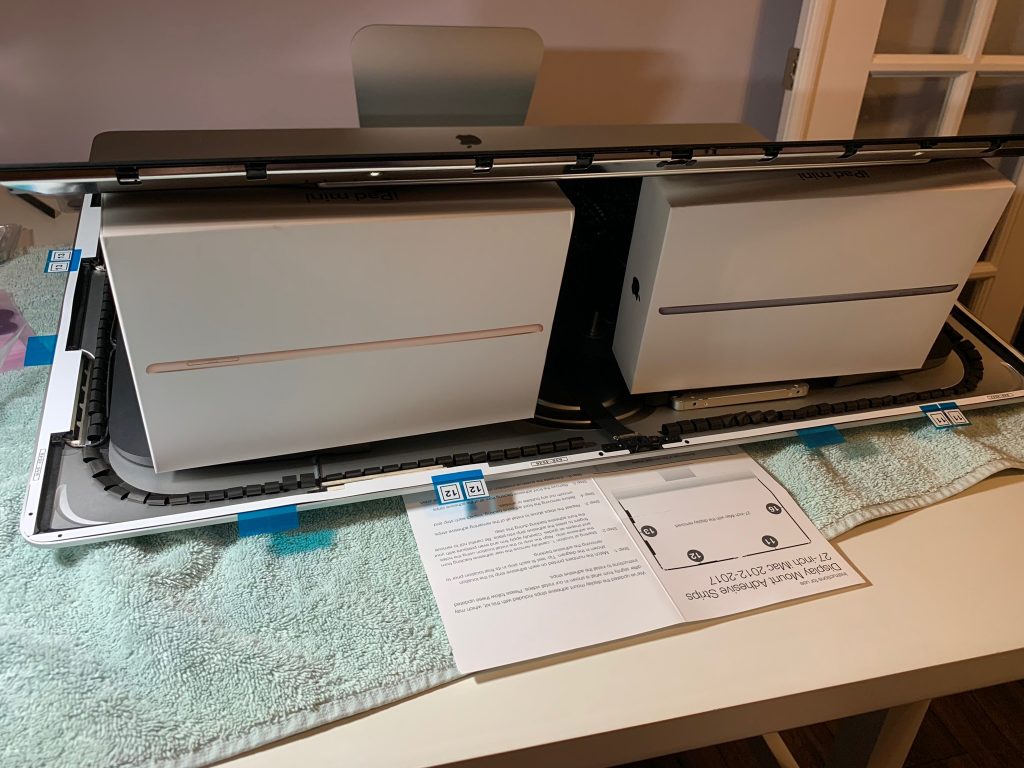
Step 4 – lift up screen ad prop up with boxes

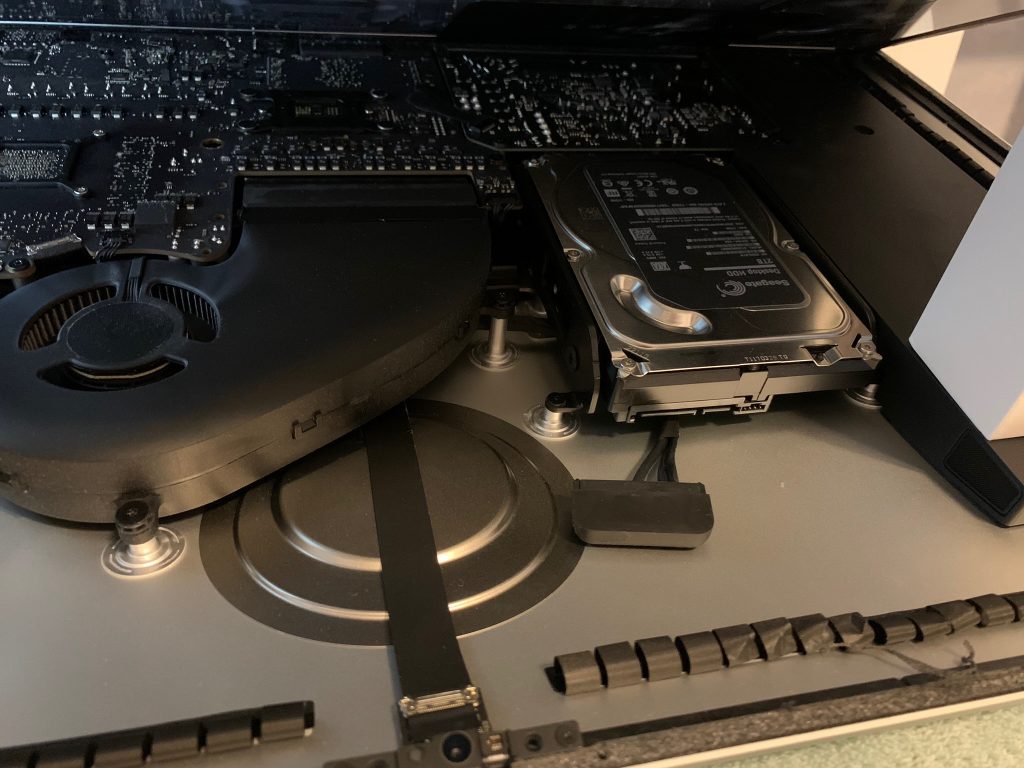
Step 5 – unplug old HDD

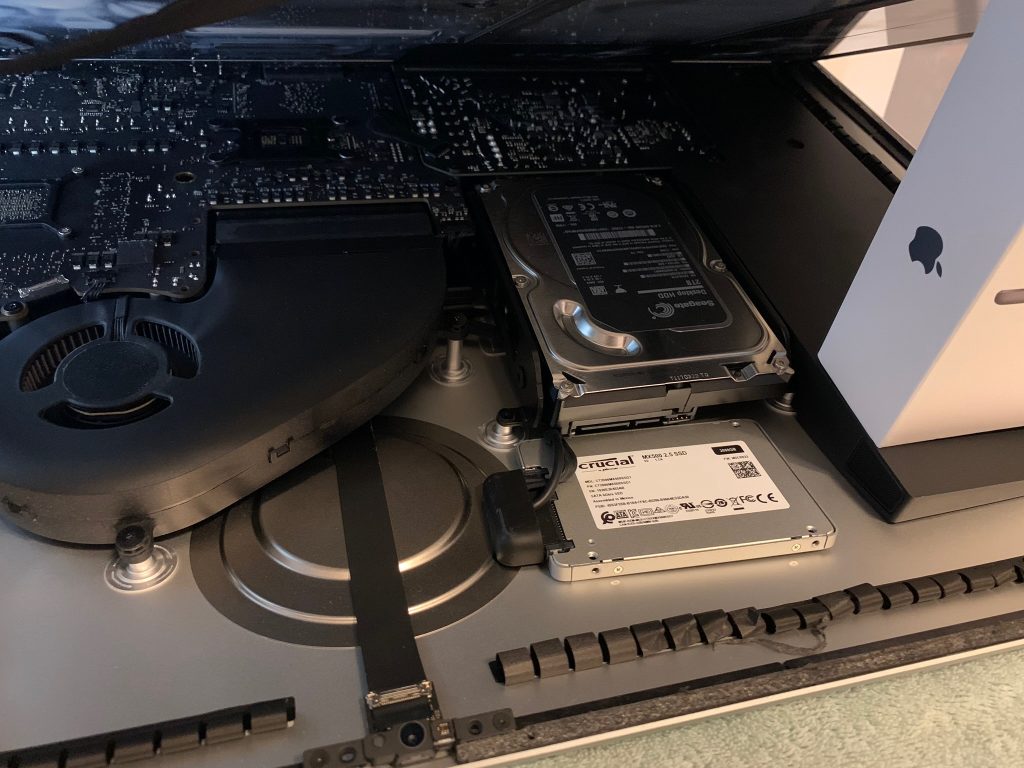
Step 6 – plug in new SSD

Step 7 – attach adhesive strips to SSD and stick to iMac wall, as near HDD as possible.  Slight angle is needed for opposite corners of SSD to touch curved wall.  I only put adhesive strips on opposite corners of the SSD.

Step 8 – move prop up boxes to inside the iMac so you can do the next step

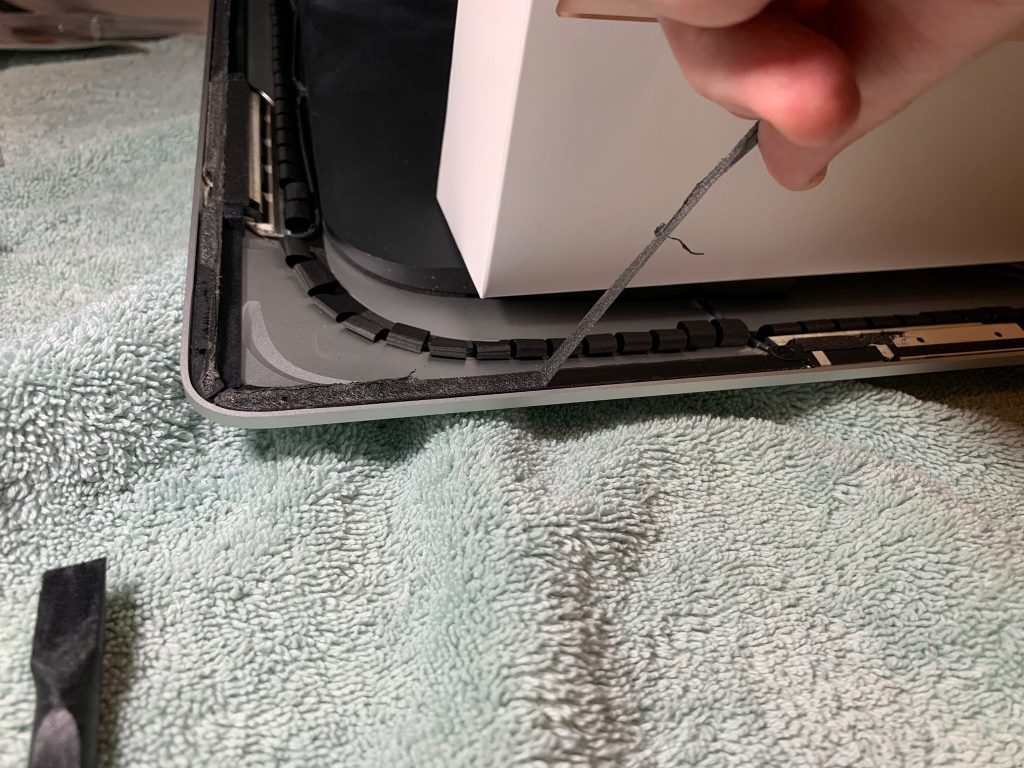
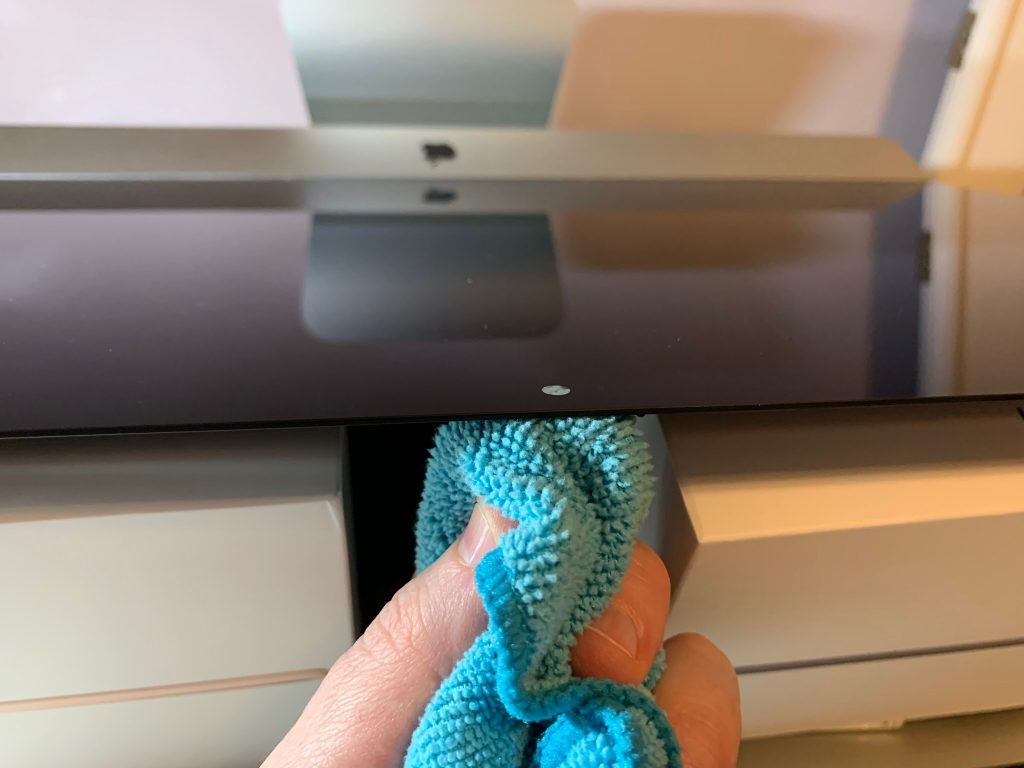
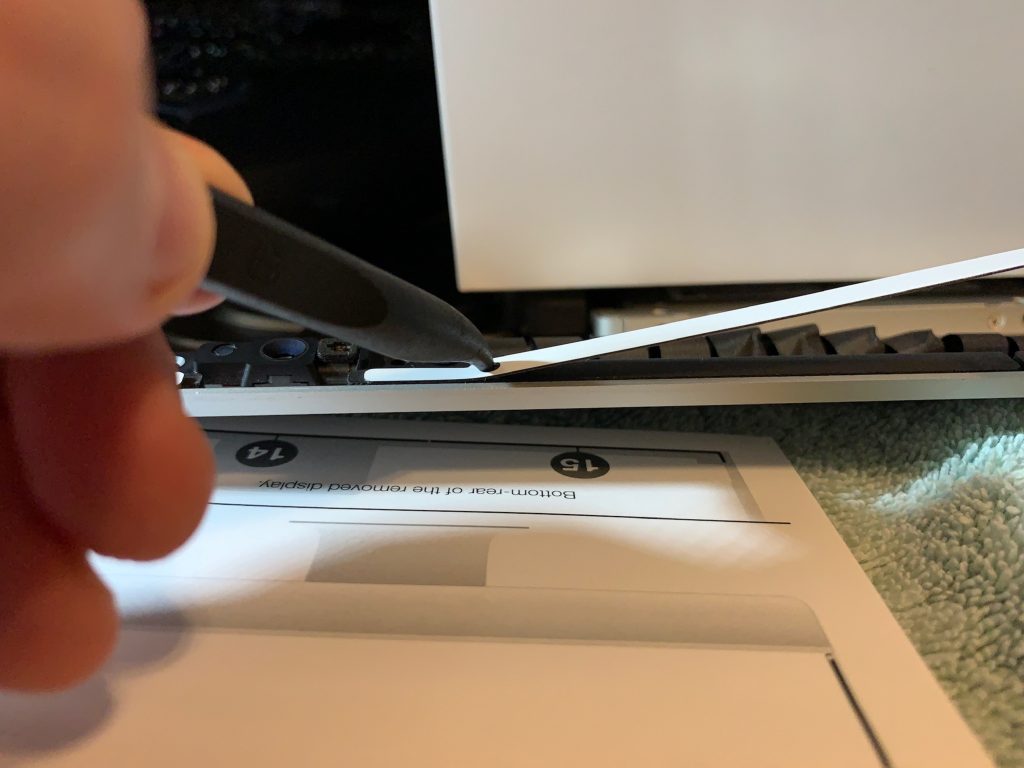
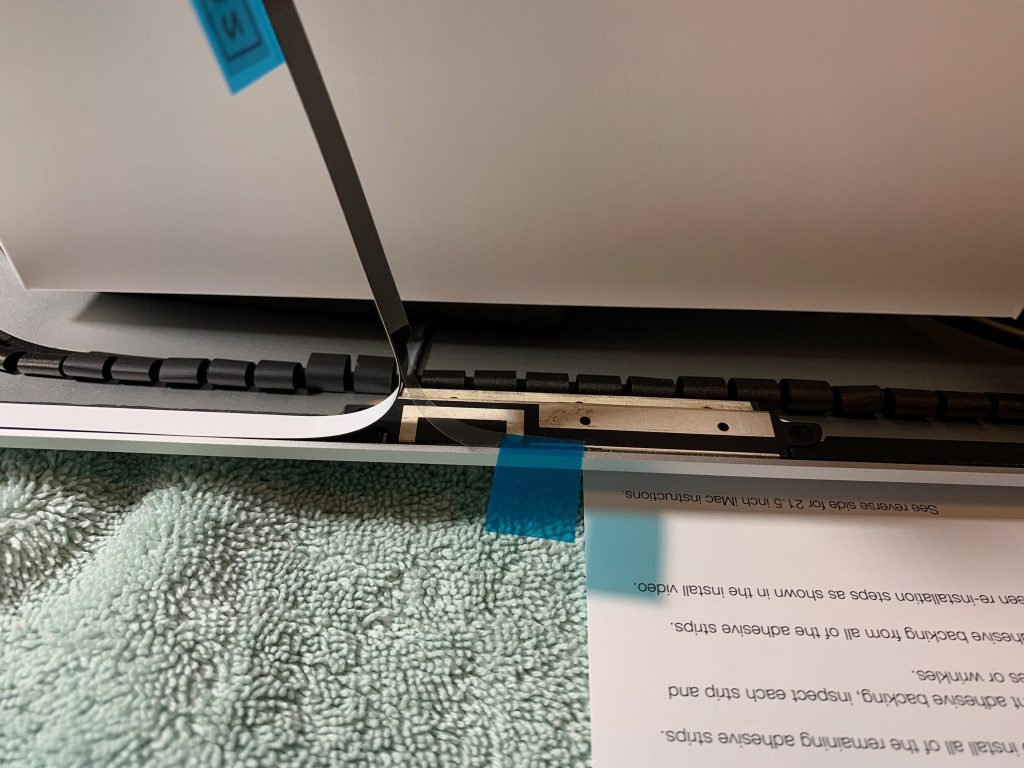
Step 9 – remove all adhesive that held screen in place (takes the most time)

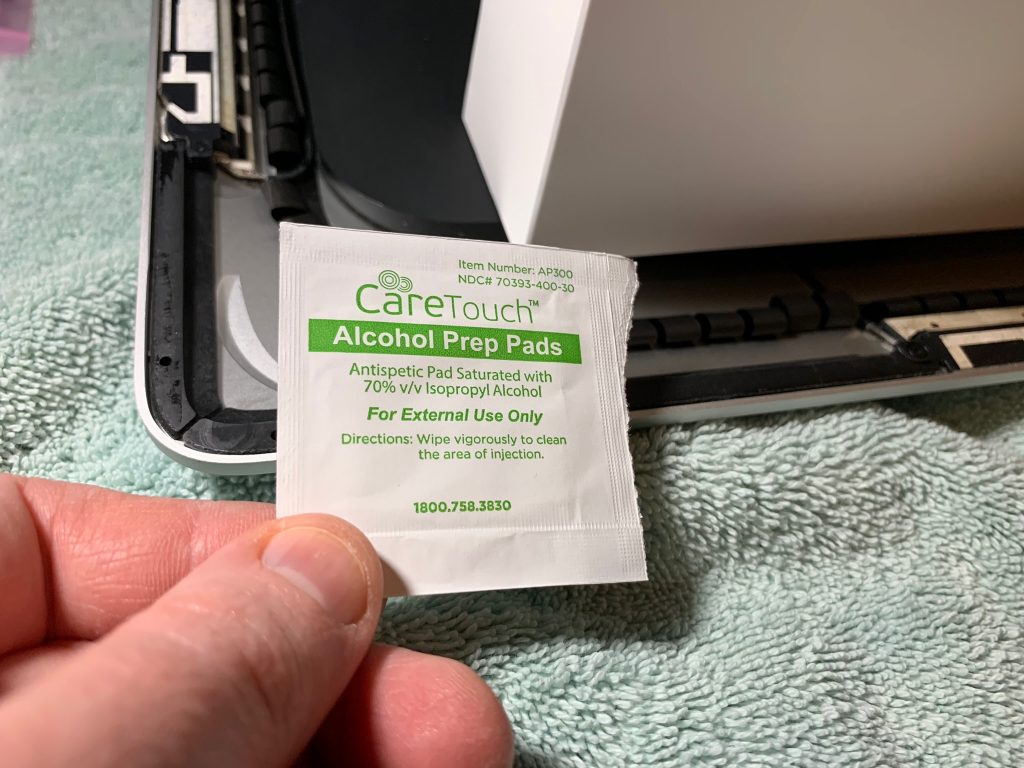
Step 10 – use alcohol wipes to clean up where the strips go

Step 11 – apply new strips

Step 12 – lower screen back down to adhere to new adhesive strips

Step 13 – Boot up iMac and begin post install steps

Post Install Setup Steps (colons refer to terminal commands)

Step 14 – Boot off macOS usb drive by holding down Option

Step 15 – Launch Terminal from top menus

Step 16 -: diskutil list (to determine the names of the old internal SSD and new added SSD)

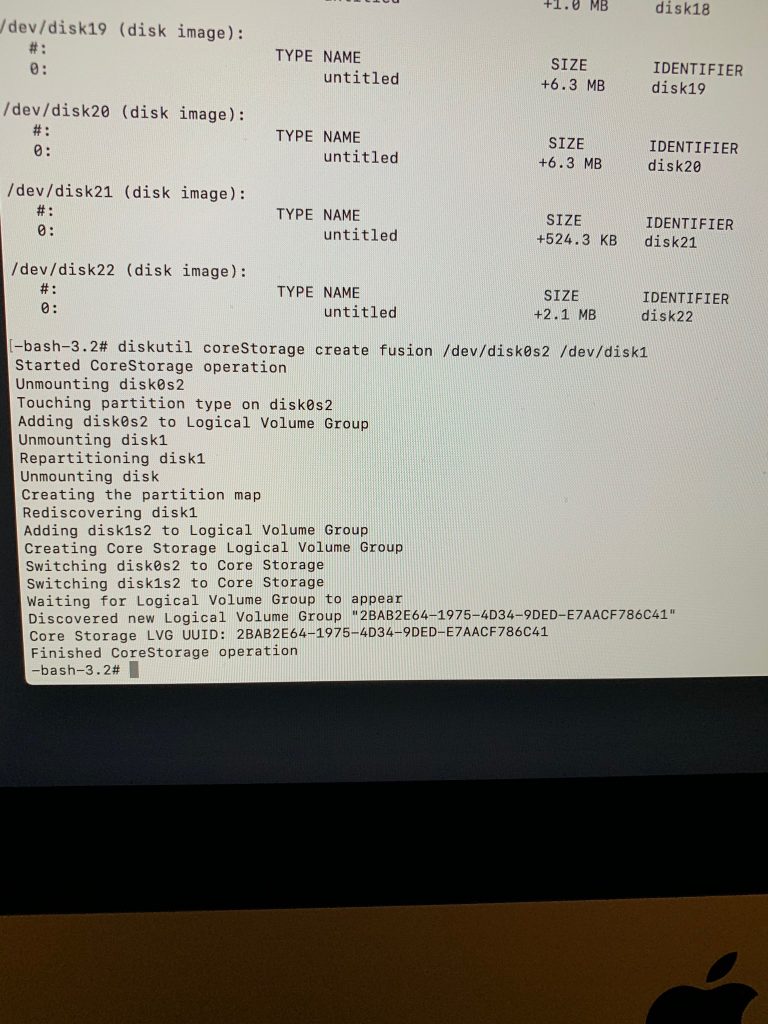
Step 17 -: diskutil coreStorage create fusion /dev/disk1s1 /dev/disk0s1 (where disk1s is the faster internal SSD and disk0s1 is the new SSD

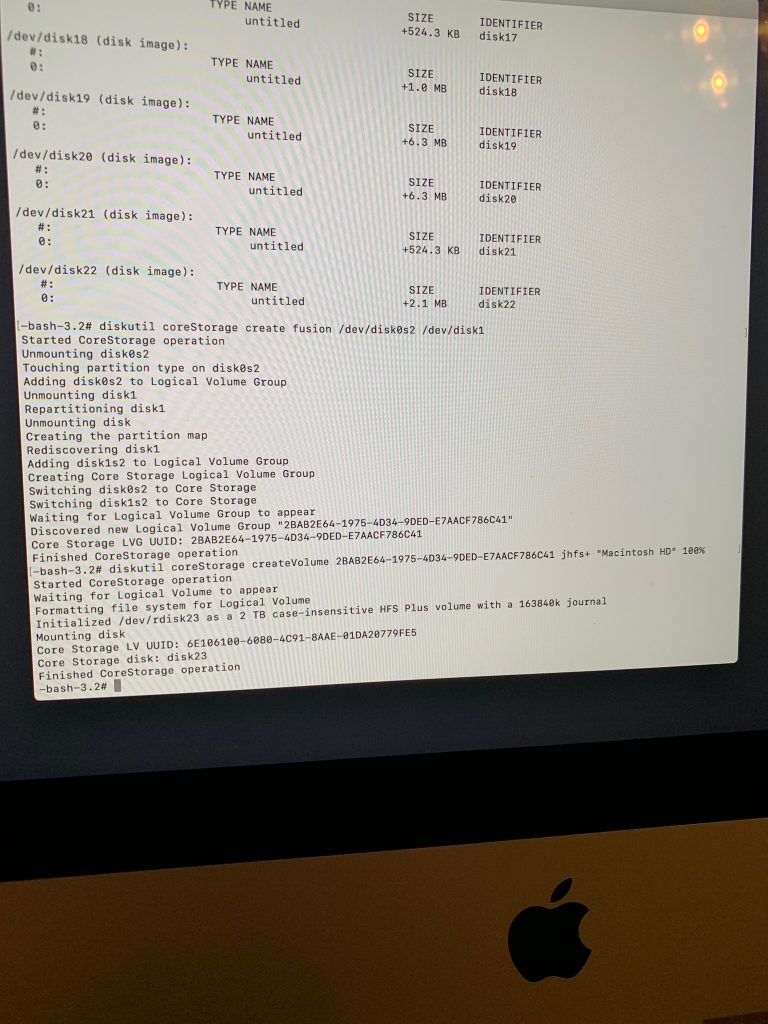
Step 18 – a unique UUID will be displayed identifying the new volume group.  Copy this to clipboard.

Step 19 -: disktuil coreStorage createVolume UUID-FROM-PREV-STEP jhfs+ “Macintosh HD” 100% (This note is likely changing those quotes to evil quotes, you’ll want to type this up with non-evil quotes so a reader can copy them)

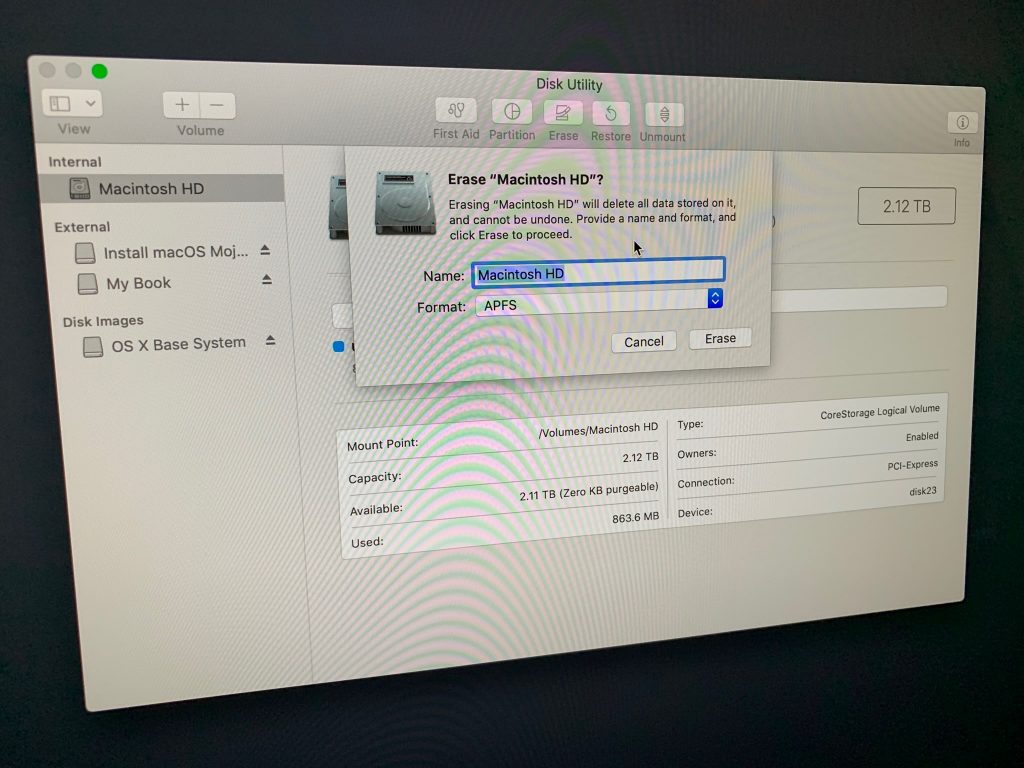
Step 20 – open disk utility

Step 21 – Erase the new Macintosh HD with the APFS option

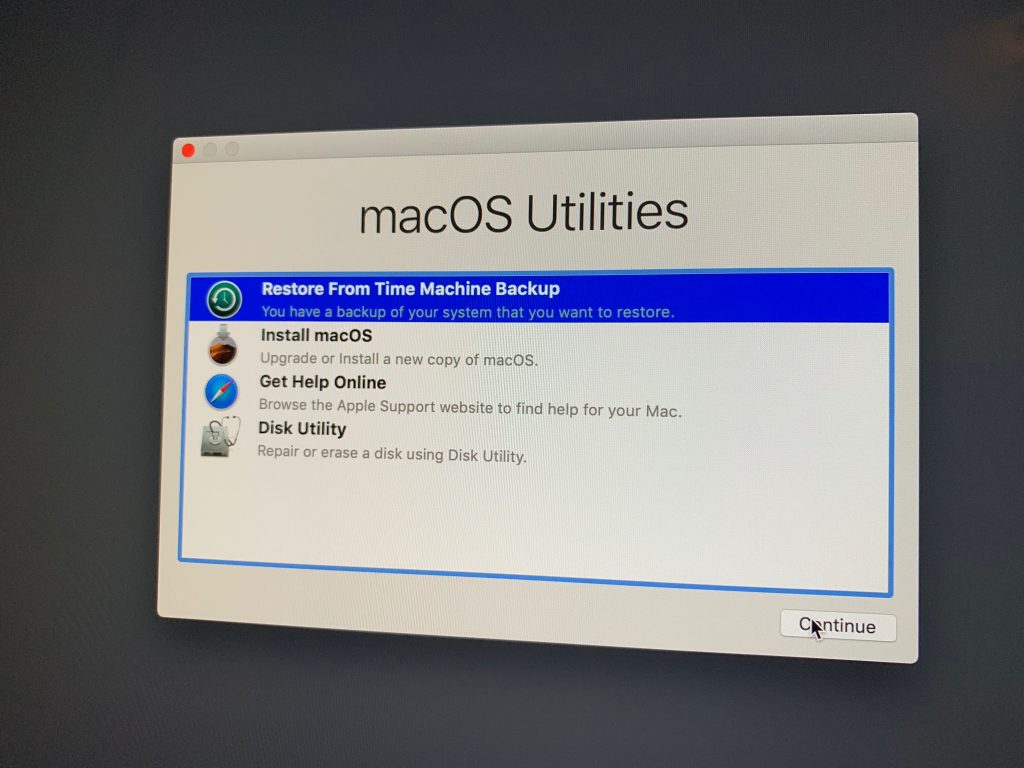
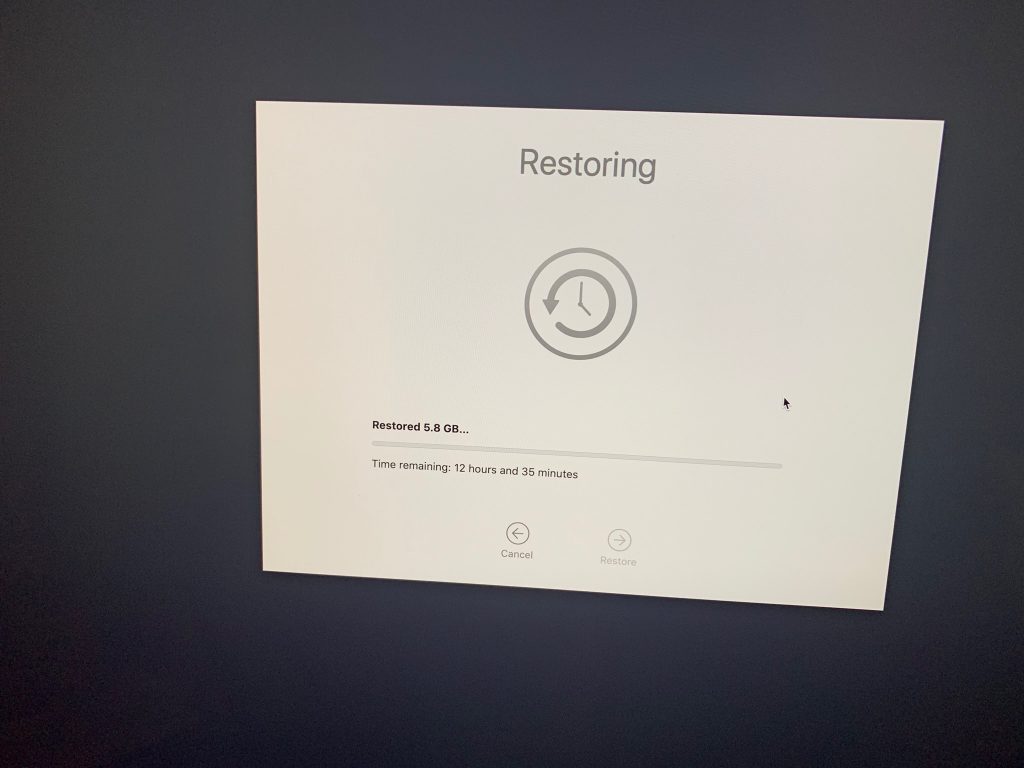
Step 22 – Restore from Time Machine

Step 23 – Open Photos (does restoration for a long time)

Step 24 – Open Mail (does some migration)

Update to Paperless Office Post for OS X Mavericks

One of our most popular posts is Paperless Office in a Snap explaining how to set up automatic OCR of scanned documents.

With the release of Mac OS X Mavericks, the controls for Accessibility features have changed. Therefore Step 5 in the Paperless Office in a Snap post has changed. Instead of clicking Enable access for assistive devices under System Preferences – Universal Access, you now need to do the following:

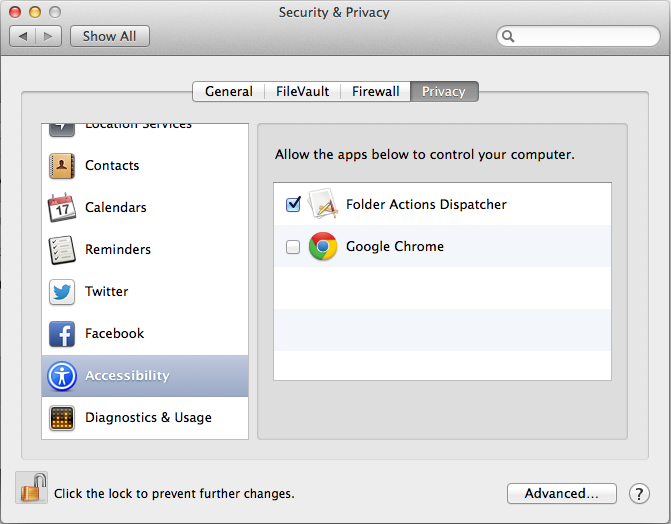
Go to System Preferences – Security & Privacy – Privacy – Accessibility.

Click the checkbox to allow Folder Actions Dispatcher to control your computer as shown below.

ADDITIONAL UPDATE: This option might not show up for you until you go through the other steps in the original script and it fails. Then come back here and the checkbox option below should be available.

Security Privacy Accessibility

Upgrade Hard Drive with Free Tools from EASEUS

We recently helped someone in Adams Morgan upgrade their laptop to a larger hard drive. It was for an old Dell laptop running Windows XP (32-bit) that had an ATA (IDE) drive instead of one of the newer SATA drives.EASEUS

Here are the steps to upgrade a hard drive. The EASEUS software is free for personal use.

1. Buy a new drive. Currently the largest ATA drvies are 320GB and SATA drives are 500GB. 750GB SATA drives are anticipated in 2009 and 1TB drives are expected in 2010. We typically buy hard drives from Newegg.com.

2. Buy a USB laptop hard drive adapter or USB drive enclosure for the new drive. Again, try Newegg.com.

3. We recommend first running the Windows Disk Defragmenter so that your new drive will start out with the files well organized. It is located at Start – All Programs – Accessories – System Tools – Disk Defragmenter. In order to run Disk Defragmenter, you need at least 15% free space. This might mean that you need to run Disk Cleanup or back up and temporarily remove some of your larger files such as photos.

EASEUS Disk Copy4. Download the free EASEUS Disk Copy. This will provide you with a .iso file that you can burn to CD as a disk image.

5. While the computer is off, connect the new drive to the computer via USB adapter or USB enclosure. Start the computer with the EASEUS Disk Copy CD created above. You might have to go into the BIOS to prioritize the CD drive to be bootable. This will boot into EASEUS Disk Copy and allow you to copy the entire old drive (also known as cloning) to the new drive connected via USB. In our tests, EASEUS Disk Copy was able to move 55GB of data in about 35 minutes. We found EASEUS Disk Copy to be one of the fastest bit-for-bit copying systems. For comparison, we tested Norton Ghost which copied 55GB in over 3 hours.

6. Remove the old drive and replace with the new drive. Boot up the computer.

7. Download and run the free EASEUS Partion Master 3.5 Home Edition. This is needed because EASEUS Disk Copy only copies (makes a clone of) the drive as it is sized. Use the Partition Manager to expand the partition to use the entire drive.

Tivo HD Hard Drive Upgrade Guide


There are several Tivo hard drive upgrade guides out there.  I recently had to upgrade a Tivo HD drive for a Virginia customer and realized that most guides out there either don’t work or are unnecessarily complicated.  As a result, I’ve collected the simplest way to do it which requires just one command if you’ve got everything you need.

What you need

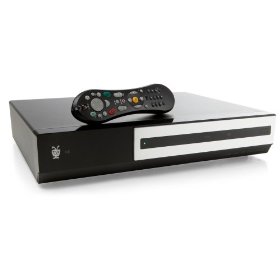
  1. The Tivo HD itself.  That link is to Amazon which almost always has the Tivo HD for less than $250.
  2. A new larger drive.  I recommend the Seagate DB35 750GB.  Not just any drive would do as you want to get one designed for DVRs with appropriate performance and noise levels.  That drive should yield 106 hours of HD recording.
  3. MFSLive linux boot disc.  You can download the ISO of this here: http://www.mfslive.org/download.htm.  Burn the ISO to disc.
  4. A desktop computer with 2 sata connectors and cables for the old drive and new drive.
  5. A Torx T-10 screwdriver.
What to do

  1. Remove your original Tivo drive and hook it up to your desktop’s first sata connector.
  2. Hook up the new drive to the desktop’s second sata connector.
  3. Boot off the linux boot disc.  When booted, you should just see a command prompt.  You can now type the following command to see your connected drives: 
    cat /proc/partitions
    If hooked up correctly, you should see your smaller original drive listed as sda and your new larger drive as sdb.  If you hook them up wrong, you could copy a blank drive to the original drive removing all Tivo data.  That would be very bad which is why you need to run this command and check the drives.
  4. Execute one command to begin the full copy and expansion to the new drive.  This command will copy all your settings and shows as well:
    backup -qTao – /dev/sda | restore -s 128 -r 4 -xzpi – /dev/sdb
    This command is nicer than many in that it tells you how much time is left. It should take about an hour.
  5. Once the command completes, turn off your computer and plug the new drive into your Tivo.  That’s it, boot up the Tivo and you should have a working box with much larger recording capacity.  It is a good idea to hold on to the original drive in case your new one ever breaks so you could duplicate it again to keep your Tivo working.

Acer Aspire One RAM or Hard Drive Upgrade

Aspire One Upgrade Options

The Acer Aspire One comes with 1GB of RAM and a 160GB SATA Hard Drive.  For an idea of its performance, please check out this video.  RAM can be upgraded to 1.5GB by replacing a 512MB stick with 1GB. We recommend the Kingston PC2 4200 1GB Laptop Memory.  The hard drive can be upgraded with another 2.5 inch SATA hard drive such as the Western Digital 320GB 5400 RPM Scorpio.

Performing these upgrades are not a simple matter as you have to completely take the netbook apart.  Do this at your own risk.  It is also a lengthy process so be sure you set aside a good hour of time.

Requirements

Once you’ve picked out your new RAM or hard drive, you’ll be ready to begin the upgrade.  In addition to a screwdriver, you will need a credit card.  You may also want some bowls to organize screws that get removed and enough space to place removed components.  It is also a good idea to use a towel to cover the screen during the process.  If you are upgrading the hard drive, you will be losing all the data on the included drive.  If you are installing from scratch, then you have nothing else to do.  If you want to duplicate the included OS on the original drive, you will need to run the dd linux command to copy it to your new drive.  To do this, you will need a 2.5 inch external USB SATA enclosure to put the new drive in to copy to.  If you are unfamiliar with this, it is a very similar process to duplicating the drive in a Tivo.


Step 1 – Remove bottom screws 

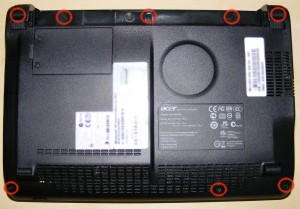
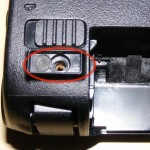
Flip over the Aspire One so that the bottom is accessible. There are 6 obvious screws to remove on the bottom of the Aspire One.  In addition to that, there are two hidden screws under the back rubber feet.

You will need to peel off the back rubber feet to get to those screws.  I used pliers to slowly peel up the rubber feet.  Try to not touch the sticky side so that they can be reapplied after.  When done, they reapply rather easily.  The 3 screws from the back and front are different sizes to be sure to organize them correctly.

Step 2 – Lift up keyboard 

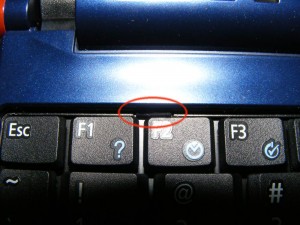
Flip the Aspire One over so the keyboard is facing up.  There are three clips holding the keyboard down by the F2, F8, and Pause keys.  You need to push these clips back and down with a credit card so they are no longer visible.  After doing this, the clips may pop back up and need to be redone.  Once they are all back, you can slide the credit card under the keyboard to pry it up.  Do not put the credit card under the keys but under the keyboard.  You can then slide the credit card around the sides prying the entire keyboard up.

Step 3 – Unplug keyboard and remove more screws 

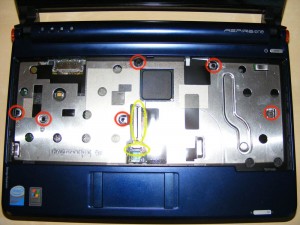
Lean the keyboard forward to expose where it is plugged in towards the center.  This cable is held down with a clamp that is on top of it.  You can flip this up to release the connector.  The keyboard should now be loose and can be put aside.  Right below the keyboard connection is a smaller similar connector for the trackpad.  In the same manner, flip up the clamp which will release the trackpad cable.

Step 4 – Remove top panel surrounding keyboard 

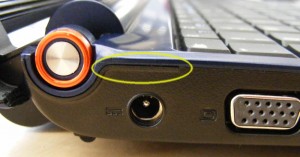
Towards the back left above the AC plug is the best place to start prying open this panel.  Push the credit card between the panel and the base to begin prying it open.  Then slide the card completely around the panel which will free it so it can be removed.

Step 5 – Unplug, unscrew, and remove motherboard 

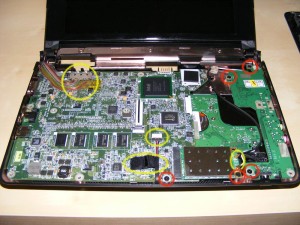
The video cable is towards the upper left. It is held down with tape so first pull up the tape and then pull out the connector.  Towards the bottom middle is another cable held down with black tape.  Lift up the black tape and then slide out the connector leaving the cable dangling.  Towards the bottom right is the Wi-Fi card.  To the right of the card are 2 cables plugged into it.  Unplug these by pulling them directly up then leave them dangling.  The Wi-Fi card is held in with one screw.  Unscrew it and the card will be easy to remove so you can set it aside.  There is a main board to the left and a daughter board to the right.  The main board has just one screw towards the bottom and the daughter board has three screws.  All of these screws need to be removed.

Step 6 – Replace RAM and/or Hard Drive 

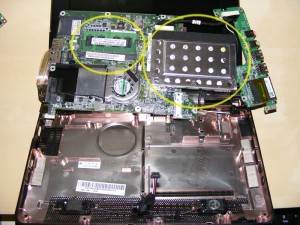
You can now flip up the boards to expose the underside where the RAM and hard drive are.  The RAM is on the left and is held down in the typical way with prongs on the sides.  Remove the 512MB card and insert your 1GB card.  It is in properly if the prongs fit into the notches on the card.  The hard drive is to the right and can be separately unscrewed to replace.

Step 7 – Put it all back together 

By this point, hopefully you’ve kept all the components and screws well organized because you just have to do everything in reverse.  When putting the boards down, be sure you have everything flush and tightened so there is enough room for the keyboard to go back in on top of it.  Don’t forget to plug all connectors back in so review the above steps to be sure you do.  The panel around the keyboard will snap in as will the keyboard itself by applying a little pressure.  Before screwing in the bottom screws, you might want to boot up to make sure everything is working.