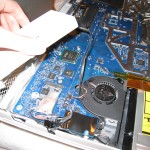
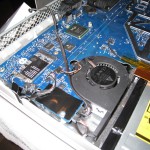
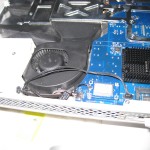
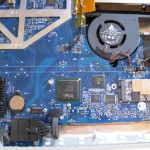
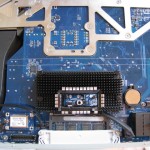
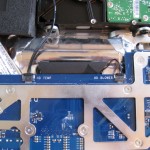
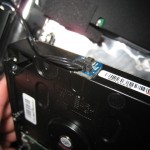
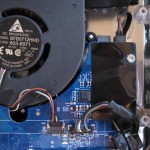
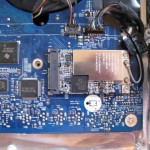
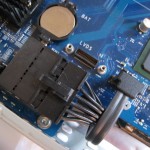
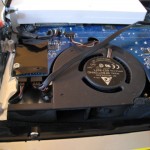
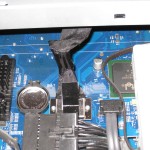
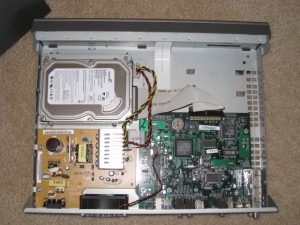
 With a 1TB or 1.5TB drive you can record hundreds of hours of TV in a TiVo. You first need to decide between two approaches.
Option 1: Order a pre-made TiVo Drive
This is the simplest method. You can buy a hard drive already setup for your TiVo from weaKees (TiVo Upgrade Kit section). I have also had good experience buying from dvr_dude on eBay.
Purchasing a new drive is your only option if your original drive failed and you don’t have a backup (obtained possibly through the Linux option described below). Replacing a failed drive can also save you from losing your lifetime or multi-year subscription contract with TiVo.
The cons to this approach are:
- Buying hard drives with TiVo software already loaded can add over $100 to the cost of buying a blank drive.
- This method will give you a new blank TiVo. It does not keep any of your programs, to do list, recording preferences, channel lineup, or CableCard pairing (for TiVo 3 or HD users who use CableCard to tune digital channels). This isn’t a con if it’s a new TiVo.
Option 2: Build Your Own Drive
This method takes much longer. You remove the drive and put it and the new drive in a computer that boots off of a Linux Live CD. In Linux, you run a command to copy the old drive to the new one bit by bit.
TiVo HD users should follow our TiVo HD instructions. TiVo 3 users should follow the bumwine instructions. TiVo Series 1 and Series 2 should follow the hinsdale instructions.
Building your own drive can take hours but it is the cheapest upgrade method and it saves all your shows, preferences, etc.
My Experience
Since my first Philips TiVo Series 1 with 20-hour recording capacity, I have been upgrading or adding drives to TiVos for myself and D.C. area clients. It can change the way you use your TiVo. If you have hundreds of hours of recording capacity, the TiVo feels closer to a TV and movie archive. Give it a try if you find yourself running out of space or if you want more TiVo suggestions.

